

Fishing at night or managing multiple rods can be challenging when you’re trying to catch every bite. A fishing bell is a simple, effective solution—an audible alarm that rings the moment a fish tugs your line. Unlike electronic bite alarms, a DIY fishing bell requires no batteries, costs less than $5, and works reliably in wet, rugged conditions. Whether you’re catfishing by the riverbank or carp fishing at dawn, a homemade fishing bell turns passive waiting into active alerting.
This guide walks you through three proven methods to make your own fishing bell using common household items. From a basic clothespin setup to a repurposed alarm mechanism, each design is easy to build, highly sensitive, and field-tested by anglers worldwide.
Choose Your Fishing Bell Type

Before building, decide which style fits your fishing method. Each has unique strengths depending on durability, sensitivity, and setup location.
Spring-Suspended Clip Bells
Best for rod-mounted use with single or multiple rods. These attach directly to the rod tip and ring when vibrations travel up the line.
• Ideal for: Bank fishing, night fishing, carp and catfishing
• Pros: Lightweight, instant response, easy to move between rods
• Cons: Wooden clips may degrade in rain; metal clips last longer
Repurposed Alarm Mechanisms
Built from old alarm clocks or doorbells, these are stationary bite alarms mounted on rod holders or banksticks.
• Ideal for: Trotlines, set lines, multi-hook rigs
• Pros: Louder sound, remote activation, weather-resistant
• Cons: Requires disassembly; not portable between rods
Pick the method that matches your fishing style. All options are low-cost, mechanical, and proven effective.
Gather Essential Materials
You do not need specialty tools. Most parts can be found at home or bought for under $5.
For Spring-Suspended Bells
These are the go-to builds for rod-tip mounting.
• Wooden clothespin – Acts as a non-slip clamp for the rod tip
• Alligator clip – Metal alternative; more durable and adjustable
• Small metal bell – 15–30 mm with a free-moving clapper inside
• Compression spring – 20–40 mm long; salvaged from pens or keychains
• Hot glue gun and glue sticks – For secure, waterproof bonding
Pro Tip: Use bright-colored bells or paint them red or yellow for visibility at night.
For Repurposed Alarm Mechanisms
Turn old electronics into powerful bite detectors.
• Old alarm clock or doorbell – Must have a working mechanical bell and clapper
• Clapper assembly – The internal striker that hits the bell
• Tripwire material – Thin fishing line, copper wire, or nylon thread
• Mounting hardware – Zip ties, wire, or screws
• Rod holder or bankstick – Keeps rod stable and transfers vibration
Warning: Avoid electronic alarms with speakers. Only use models with physical striking mechanisms.
Build a Clothespin Fishing Bell
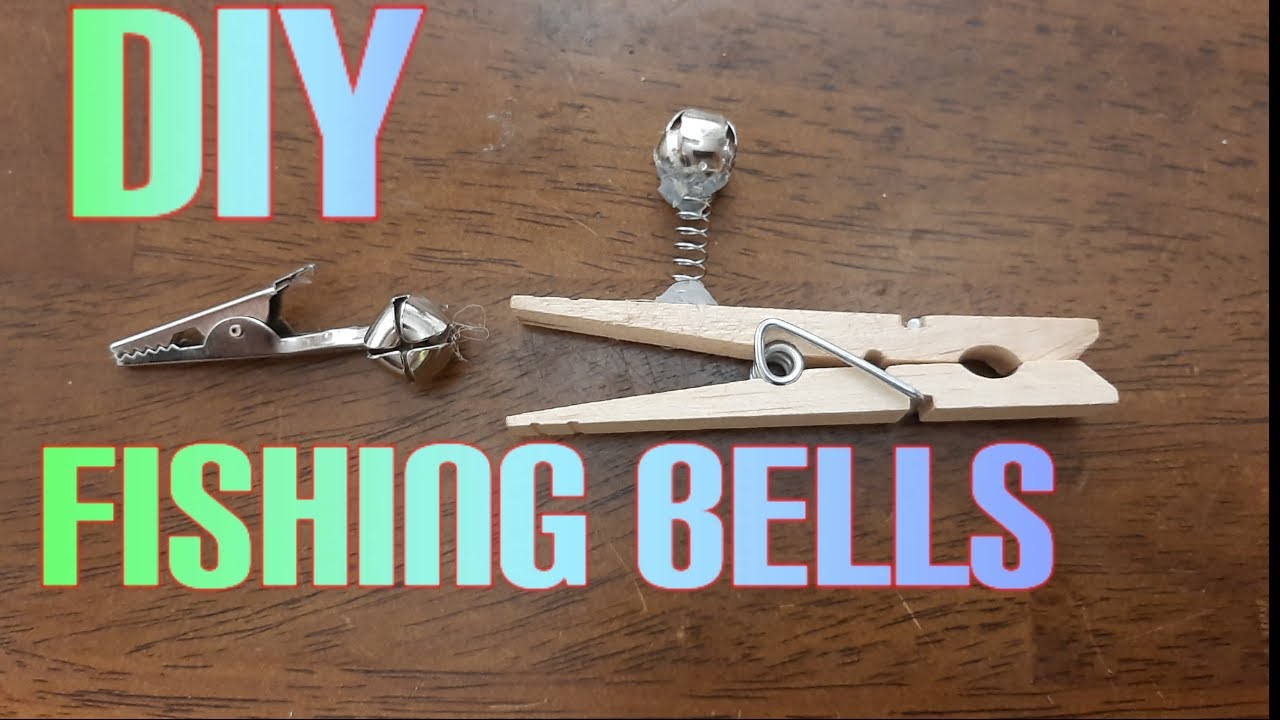
This is the fastest, cheapest way to make a working fishing bell, perfect for beginners.
Attach the Spring
Start with a standard wooden clothespin. Apply a small dab of hot glue to the flat top end, the part that stays still when opened. Press one end of the spring straight up into the glue. Hold for 30 seconds until set.
Key: Use just enough glue to hold. Do not coat the entire spring. You want maximum flexibility.
Mount the Bell
Slide the small metal bell onto the free end of the spring. Let it hang vertically. Add one tiny drop of glue where the bell meets the spring to prevent slipping.
Critical Check: Shake gently. The bell must ring freely. If muffled, remove excess glue blocking the clapper.
Test and Use
Clip onto the rod tip after casting. Make sure the bell hangs clear of the reel and line. Tap the rod tip. The bell should ring instantly.
Build an Alligator Clip Fishing Bell

More durable and weather-resistant than wood, this version is ideal for serious anglers.
Prepare the Clip
Use a medium-sized metal alligator clip, about 40–50 mm. Flatten the jaws slightly if needed so they grip rod tips firmly without slipping.
Secure the Spring
Glue one end of the spring to the flat back of the clip. Let dry completely. Alternatively, wrap thin wire around the base for a glue-free, adjustable mount.
Upgrade Option: Replace the spring with a short rubber strip for longer life in rough conditions.
Install the Bell
Slide the bell onto the free end of the spring or rubber arm. Glue lightly to prevent sliding, but never restrict the clapper.
Verify Movement
Shake the clip. The bell should produce a sharp, clear ring. If dull, check for glue inside the bell, a bent spring, or a clapper stuck against the side.
Pro Tip: Use multiple bells with different tones on multi-rod setups to identify which one rings.
Modify a Repurposed Alarm Bell
Turn an old alarm clock into a loud, remote-activated bite alarm.
Extract the Bell Mechanism
Open a broken mechanical alarm clock. Remove plastic casing, circuit boards, and batteries. Keep only the metal bell housing and swinging clapper.
Test First: Manually swing the clapper. It should strike the bell with a loud ding.
Mount the Unit
Attach the stripped-down bell to a rod holder, spike, or bankstick using zip ties or small screws. Position it so the clapper swings freely.
Location Matters: Place near your seat so sound is easily heard, but away from water splash.
Connect to Fishing Line
Two activation methods are available. Choose based on your setup.
Tripwire Method
Tie a thin line from the fishing line to the clapper. When a fish bites, tension pulls the clapper into the bell.
• Adjust sensitivity: Shorter tripwire means more responsive
• Use lightweight line: Heavy wire will not move easily on light bites
Direct Vibration Method
Mount the bell so the rod tip touches or vibrates the housing. Any bite shakes the bell, causing the clapper to strike.
Ideal for: Bank fishing with rod holders. No extra line needed.
Optimize Performance
A well-built bell detects even the lightest nibble. Avoid common mistakes that kill sensitivity.
Prevent False Alarms
Wind and rain can trigger unwanted ringing.
• Shield the bell with a small windbreak, like a plastic bottle half-cut
• Angle the bell downward to reduce rain impact
• Avoid over-tightening clips. They should grip, not crush the rod
Boost Sensitivity
Maximize vibration transfer from line to bell.
• Use line stoppers near the rod tip to increase tension feedback
• Keep line slightly taut. Slack reduces vibration
• Choose high-quality springs with balanced tension
Expert Note: A stiff spring misses light bites. A loose one flops around. Test with gentle taps.
Deploy and Use Properly
Even the best bell fails if used wrong. Follow these steps for success.
Attach Securely
For clip models, clamp firmly on the rod tip. For alarm models, secure to holder or spike. Ensure no part touches the reel, rod blank, or line. Contact dampens sound.
Position for Sound
Let the bell hang freely. It should swing with the slightest movement. If it is pressed against something, it will not ring.
Night Tip: Add reflective tape or a glow stick for visual backup.
Monitor and Respond
Once cast, rest the rod in a holder. When the bell rings, move fast. Fish often drop the bait within seconds.
Multi-Red Strategy: Use bells with different pitches so you know which rod is active.
Maintain Your Fishing Bell
No complex care is needed. Just basic checks after each use.
Clean After Fishing
Wipe metal parts with a dry cloth. Remove mud, salt, or algae that could slow movement.
Inspect for Damage
• Check the clapper. It must swing freely
• Look for rust. Lightly oil metal parts if storing long-term
• Replace frayed tripwires every few uses, especially in saltwater
Store Dry
Keep in a tackle box with a silica gel pack. Wooden clothespins can warp if left damp.
Repair Tip: If glue loosens, reattach with waterproof epoxy for lasting hold.
Why DIY Beats Commercial Alarms

You might wonder why not just buy one. Here is how homemade bells compare to store-bought options.
| Feature | DIY Bell | Commercial Electronic Alarm |
|---|---|---|
| Cost | Under $5 | $15–$50+ |
| Power | None needed | Batteries required |
| Water Resistance | Excellent | Varies. Some fail when wet |
| Sound | Natural ring | Beeps or tones |
| Repairability | Fix in minutes | Often replace entire unit |
| Customization | Full control | Limited options |
Many anglers find homemade bells are just as effective, especially in harsh conditions where electronics fail.
Avoid These Common Mistakes
Even small errors can silence your bell.
Over-Gluing the Bell
Too much glue jams the clapper. Use tiny dabs only at attachment points.
Using a Damaged or Stiff Spring
A bent or corroded spring will not vibrate. Replace it if it does not bounce back.
Mounting on a Slack Line
Bells need tension. If your line is loose, the rod will not transmit bites.
Ignoring Wind Conditions
In windy spots, bells ring constantly. Use a windbreak or switch to a dampened rubber strip.
Frequently Asked Questions About Making Fishing Bells
What is the best material for a DIY fishing bell?
The best materials are a wooden clothespin or metal alligator clip for the base, a small metal bell with a free-moving clapper, and a compression spring. These components are inexpensive, durable, and highly sensitive to vibrations.
How does a fishing bell detect bites?
A fishing bell detects bites through vibration transmission. When a fish bites, the tension on the line causes the rod tip to vibrate. This vibration travels to the attached bell, causing the clapper inside to strike and produce a ringing sound.
Can I use a fishing bell in the rain?
Yes, but rain may cause false alarms. Angle the bell downward to reduce water impact, or use a small windbreak shield. Metal alligator clip models resist moisture better than wooden clothespin versions.
How do I make my fishing bell more sensitive?
Use a spring with balanced tension. Too stiff reduces sensitivity, while too loose causes instability. Keep your fishing line slightly taut and use line stoppers near the rod tip to improve vibration transfer.
What is the difference between a spring bell and a tripwire bell?
A spring bell mounts directly to the rod tip and rings from vibrations. A tripwire bell connects the fishing line to the clapper with a thin wire, so tension from a bite directly pulls the clapper. Tripwire systems work better for set lines and trotlines.
Key Takeaways for Making Your Own Fishing Bell
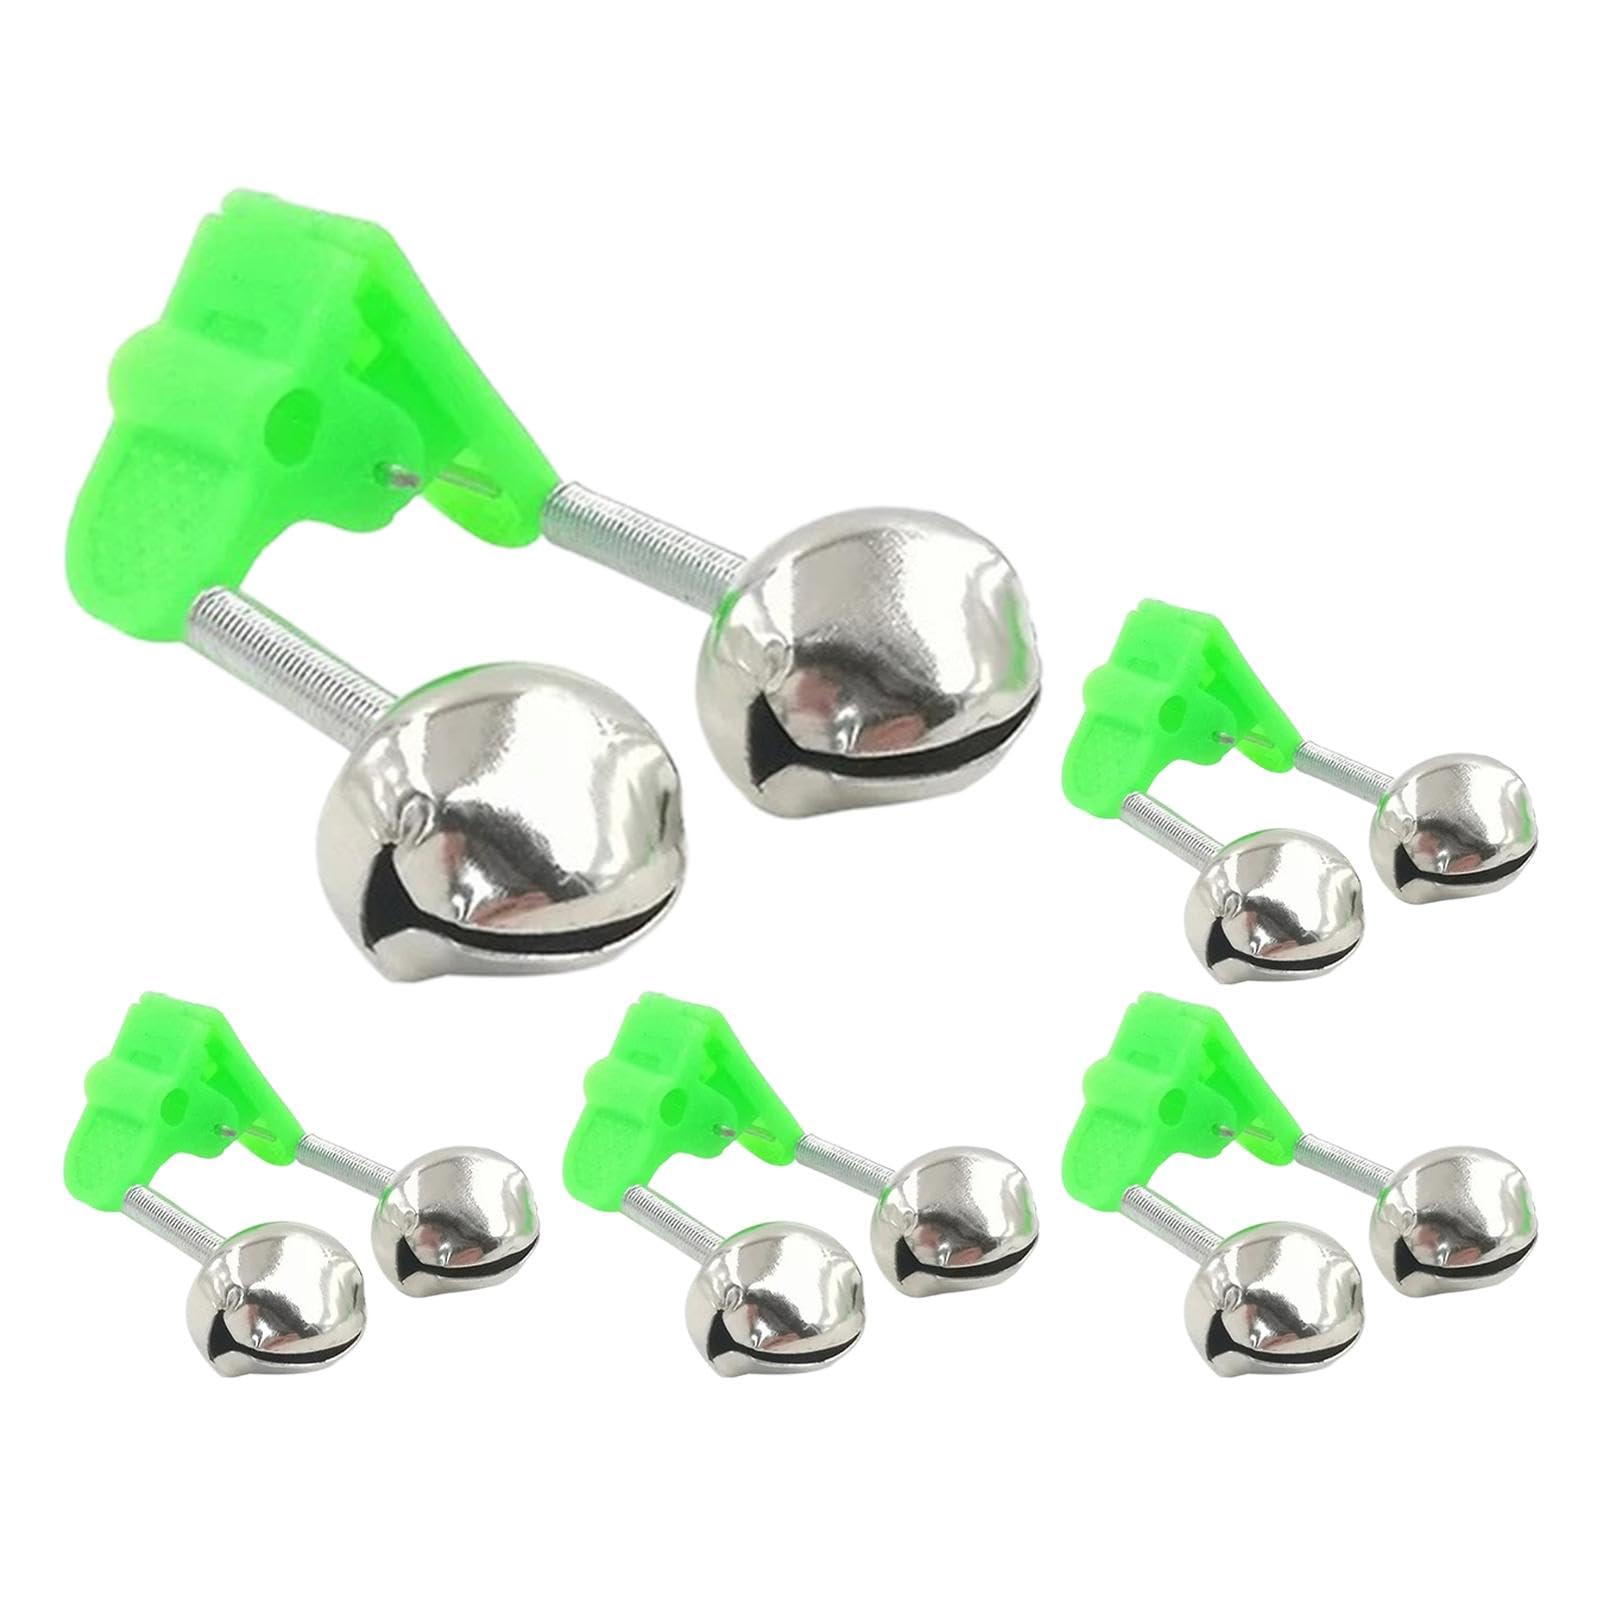
Building your own fishing bell is a practical, low-cost project that any angler can complete. The three main methods, clothespin, alligator clip, and repurposed alarm, each offer unique advantages depending on your fishing style and conditions. Remember the three core principles: ensure free movement of the clapper, maximize vibration transfer from the rod tip to the bell, and avoid over-gluing any components that need to move.
With total materials costing under $5 and no batteries required, a DIY fishing bell outperforms many commercial electronic alarms in wet, rugged conditions. Whether you are night fishing for catfish, carp fishing at dawn, or managing multiple rods, a homemade bell ensures you never miss a bite. Build one today and never miss another catch, especially when the fish are quiet and the night is long.





