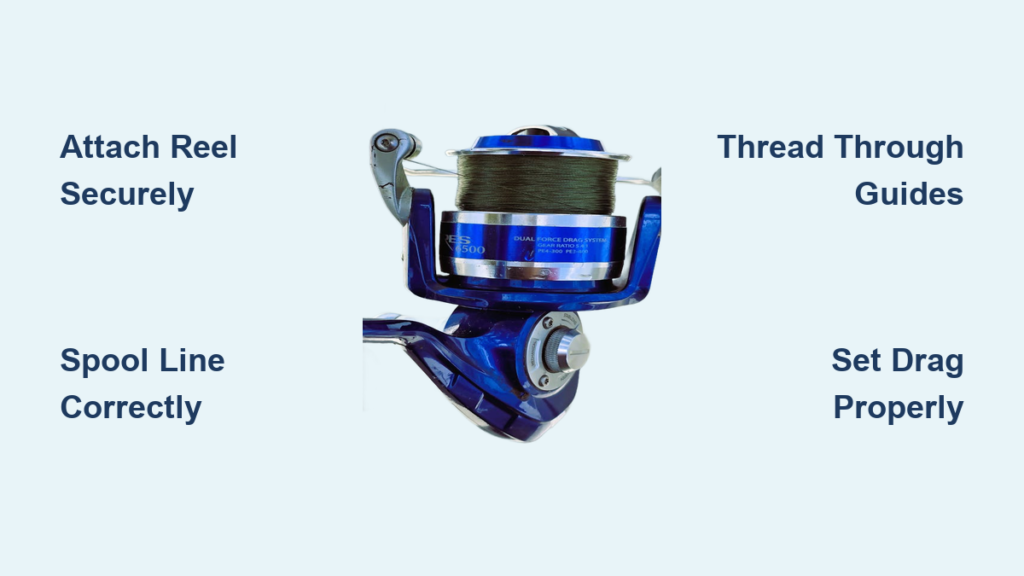
Spooling a baitcasting reel might seem simple, but doing it wrong can ruin your day on the water. A poorly spooled reel leads to backlashes, line twist, reduced casting distance, and even lost fish. The good news is that with the right technique, you can avoid these issues and get smooth, reliable casts every time. Whether you are using monofilament, fluorocarbon, or braided line, proper spooling ensures your line lays evenly, runs freely, and holds strong under pressure. In this guide, you will learn how to spool a baitcasting reel like a pro, step by step, with expert tips for knot tying, tension control, and fill depth that make all the difference.
Match Line to Reel Rotation

Align Spool for Counter-Clockwise Wind
Baitcasting reels rotate counter-clockwise when you turn the handle. To prevent line twist, the new line must come off the top of the filler spool. If it unwinds from the bottom, it introduces reverse torque that causes coiling, tangles, and backlashes.
Place the filler spool horizontally, parallel to the reel spool, and let the line feed off the top. This alignment matches the reel natural rotation and keeps the line lay flat and twist-free.
Pro Tip: Use a pencil or screwdriver through the center of the filler spool. Rest it between two chairs, boots, or cardboard boxes so it spins freely without wobbling.
Avoid laying the spool flat on the ground or letting it unwind sideways. Both create friction and twist. For best results, elevate it slightly and keep tension consistent as you wind.
Prepare Tools and Setup
Gather Essential Spooling Gear
Before tying any knots, make sure you have the right tools. You do not need an expensive spooling station. A DIY setup works just as well.
Here is what you need:
- Baitcasting reel
- Fresh fishing line (mono, fluoro, or braid)
- Rod (to thread line through guides)
- Scissors or line cutter
- Microfiber cloth
- Electrical tape (for braid)
- Pencil or screwdriver (as spool holder)
Slide a pencil through the filler spool and secure it between stable objects so it rotates smoothly. Some anglers place the spool inside a shoe. This reduces friction and keeps dirt off the line.
Visual Cue: Watch how the line feeds. It should glide out freely, not snag or jerk.
Using a damp microfiber cloth during spooling adds gentle tension and protects your fingers, especially important with abrasive braid.
Condition Line Before Winding
Reduce Memory and Twist
Monofilament and fluorocarbon lines often come with factory coils. If you spool them directly, that memory translates into poor casting and tangles. To fix this, run the line through a microfiber cloth lightly sprayed with KVD line conditioner or similar product.
This simple step achieves several benefits. It reduces line memory, minimizes twist, improves lay on the spool, and enhances casting performance.
Pinch the line between your fingers just above the reel to maintain light, steady tension while reeling. Too much pressure crushes the line. Too little causes loose coils. Aim for a firm but flexible grip.
Expert Note: Running the line through a treated cloth makes a huge difference, especially with light lures and finesse techniques.
Attach Line to Spool Correctly
Thread Guides First
Before tying, route the line through the lowest rod guide (closest to the reel) and the level wind mechanism on the reel. Skipping this step creates friction points and misalignment. When you cast, the line rubs against the reel body or jumps off the guide, increasing backlash risk.
If possible, remove the side plate to access the spool directly. This gives you full control when tying the knot and ensures clean attachment.
Warning: Never tie the knot after spooling starts. Always secure it first.
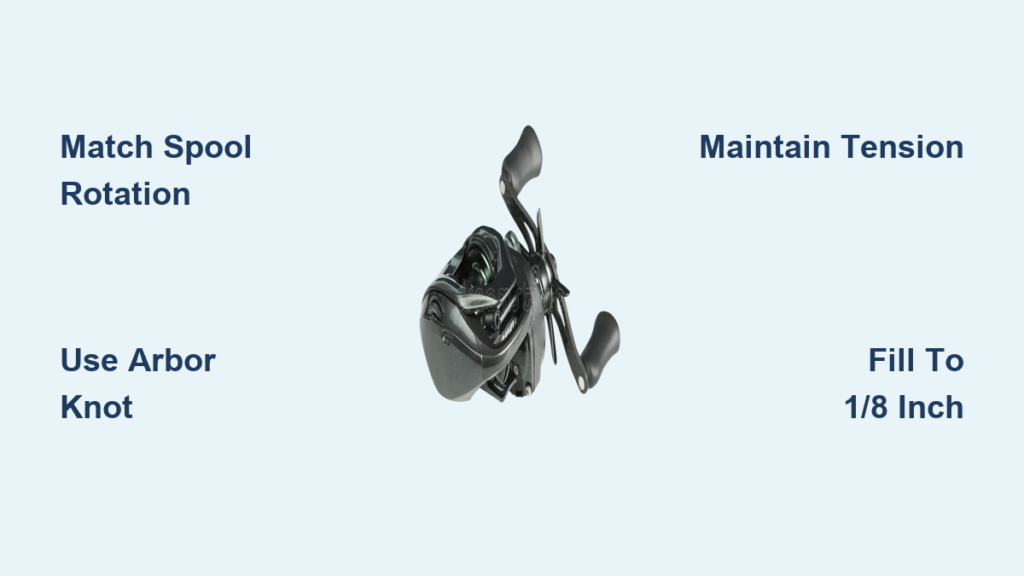
Tie the Right Knot for Your Line
Use Arbor Knot for Mono and Fluoro
For monofilament and fluorocarbon, the arbor knot is the gold standard. Here is how to tie it:
- Wrap the line around the spool arbor (metal center).
- Tie an overhand knot around the standing line.
- Pass the tag end through the loop again (double overhand).
- Wet the knot, especially with fluorocarbon, to prevent heat damage.
- Pull tight and trim the tag end.
The arbor knot grips the spool securely and will not slip under tension.
Common Mistake: Skipping the wetting step. Dry knots weaken up to 50 percent under load.
Secure Braid with Extra Measures
Braided line is slippery and can loosen on smooth spools. Use one of these methods.
Option 1: Electrical Tape Base
Wrap one to two layers of electrical tape around the spool arbor. Tie the arbor knot over the tape. The tape adds grip and prevents slippage.
Option 2: Mono or Fluoro Backing
Spool 10 to 20 yards of monofilament first using an arbor knot. Tie the braid to the backing with a double uni knot (uni-to-uni). This saves money, improves grip, and protects the spool.
Option 3: Braid-Ready Spools
Some reels have textured spools or internal holes. You can thread the braid through the hole and tie it inside for mechanical lock-down.
Pro Tip: I use old braid as filler, then top off with premium fluoro. It saves cash and performs great.
Wind Line Evenly and Tightly

Fill the V-Groove First
Start reeling slowly. Let the line fill the V-shaped groove at the base of the spool completely before guiding it side to side. Rushing this step leads to uneven layers and instability.
Once the groove is full, begin moving the line back and forth manually with your fingertip. Mimic the level wind motion, smooth and consistent. Shift pressure to the side with more buildup to correct imbalances.
Visual Cue: The line should form a flat, even cylinder, not a cone or dome.
Use thumb pressure on the high side to compress and even out the wind.
Reel Slowly for Best Results
Fast reeling traps air and creates loose coils. Instead, crank at a slow, steady pace, like you are fighting a fish. This packs the line tightly and prevents gaps.
Time Estimate: Spooling 150 yards takes about 5 to 7 minutes when done slowly and correctly.
Maintain Consistent Tension
Prevent Slack Coils and Air Pockets
Tension is critical. Without it, the line lays loosely and collapses under casting stress. Here is how to apply it.
With a helper, have them pinch the line gently between thumb and forefinger. For solo spooling, use a damp cloth or wet towel to grip the line. This protects hands from abrasion and provides smooth drag.
Avoid pulling too hard, especially with braid. Over-tension stretches the line and deforms the spool pack.
Tool Option: The Maxima Sharktooth spooling device offers built-in tension control and a sharp cutter. It is ideal for repeat spooling.
Stop at the Right Fill Level
Leave 1/8 Inch from Rim
Overfilling causes line to jump over the level wind guide, rub against the frame, and increase friction. Stop winding when the line is 1/16 to 1/8 inch below the spool outer edge.
Monofilament and fluorocarbon stick to 1/8 inch clearance (most conservative). Braided line can go up to the rim due to its thin diameter and compaction.
When in doubt, underfill slightly. It is safer than overfilling.
Rule of Thumb: You should see a small bevel around the spool edge. No line should bulge over.
Compact Braid Like a Pro
Braid tends to fluff up. To lock it down, overfill slightly (to or just above the rim). Tie the end to a fixed object like a tree or post. Walk backward until the line is tight. Crank up the drag, bend the rod, and reel in slowly while walking forward.
This compacts the braid, eliminates air pockets, and creates a rock-solid base.
User Feedback: This trick changed my game. No more loose braid or slippage.
Follow Line-Specific Rules
Spool Mono, Fluoro, and Braid Differently
Each line type demands unique handling.
Monofilament: Use arbor knot, wet knot before tightening, apply moderate tension, and spool slowly to reduce memory.
Fluorocarbon: Also uses arbor knot but is more rigid than mono. Condition with cloth and spool extra slowly to prevent coiling.
Braid: Has high slippage risk. Use tape or backing. Consider double uni knot to mono base. Use advanced compaction method for best lay.
Key Fact: 20-lb mono fills a spool much faster than 30-lb braid. Diameter matters more than strength.
Finish and Test the Setup
Final Steps After Spooling
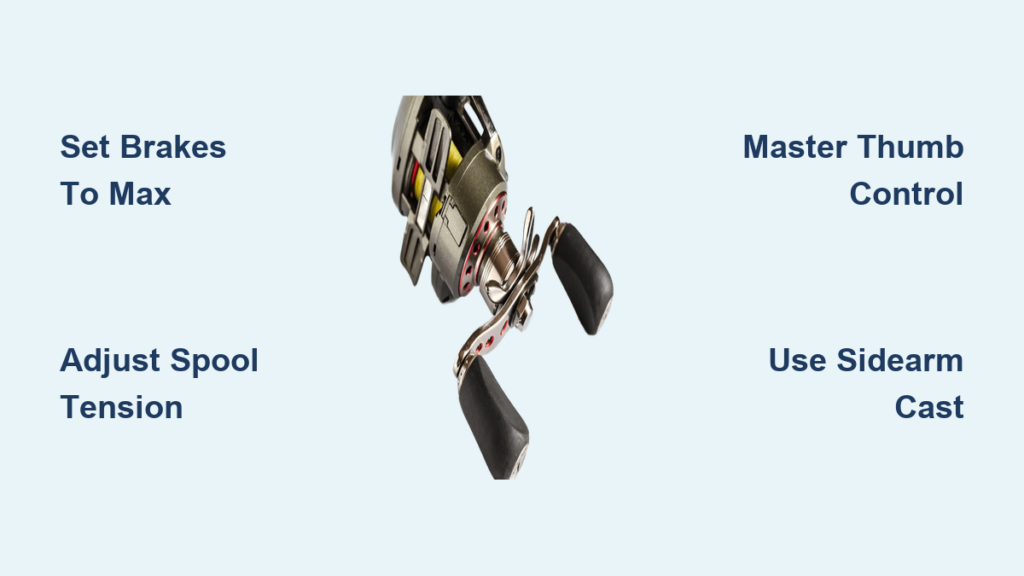
Once you have reached the proper fill level, cut excess line with sharp scissors or a Maxima Sharktooth. Thread through all rod guides (if not already done). Tie on a lure or dummy weight (1/4 oz works well). Test cast indoors or in open space. Adjust brakes and magnetic settings to match your lure weight. Set drag according to target species and line rating. Verify the level wind moves freely with no binding.
Quick Check: Reel in slowly. The line should lay evenly without skipping or jumping.
Store and Maintain Properly
Extend Line Life and Performance
After spooling, store the reel with slight line tension. Do not loosen the drag completely. Avoid leaving it under full drag pressure for long periods.
Inspect regularly for loose knots, uneven wear, and fraying or UV damage. Replace line every 6 to 12 months, depending on use and exposure to sun, water, and abrasion.
Pro Tip: Label your reel with the spool date. Helps track replacement schedule.
Avoid Common Spooling Mistakes
Fix Top Errors Before They Happen
Here are the most common mistakes and their fixes:
- Line comes off filler spool from the bottom: Rotate spool so line exits from the top.
- Skipping rod or level wind guides: Always route through all guides first.
- Using weak or dry knots: Use arbor knot, wet it, and trim tag end.
- Overfilling the spool: Leave 1/8 inch clearance from rim.
- Reeling too fast: Wind slowly and steadily.
- No tension during spooling: Use wet cloth or helper to pinch line.
- Braid slips on smooth spool: Use electrical tape or mono backing.
Warning: One mistake can cascade. A loose knot leads to slippage, which causes overfilling, which triggers backlashes.
Apply Expert Best Practices
Pro Tips for Flawless Spooling
Pop the spool out if your reel allows it. This gives better knot access and control. Fill the V-groove completely before guiding. Build a stable base first. Practice the arbor knot. Watch a short YouTube tutorial to perfect it. Run line through first guide before tying. Ensures correct path and reduces friction.
Use low-memory line like Vanish Berkeley for better performance. Watch Jason Christie (Bassmaster Champion) spool his reels. He emphasizes slow, even winding.
Final Insight: Spooling is not just about filling. It is about precision. Every turn counts.
Frequently Asked Questions About Spooling a Baitcasting Reel
What happens if the line comes off the filler spool from the bottom?
When line unwinds from the bottom of the filler spool, it introduces reverse torque that creates line twist. This leads to tangles, coils, and increased backlash during casting. Always orient the filler spool so the line exits from the top, matching the reel counter-clockwise rotation.
How much line should I leave between the spool rim and the line?
Leave 1/16 to 1/8 inch of clearance from the spool outer edge. For monofilament and fluorocarbon, 1/8 inch is the most conservative and recommended fill level. Braided line can go closer to the rim due to its thinner diameter, but err on the side of underfilling when uncertain.
Do I need backing for braided line on a baitcaster?
Yes, braided line requires additional measures to prevent slippage. You can wrap electrical tape around the spool arbor before tying, use monofilament or fluorocarbon backing (10 to 20 yards), or use a braid-ready spool with internal holes. Without backing, braid can slip during casting and cause lost fish.
What knot is best for spooling monofilament and fluorocarbon?
The arbor knot is the gold standard for attaching monofilament and fluorocarbon to a baitcasting spool. Tie a double overhand around the standing line, wet the knot before tightening (critical for fluorocarbon), and trim the tag end. This knot grips securely and will not slip under pressure.
How often should I replace the line on my baitcasting reel?
Replace line every 6 to 12 months, depending on how often you fish and exposure to sun, water, and abrasion. Inspect regularly for loose knots, fraying, UV damage, or uneven wear. Label your reel with the spool date to track replacement schedules.
Can I spool a baitcasting reel without a spooling station?
Yes, you can use a DIY setup. Slide a pencil or screwdriver through the center of the filler spool and rest it between two stable objects. Some anglers place the spool inside a shoe to reduce friction and keep dirt off. A damp microfiber cloth provides tension and protects fingers, especially with braid.
Key Takeaways for Spooling Your Baitcasting Reel
Spooling a baitcasting reel correctly is one of the most impactful things you can do for your fishing success. By matching line orientation to reel rotation, using the right knot, maintaining consistent tension, and stopping at the proper fill level, you will eliminate tangles, boost casting distance, and fish with confidence. Whether you are spooling monofilament, fluorocarbon, or braid, follow these proven steps and never suffer another bird nest again. Take your time with each step, especially when filling the V-groove and guiding the line evenly across the spool. A properly spooled reel performs better, lasts longer, and keeps you fishing instead of untangling line.