If you’ve ever struggled with a bird’s nest on your reel or watched an expert cast with pinpoint accuracy, you’re not alone. Learning how to cast a baitcasting fishing reel is one of the most rewarding skills an angler can master. While it’s more complex than using a spinning reel, the baitcaster offers superior control, power, and casting precision, especially when targeting structure-heavy zones like docks, weeds, or timber.
This guide breaks down every element of successful baitcaster casting: from reel setup and thumb control to troubleshooting backlashes and refining technique. Whether you’re a beginner or refining your form, you’ll learn how to cast smoothly, avoid tangles, and adapt to any fishing situation.
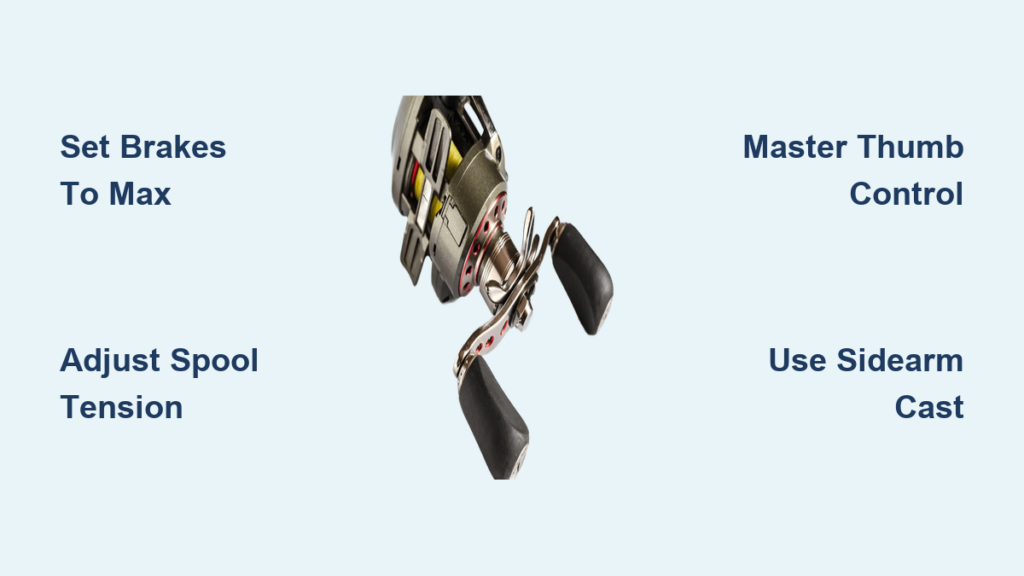
Set Your Brakes to Maximum
Before your first cast, safety comes first, especially for beginners. Setting your brakes properly prevents instant backlashes and builds confidence during practice.
Start with Magnetic Brakes at 10
If your reel has a magnetic braking system, turn the dial to the highest setting, usually 10 or 60 depending on the scale. This applies maximum electromagnetic resistance to the spool, slowing it down during flight.
- Magnetic brakes react instantly to spool speed, reducing overrun risk
- The spool slows naturally even if your thumb lags slightly
- Most modern baitcasters feature this system
Reels with centrifugal brakes require opening the side plate. Push all brake weights fully outward to engage maximum friction.
Use Hybrid Systems? Max Out Both
Some reels combine magnetic and centrifugal systems. When learning, set the magnetic dial to 10 and extend all centrifugal weights to the rim. This dual-max setup gives you the tightest control while you build muscle memory.
Adjust Spool Tension Correctly
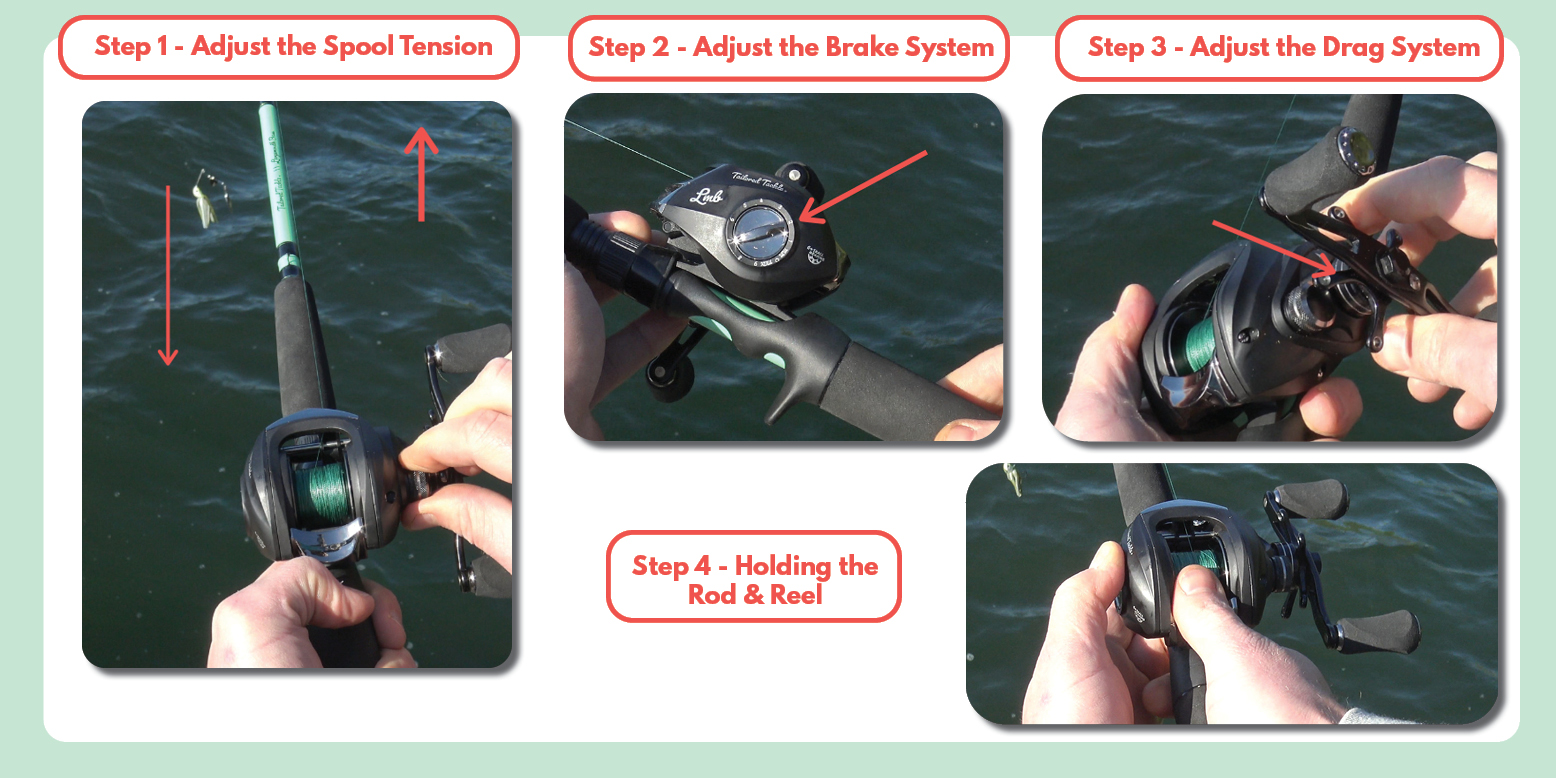
Spool tension is your first line of defense against tangles. Get this wrong, and even max brakes won’t save you.
Test with a 3/8-Ounce Lure
Use a standard 3/8-oz jig or ChatterBait, ideal for practice and most freshwater applications.
- Attach the lure
- Hold the rod horizontally, tip forward
- Reel up so the lure dangles 12 inches below the tip
- Press the spool release button
- Slowly loosen the spool tension knob until the lure begins to fall
- Once moving, tighten the knob by ¼ turn
The lure should drop at about 1 foot per second and stop or spin only once after hitting the ground. This balance lets the spool turn when needed but resists free-spinning.
Re-Adjust Every Time You Change Lures
Lure weight changes everything. Lighter lures require tighter tension, while heavier lures need slightly looser settings. Forget this step, and you’ll backlash even with perfect form.
Choose the Right Practice Setup
Your gear matters. A mismatched rod or line can sabotage progress before you begin.
Use a Medium-Heavy, 6’6″ to 7′ Rod
This combo delivers enough backbone to load during casting, good feedback for lure weight, and balanced feel with most baitcasters. Avoid ultra-stiff or extra-long rods that exaggerate casting errors.
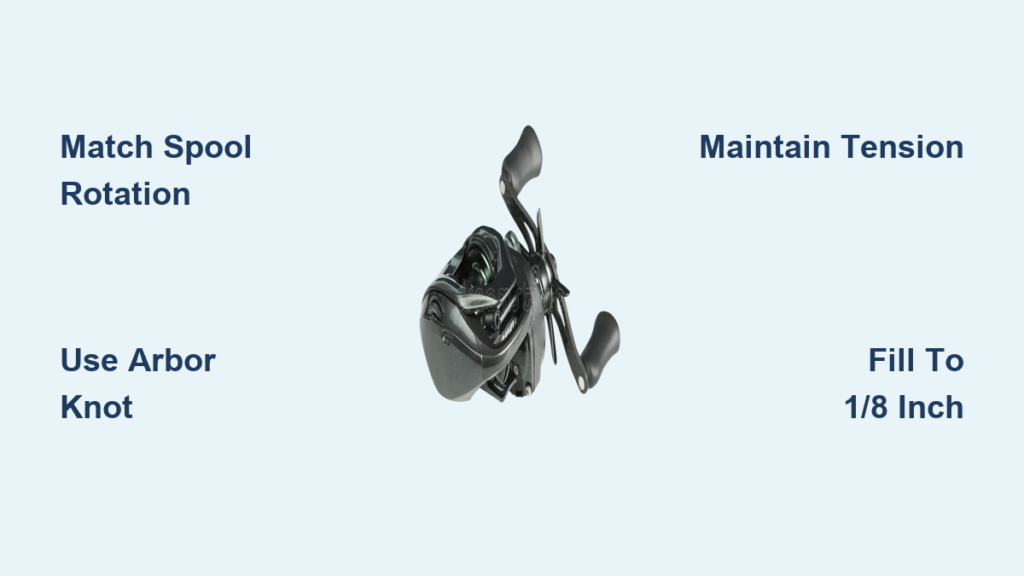
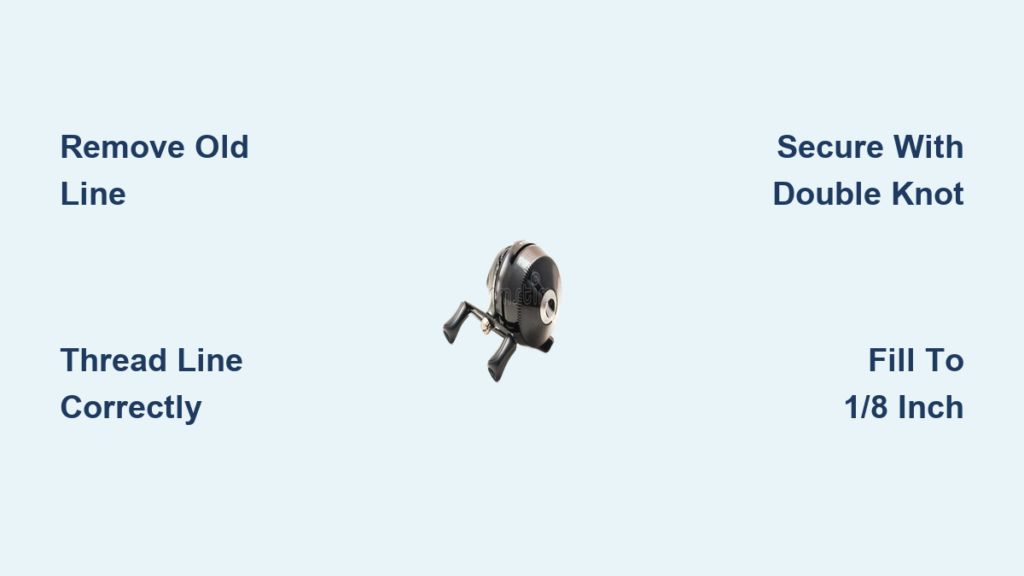
Fill Spool to 1/8 Inch Below Rim
Overfilling causes line to jump off in coils. Underfilling reduces cast distance. While spooling, maintain tension with a rag or winding jig and use athletic tape over the arbor knot if using braid to prevent slippage.
Pick the Best Line for Learning
- Braided line (30-50 lb) offers distance, sensitivity, and easy tangle removal
- Monofilament (15-17 lb) provides forgiving tangles and slower learning curve
- Fluorocarbon offers invisibility and abrasion resistance but is harder to manage
Beginner recommendation: start with 17 lb mono or 30 lb braid.
Master the Sidearm Cast First
Skip the overhead cast and start with the sidearm technique. It’s easier, more controlled, and perfect for clearing brush or docks.
Why Sidearm Works Better for Beginners
Lower trajectory means less chance of lure stalling at apex. It’s easier to maintain consistent rod path and reduces spool overrun caused by mid-air pauses.
Step-by-Step: Sidearm Casting
- Grip the rod with your dominant hand
- Place thumb lightly on the spool
- Press the spool release button with your thumb
- Swing the rod back in a smooth arc, keeping it low
- Bring rod forward in one continuous motion with no jerking
- As the rod reaches eye level, lift thumb gradually to let spool spin
- Feather spool lightly throughout the cast
- Stop spool with thumb just before the lure hits the water
Think of it like throwing a dart: smooth, controlled, and deliberate. Practice by aiming at a floating leaf or hoop with a goal of landing within 1 foot with zero backlash.
Learn Proper Thumb Control
Your thumb is the most important tool on a baitcasting reel. It doesn’t just assist, it controls everything.
Feather the Spool in Flight
Feathering means applying light pressure to slow the spool mid-cast. Too much pressure results in a short cast, too little causes spool overspin and backlash. The goal is matching line exit speed to lure speed.
To practice, cast toward an open field and let the lure fly 10 feet, then gently press thumb to stop it mid-air. Repeat at 15, 20, and 25 feet to build timing and sensitivity.
The Thumb Stop: Prevent Backlash on Impact
When the lure lands, it stops but the spool keeps spinning. That’s when backlashes happen. Apply firm thumb pressure just before splashdown to fix this. Too early means a short cast, too late creates a bird’s nest, and perfect timing delivers a clean stop with no tangle.
Avoid Common Casting Mistakes
Even small errors cause big problems. Here’s how to fix the top issues.
Jerky, Snappy Motion Causes Backlash
Many beginners try to throw the lure with arm strength. The rod doesn’t load properly and the spool spins out of control. Use a smooth, continuous arc instead and let the rod bend naturally. Power comes from wrist and forearm, not shoulder.
Releasing Thumb Too Early
Letting go of the spool at launch means no control from the start. Keep thumb on spool until forward motion begins, then gradually release pressure and start feathering immediately.
Using Too Light a Lure
Not all baitcasters handle light lures well, especially when brakes are maxed. Stick to ¼ oz to 3/8 oz for practice. Below 1/8 oz requires expert tuning, so match lure weight to reel specs.
Tune for Wind and Lure Type
Once basics are solid, adapt your settings to conditions.
Headwind? Increase Braking
Wind pushes against the lure, slowing it mid-air. The lure slows while line keeps coming, causing spool overrun. Increase magnetic brake by 1-2 notches to compensate.
Tailwind? Reduce Braking
Tailwind carries the lure faster, pulling line efficiently. Less resistance means the spool can keep up, so lower brake setting slightly.
Windy Topwater Lures
Frogs and poppers have high drag and float, making them prone to stalling. Use sidearm or pitch cast with higher brake settings and focus on a low, fast trajectory.
Practice the Roll Cast for Zero Backlash
The underhand roll cast is a secret weapon for beginners.
How to Execute the Roll Cast
- Let lure sit in the water with 1-2 feet of line past the rod tip
- Lift rod in a smooth figure-eight motion
- As the rod rises, water tension loads it
- At the top of the lift, release spool and let lure glide forward
- Feather spool lightly and stop with thumb before splash
This technique achieves up to 25 yards with near-zero backlash risk while teaching timing, rod loading, and thumb control without high-speed risk.
Advance to Overhead and Pitch Casting
Once sidearm and roll casts are reliable, expand your skills.
Overhead Cast: Power and Distance
Best for open water or long-range targets. Use moderate force and keep motion fluid, not stop-and-go. Watch for lure stall at apex, a common cause of mid-air backlashes.
Pitch and Flip: Precision in Cover
Used within 5-15 feet of targets like stumps or docks. Pitch uses slight forward motion with thumb controlling release, while flip flickers the wrist upward. Practice first in your yard, not over fish.
Troubleshoot Backlashes by Timing
Not all tangles are the same. Diagnose by when the backlash happens.
Backlash Instantly on Release
Cause: lure too light, brakes too low, or too much force. Fix: use heavier lure, increase brakes, reduce casting power.
Mid-Cast Tangle
Cause: spool spinning faster than line pull. Fix: adjust brakes, improve casting smoothness, feather more.
Spool Stops Only After Splash
Cause: failed thumb stop. Fix: practice stopping cast just before impact using visual cues.
Quick recovery: gently pick out tangles with fingers. If bad, cut and respool.
Optimize Drag and Anti-Reverse
While not part of casting, these affect performance under load.
Set Drag to 1/3-1/2 of Line Strength
For 15 lb line, set star drag to 5-7.5 lbs. Test by pulling line: it should slip smoothly.
Ensure Instant Anti-Reverse Is Engaged
Modern reels engage forward rotation only, critical for instant hook sets. Check by turning handle backward: it should not reel line.
Maintain Line and Spool Health
Good habits prevent problems before they start.
Prevent Line Memory
Avoid direct sun when storing, don’t over-tighten line on spool, and replace coiled or twisted sections.
Save Line During Backlashes
Tape across your line at 1/3 and 2/3 points on the spool. If you backlash, only the top layer tangles, saving the rest.
Re-Spool Every Few Months
Braid frays, mono weakens, and fluorocarbon stiffens. Inspect for nicks, abrasions, and memory, then re-spool regularly.
Progress From Beginner to Advanced
Mastery follows a clear path.
Phase 1: Max Control (Beginner)
Use brakes at 10/10, tension for 1 ft/sec drop, practice sidearm and roll casts with 3/8 oz jigs.
Phase 2: Balanced Performance (Intermediate)
Reduce brakes to 5-7/10, allow 2 ft/sec drop, add overhead and pitch casts, switch to 30-50 lb braid.
Phase 3: Thumb-Driven Mastery (Advanced)
Use brakes at 3-4/10 or lower, set light lure-specific tension, master all casting styles with one-handed control for long, accurate, backlash-free casts.
Final Checklist for Success
- Use 3/8-oz jig or ChatterBait for practice
- Set magnetic brakes to 10
- Adjust spool tension for 1 ft/sec lure drop
- Keep elbows in, power from wrist and forearm
- Use smooth, continuous casting motion
- Feather spool with thumb throughout cast
- Stop spool with thumb just before water impact
- Practice in open area before fishing
- Re-tune settings every time you change lures
- Start with sidearm or roll cast, progress to overhead
- Use braided line (30-50 lb) for durability
- Fill spool to 1/8 inch below rim
- Set drag to 1/3-1/2 of line test
- Watch expert casting videos for form tips
Frequently Asked Questions About Baitcasting Reel Casting
What is the best lure weight for learning to cast a baitcaster?
Start with ¼ oz to 3/8 oz lures like jigs or ChatterBaits. This weight range provides enough momentum for the spool to turn smoothly while giving you enough control to feel feedback. Light lures below 1/8 oz require expert-level tuning and are not recommended for beginners.
Why do backlashes happen even with brakes maxed out?
Maximum brakes help but aren’t foolproof. Backlashes occur when spool speed exceeds line exit speed. This happens from jerky casting motions, releasing thumb too early, using lures too light for your settings, or failing to feather and stop the spool properly with your thumb at landing.
How do I know if my spool tension is set correctly?
Test by hanging a 3/8-oz lure 12 inches below your rod tip. Press the spool release and time the drop. Properly set tension lets the lure drop at about 1 foot per second and stop or rotate only once after hitting the ground.
Can I use a baitcaster in windy conditions?
Yes, but increase your magnetic brake setting by 1-2 notches when facing a headwind. Wind resistance slows the lure mid-air while line keeps coming, causing spool overrun. For tailwinds, reduce braking slightly since the lure naturally carries faster.
How long does it take to learn baitcaster casting?
Most anglers achieve basic proficiency with sidearm and roll casts within 1-2 weeks of consistent practice. Full mastery with overhead casting, pitch, and flip techniques takes several weeks to months depending on practice frequency and individual skill development.
Key Takeaways for Mastering Baitcaster Casting
Backlashes are part of the journey, even pros get them. The difference is knowing how to fix it fast and keep casting. Focus first on proper brake and tension setup before ever making your first cast, then master the sidearm technique before progressing to overhead casting. Your thumb is your primary control tool throughout the entire cast, from feathering during flight to stopping the spool just before impact. With consistent practice in an open area, proper setup, and attention to detail, you’ll go from frustration to finesse. Soon you’ll be casting farther, placing lures precisely, and landing more fish than ever. The baitcasting reel isn’t just a tool, it’s a skill worth mastering.