If your spincast reel isn’t casting smoothly or the line keeps tangling, it’s likely time to re-spool. A fresh line improves casting distance, prevents break-offs, and restores your reel’s performance. Spooling a spincast fishing reel may seem tricky at first, but with the right steps, even beginners can do it in under 15 minutes. This guide walks you through every step, from removing old line to securing the perfect fill level, using only simple tools and proven techniques.
Whether you’re prepping for bass season or replacing frayed monofilament, you’ll learn how to spool a spincast reel like a pro, avoid common mistakes, and keep your gear running smoothly. Each section provides actionable steps, time estimates, and expert tips to ensure your reel performs at its best.
Prepare the Reel for Re-Spooling
Before loading new line, clean and reset the reel to ensure smooth operation. This preparation step takes about 5 minutes and prevents future casting problems.
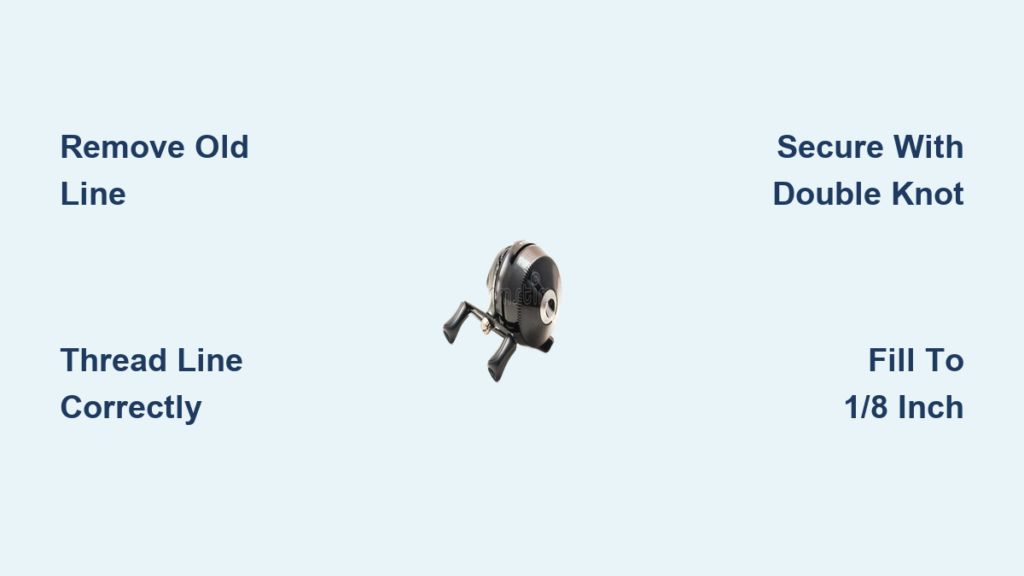
Remove Old Line Completely
Press and hold the push-button mechanism at the back of the reel. Slowly pull the line out by hand, winding it off the spool until fully removed. Cut the line near the spool and discard all remnants. Leaving old line behind can interfere with tension and cause tangles.
Take Off the Spool Cover
Unscrew or lift off the front cone, also called the cap or spool cover, by hand. Most spincast reels, like the Shakespeare Synergy or Zebco 33, don’t require tools. Set the cover aside carefully because small parts can be easily lost.
Clean Reel Components
Wipe the inside of the spool cover and exposed spool area with a dry or slightly damp cloth. Remove dirt, salt, or grime that could hinder line flow. A clean reel ensures smooth casting and longer line life.
Pro Tip: Check the reel body for a line capacity label. This tells you the ideal line type, pound test such as 6 to 12 pounds, and maximum yardage, often 75 yards.
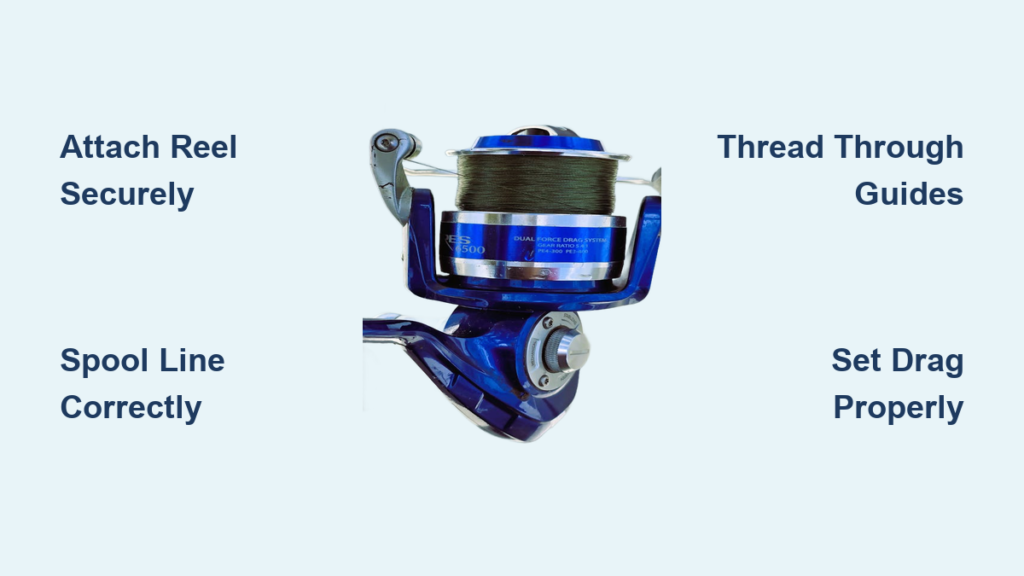
Thread the Line Correctly
Proper threading prevents snags and aligns the line for even winding. Take your time with this step to avoid problems later.
Run Line Through First Rod Guide
Pass the tag end of the new line through the first guide on the rod, the one closest to the reel. This anchors the line and maintains tension during spooling.
Feed Line Through Spool Cover
Thread the line through the front cone from the outside in. If visibility is low, use pink twine from a bait tag to simulate the path first. This trick helps beginners visualize the route.
Visual Cue: The line should pass from rod guide to spool cover to spool. Keep it taut but not stretched.
Secure Line to the Spool
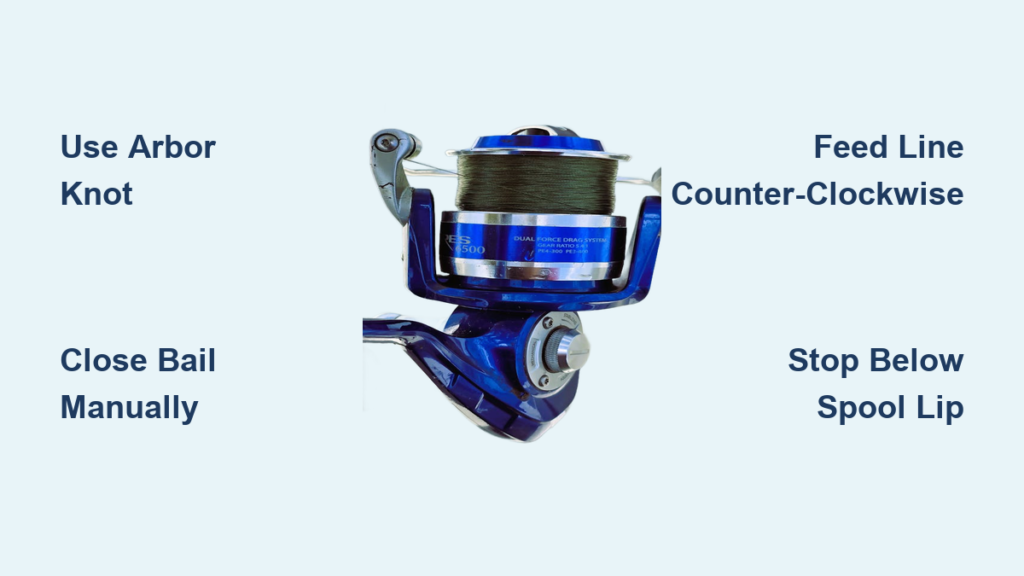
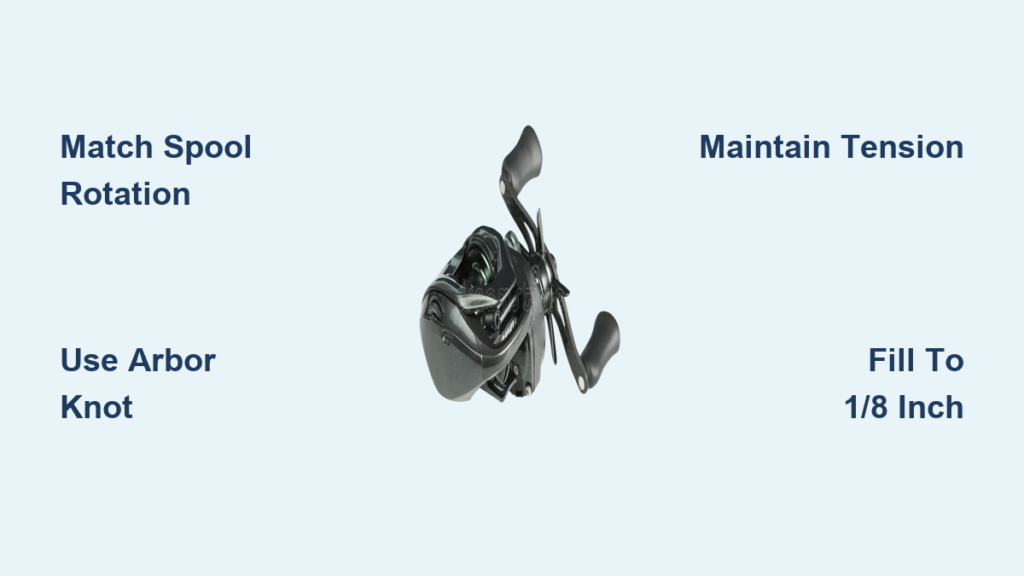
A solid knot prevents slippage when you start reeling. The double overhand knot method is the most reliable technique for spincast reels.
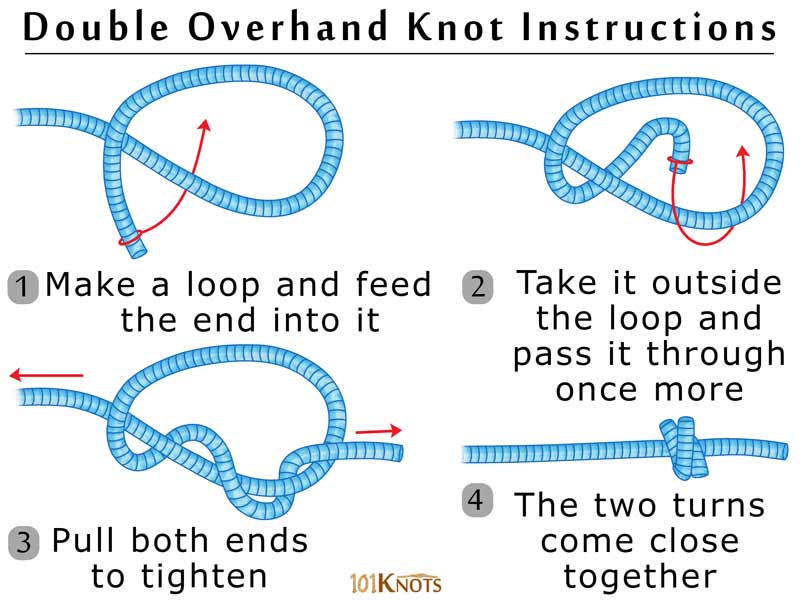
Use the Double Overhand Knot
Tie an overhand knot near the tag end, leaving about 6 inches. Wrap the tag end around the spool and tie a second overhand knot, looping the standing line through it. Position the first knot just outside the loop of the second. Pull the standing line. This pulls the first knot into the second, locking it against the spool.
Why it works: This creates a slip knot that cinches down tightly under tension and will not unravel.
Trim the Tag End
Once tightened, trim the excess tag to about 1/4 inch. Too short risks untying. Too long can catch during casting.
Common Mistake: Skipping tension before winding. Always pull the knot snug before reassembling.
Reattach the Spool Cover
Reassembly ensures the line stays in place during winding. Proper cover alignment is critical for smooth casting.
Place Knot on Spool
Slide the secured knot onto the spool. Hold light tension on the line with your fingers to prevent slack.
Reinstall the Front Cone
Screw or press the spool cover back into place. Make sure it is fully seated because misalignment can cause casting issues.
Warning: If the cover will not close smoothly, the knot may be too large or improperly positioned. Reposition if needed.
Wind Line Onto the Spool
Even winding prevents line twist and maximizes casting performance. This step requires patience and attention to detail.
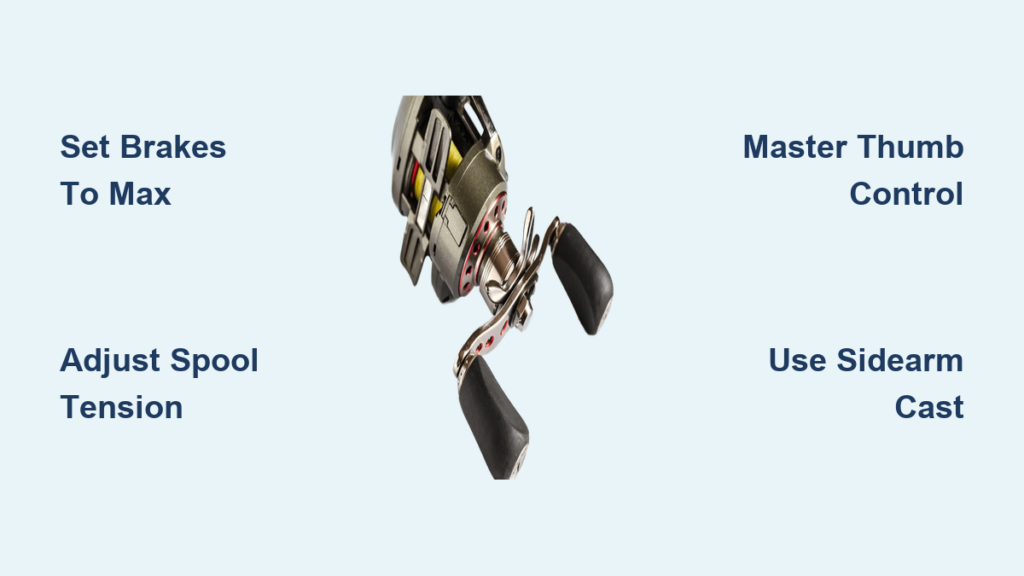
Start Reeling with Tension
Turn the handle in the retrieve direction, usually clockwise for right-handed reels. Use your free hand to apply light, consistent pressure on the line.
Do not over-tighten because this compresses monofilament and increases line memory, leading to coiling and tangles.
Maintain Even Distribution
As you reel, gently move the line side to side with your finger to layer it evenly across the spool. Rotate the rod slightly every few turns to prevent uneven buildup.
Stop at the Right Fill Level
Fill the spool until the line is 1/8 inch to 3/16 inch below the rim. Overfilling causes line to jump off during casting. Underfilling reduces capacity.
Pro Tip: After 40 to 50 handle turns, pause and unscrew the cover to check fill depth. Adjust as needed before finishing.
Finish and Test the Setup
Final touches ensure your reel is ready for the water. Skip this step and you may face problems on your first cast.
Run Line Through All Guides
Once spooled, thread the line through the remaining rod guides to the tip. This preps it for casting and checks for snags.
Set the Drag Properly
Turn the drag knob until it is snug but not tight. You should be able to pull line out under firm pressure. This protects the reel during fights with fish.
Secure the Handle
Wrap the line a few times around the reel handle. This keeps it from unraveling during transport or storage.
Attach a Lure and Test Cast
Tie on a lightweight lure or hook. Press the button and make a few short casts. Watch for smooth line release, no piling or snagging, and consistent flight.
Red Flag: If line jumps or tangles, check fill level or re-spool with better tension.
Prevent Common Spooling Mistakes
Avoid these errors for trouble-free performance. Learning what not to do is just as important as the correct technique.
Do Not Ignore Line Twist
Monofilament naturally twists during manufacturing. Spooling in direct sunlight worsens this. Do it indoors or in the shade to reduce memory.
Avoid Loose Tension
Loose winding creates slack layers that tangle when casting. Always maintain light, steady pressure with your free hand.
Never Overfill the Spool
Excess line rubs against the cover and can burst off during a cast. Stick to the 1/8 inch to 3/16 inch rule for safety and performance.
Expert Note: Fluorocarbon is stiffer than monofilament. Use slightly less tension when spooling to avoid cracking.
Maintain Your Reel Long-Term
Proper care extends line and reel life. Regular maintenance prevents costly repairs and keeps your gear performing optimally.
Re-Spool Every 3 to 6 Months
Even unused line degrades. Replace every season or when you see fading or discoloration, fraying or nicks, or poor casting performance.
Rinse After Saltwater Use
If fishing in saltwater, rinse the reel with fresh water and dry thoroughly. Salt corrodes internal parts and damages line.
Loosen the Drag After Fishing
Relieve spring tension by backing off the drag knob. This preserves the drag system over time.
Warranty Tip: Most spincast reels, Shakespeare and Zebco included, have lifetime warranties. Improper spooling will not void it unless damage occurs from misuse.
Frequently Asked Questions About Spooling a Spincast Reel
What type of line should I use for a spincast reel?
Monofilament and fluorocarbon both work well for spincast reels. Choose your pound test based on your rod specifications, typically 6 to 12 pounds for general freshwater fishing. Monofilament is more forgiving for beginners, while fluorocarbon offers better sensitivity and abrasion resistance.
How do I know when to replace my fishing line?
Replace your line when you notice fading or discoloration, fraying or nicks, brittle texture, or poor casting performance. Even without visible signs, re-spool every 3 to 6 months for optimal performance.
Can I spool a spincast reel in direct sunlight?
Avoid spooling in direct sunlight because heat increases line memory. Work indoors or in the shade to reduce coiling and tangling. This simple adjustment significantly improves your line’s performance.
Why does my line keep tangling after re-spooling?
Tangling usually results from loose tension during winding, overfilled spool, or improper knot placement. Check that you maintained light, consistent pressure while winding. Verify the fill level is 1/8 inch to 3/16 inch below the rim. Ensure your knot is secure and positioned flat against the spool.
How long does it take to spool a spincast reel?
With practice, the entire process takes 10 to 15 minutes. First-time spooling may take 20 to 30 minutes as you learn each step. The preparation and threading steps take the most time initially.
What happens if I overfill the spool?
Overfilled line rubs against the spool cover and can burst off during a cast, creating a bird’s nest tangle. It also causes uneven retrieval and reduces casting distance. Stay within the 1/8 inch to 3/16 inch fill level for best results.
Key Takeaways for Spooling Your Spincast Reel
Spooling a spincast fishing reel is a quick, essential skill that boosts performance and prevents frustration on the water. By following these steps, cleaning the reel, threading correctly, tying a secure knot, winding with tension, and setting the right fill level, you will cast farther, fish longer, and avoid mid-day line failures.
The most critical factors for success are maintaining light, consistent tension during winding and keeping the fill level between 1/8 inch and 3/16 inch below the spool rim. Skipping these details leads to tangles and poor casting. The double overhand knot provides the most secure connection, and checking your work mid-fill prevents mistakes.
Keep this guide handy for your next re-spooling session, and always match line type and test to your rod. With practice, you will have your reel ready in minutes, every time.