

You’ve just landed a big catch, and your favorite lure did the job perfectly. Now it’s caked in fish slime, algae, and grime. Left uncleaned, that same lure could lose its shine, corrode, or fail on your next trip. Cleaning fishing lures isn’t just about keeping them looking good. It’s essential for maintaining performance, extending gear life, and saving money over time. Saltwater anglers understand this better than anyone. Without proper care, hooks rust, joints stiffen, and paint fades fast.
Even freshwater lures suffer from organic buildup, dirt, and UV damage. The good news is that most lures can be restored to near-factory condition using simple tools and household products. Whether you’re reviving a forgotten crankbait pulled from the depths or maintaining gear after every outing, this guide delivers proven cleaning steps, rust removal techniques, safe chemical use, and protective finishing tips.
Remove Hooks and Split Rings Before Cleaning

Before any scrubbing begins, remove all metal hardware from the lure. This is the most important first step, and it matters for both safety and cleaning effectiveness.
Why Lure Hardware Must Come Off First
Treble hooks and split rings are the weakest components on any lure. They rust faster than any other part, especially after saltwater exposure. Even when they appear fine, microscopic corrosion weakens them and increases the chance of failure when a trophy fish strikes. Removing hardware also gives you full access to hidden areas like eyelets, hook hangers, and lip mounts where gunk accumulates.
Use wire cutters or a hook cutter to snip through treble hooks and split rings. Do not try to pry them open with pliers. Cutting is faster and safer. Once removed, set aside replacement parts including fresh treble hooks and split rings in the correct gauge and size for your lure.
Pro Tip: Many anglers skip reattaching the front hook on jointed lures. This reduces snags without significantly impacting catch rates, especially in weedy or rocky waters.
Rinse With Warm Water First
With the lure now hook-free, rinse it thoroughly under warm running water. This initial rinse loosens and removes loose particles that could scratch the paint during later cleaning steps.
What the Initial Rinse Removes
This first rinse removes sand and grit, algae and plant debris, fish slime and blood residue, and surface salt crystals. The last point is critical for saltwater lures. Use a kitchen sink sprayer or garden hose with a gentle spray nozzle. Avoid high pressure, which can force water into sealed compartments or damage delicate joints. Do not scrub during this step. Letting loose particles wash away prevents scratching the paint or clear coat later.
Visual Cue: If the water runs cloudy or leaves a film, there’s still organic buildup remaining. Proceed to the degreasing step.
Apply a Safe Degreasing Agent
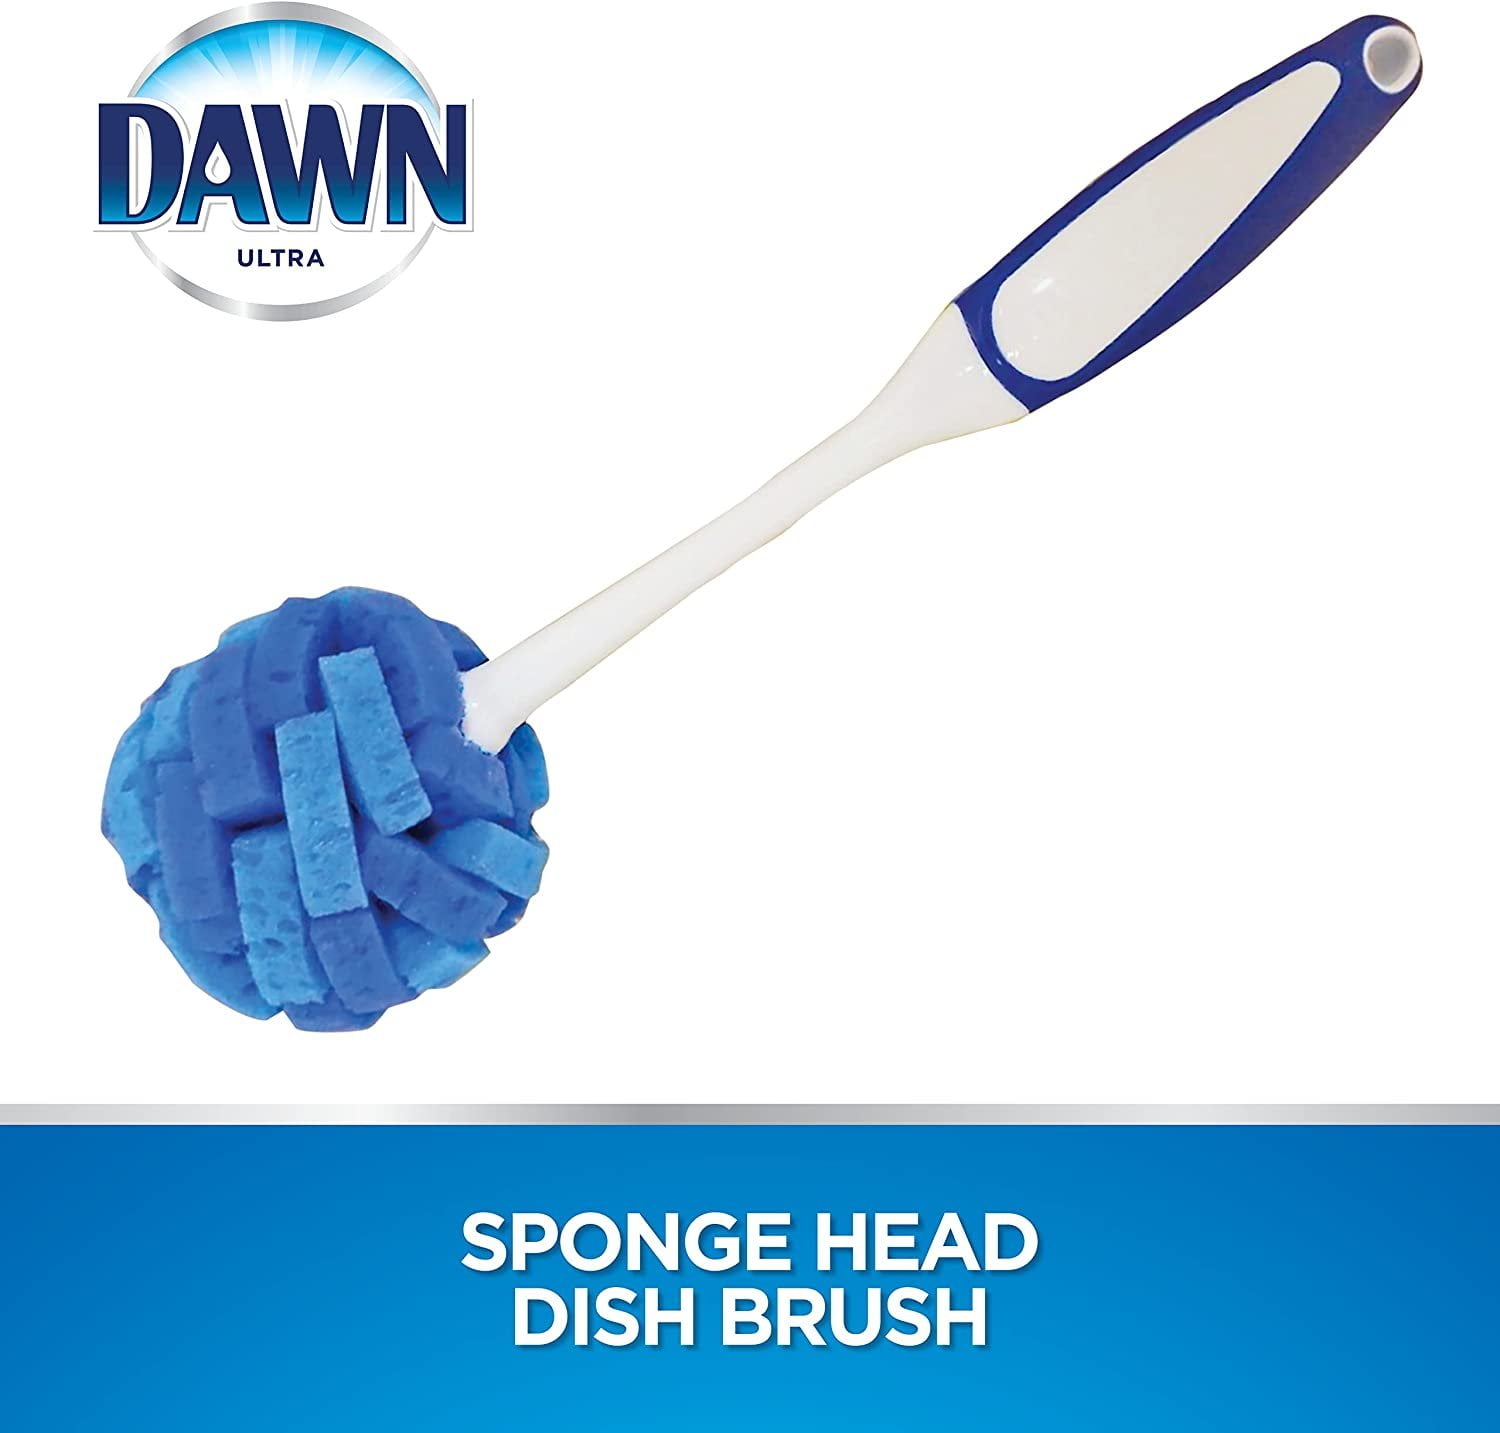
Grime sticks to lures because of oils. Fish slime, sunscreen, and environmental pollutants create a greasy layer that dulls reflection and attracts more dirt. You need a degreaser that cuts through this buildup without harming the lure’s finish.
Choosing the Right Cleaner
For light soiling, Dawn dish soap works well. Apply a drop to a damp microfiber cloth or soft toothbrush. Gently wipe the entire surface using circular motions. Focus on seams, lips, and joint crevices.
For heavy buildup, use Simple Green All-Purpose Cleaner. Mix one part concentrate with eight parts water for routine cleaning. Use full strength for lures pulled from murky water or stored for months. Spray on, wait one to two minutes, then scrub with a soft-bristle toothbrush.
Spot-Test First: Especially on vintage or hand-painted lures, test any cleaner on a small area like the belly to ensure it doesn’t lift paint or haze the finish.
Avoid abrasive pads or steel wool completely. These will scratch and ruin the lure’s appearance permanently.
Treat Rust and Tough Stains
Even after degreasing, metal eyelets and attachment points often show rust or mineral deposits. Left untreated, this spreads and weakens the lure’s structure.
Using Bar Keepers Friend Safely
Bar Keepers Friend Soft Cleanser is the top choice among anglers for safe, effective rust removal. Apply a small amount to the lure body and let it sit for two to three minutes. Scrub with a toothbrush, focusing on eyelets, lip mounting screws, and split ring attachment points. Rinse well.
If rust remains, make a paste with powdered BKF and water. Work it into affected areas and wait three to five minutes. The lactic acid in BKF dissolves oxidation without damaging plastic or paint. Scrub again and rinse thoroughly. Repeat as needed until the metal shines.
Why BKF Works: Its mild acidic formula breaks down rust chemically rather than abrasively, preserving finishes while restoring metal.
Alternative: Non-Alcohol Toilet Bowl Cleaner
For extreme cases like lures recovered from lake bottoms, some anglers use non-abrasive, non-alcohol toilet bowl cleaner. Spray directly onto the lure and use a wet toothbrush to scrub tight spots. Limit contact to twenty to thirty seconds, then rinse immediately. Repeat if necessary.
Critical Warning: Never use cleaners containing alcohol. They strip clear coatings, fade paint, and expose the lure body to water damage and UV degradation.
Final Rinse and Dry Completely
After all cleaning agents are applied and scrubbed, perform a complete final rinse. Hold the lure under warm running water, rotating it to ensure full coverage. For jointed lures, flex the body slightly to flush out residue from hinges and cavities.
Take the lure outside and use a hose spray if possible. This ensures no chemical traces remain in hard-to-reach zones like lip channels, belly hook hangers, and internal weight systems.
Once rinsed, shake off excess water and wipe dry with a clean microfiber cloth. Let air-dry completely before storage or reassembly.
Warning: Trapped moisture leads to internal corrosion, especially in saltwater-exposed lures.
Lubricate Joints in Articulated Lures
Jointed lures like glide baits and segmented swimbaits depend on smooth articulation for lifelike action. Cleaning often strips natural lubrication, leaving them stiff.
Restoring Movement With Household Oil
Use a light penetrating oil such as Lucas Tool Box Buddy or similar. Apply one drop to each joint. Work the lure back and forth by hand for twenty to thirty seconds. Continue until movement feels fluid and unrestricted.
This step prevents stiff or jerky action, internal rust from moisture ingress, and wear on plastic connectors.
Note: Skip this step for solid-body lures like jerkbaits or topwater poppers. They don’t have moving parts.
Polish and Wax for Protection
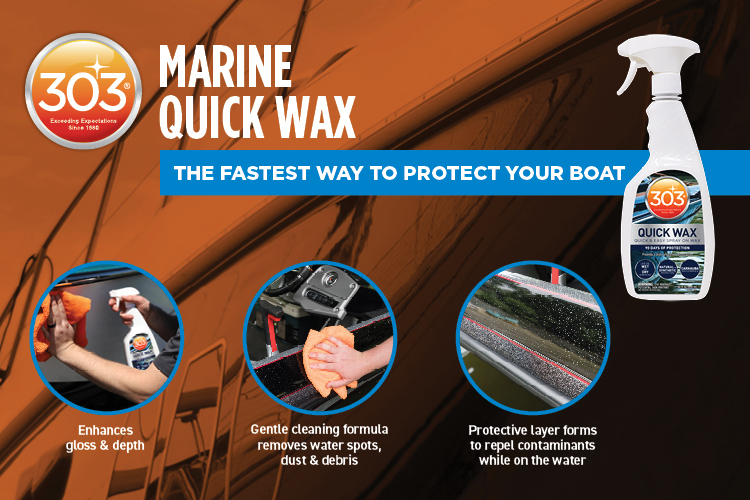
A clean lure performs better, but a waxed lure lasts longer and attracts more strikes. After drying, spray a fine mist of marine-grade spray wax over the entire lure.
Step-by-Step Wax Application
Hold the spray can six to eight inches away and apply a light, even coat. Rotate the lure and apply a second mist. Wait five to ten seconds, then wipe dry with a clean microfiber towel. Buff with a second dry cloth for maximum gloss.
Benefits include enhanced light reflection, water and grime repellency, and protection against UV damage and future staining. Optional: Polish metal eyelets with silver or metal polish and buff to a shine for better presentation and resale value.
Reassemble With Fresh Hardware
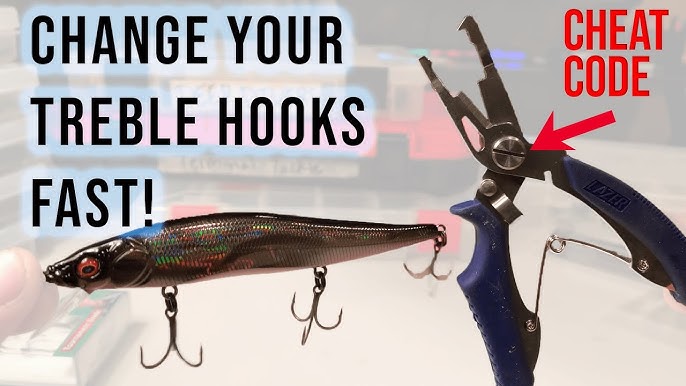
Now it’s time to put your lure back together, stronger and sharper than before. Use pliers to open a new split ring and thread it through the rear eyelet. Attach a replacement treble hook and close the split ring securely. Repeat for the front eyelet if desired.
Ensure hooks spin freely and align with the lure’s body. Misaligned hooks affect action and reduce hookup rates.
Saltwater Tip: Use stainless steel or nickel-coated split rings and corrosion-resistant hooks to extend life in marine environments.
Special Cases: When to Adjust Your Approach
Not all lures need the same treatment. Tailor your method based on environment and condition.
Freshwater Lures
Clean with Dawn soap or diluted Simple Green after each trip. Perform a deep clean with BKF every three to six months. Replace hardware annually or as needed.
Saltwater Lures
Rinse immediately after use, even a quick freshwater dunk helps. Perform a full clean with BKF or marine cleaner post-trip. Replace split rings and hooks every one to two outings in harsh conditions.
Recovered or Forgotten Lures
These often sit underwater for weeks or months. Use the full restoration protocol. Remove all old hardware and soak briefly in BKF paste or toilet bowl cleaner. Scrub joints and eyelets aggressively. Lubricate and wax thoroughly. Rebuild with new components.
Real-World Result: Anglers have revived lures worth fifteen to twenty dollars each with less than fifty cents in supplies and twenty to thirty minutes of work.
Vintage or Collectible Lures
Preserve value with gentle care. Wipe with mild soapy water only. Never use BKF, toilet cleaner, or abrasives. Dry immediately and store in a cool, dark place. Avoid oil or wax, as these can degrade old finishes.
Prevent Future Damage With Smart Maintenance
Cleaning is reactive, but prevention keeps lures in top shape between uses.
Maintenance Schedule
After every fishing trip, rinse with fresh water, dry, and inspect hooks. Monthly during active use, perform a full clean with soap or Simple Green. Every three to six months, do a deep clean with BKF for rust prevention. When retrieving old lures, follow the complete restoration process.
Smart Storage Tips
Store lures clean and dry. Use tackle boxes with desiccant packs to absorb moisture. Keep away from direct sunlight to prevent UV fading. Separate jointed lures to avoid pressure on hinges.
Pro Insight: Regularly cleaned lures show less paint chipping, stronger buoyancy, and smoother action over a season compared to neglected ones.
Frequently Asked Questions About Cleaning Fishing Lures
Can I use vinegar to clean fishing lures?
Vinegar is acidic and can damage some lure finishes. Bar Keepers Friend is a better choice because it uses lactic acid specifically formulated to remove rust without harming paint or plastic.
How often should I deep clean my fishing lures?
Deep clean freshwater lures every three to six months with BKF. Saltwater lures should receive a full deep clean after every trip due to higher corrosion risk.
Should I oil my jointed lures after every clean?
Apply oil to jointed lures after each deep clean or whenever the action feels stiff. This maintains smooth articulation and prevents internal corrosion.
Can I clean soft plastic lures the same way?
No. Soft plastics require different care. Hard-bodied lure cleaning methods can damage soft plastic. Clean soft plastics separately with mild soap and water only.
What happens if I leave salt on my lures?
Salt accelerates corrosion on hooks, split rings, and metal eyelets. It can also draw moisture from the air and cause internal rust over time. Always rinse saltwater lures thoroughly with fresh water.
Is it worth replacing hooks on old lures?
Yes. Replacing hooks and split rings is inexpensive and ensures optimal hook sharpness and strength. Old rusty hardware fails at critical moments and can lose fish.
Key Takeaways for Cleaning Fishing Lures
Cleaning fishing lures takes just minutes but pays off in better performance, more strikes, and long-term savings. Always remove hooks and split rings before cleaning to access hidden areas and prevent injury. Use soft tools only like toothbrushes and microfiber cloths to prevent scratches. Avoid alcohol-based cleaners entirely because they destroy clear coats and fade paint. Use lactic acid products like Bar Keepers Friend for safe, effective rust removal that won’t damage finishes. Lubricate joints in articulated lures after cleaning to restore natural swimming action. Apply spray wax to boost shine and create a protective barrier against future grime. Replace hardware regularly, especially after saltwater use, since hooks and rings degrade fastest. Store lures clean and dry, using desiccant packs if possible, because moisture is the enemy of performance and longevity.
Whether you’re a weekend angler or a saltwater veteran, a well-maintained lure box is a confidence booster and a secret weapon on the water. Start cleaning today and turn worn-out gear into like-new hunters.





