
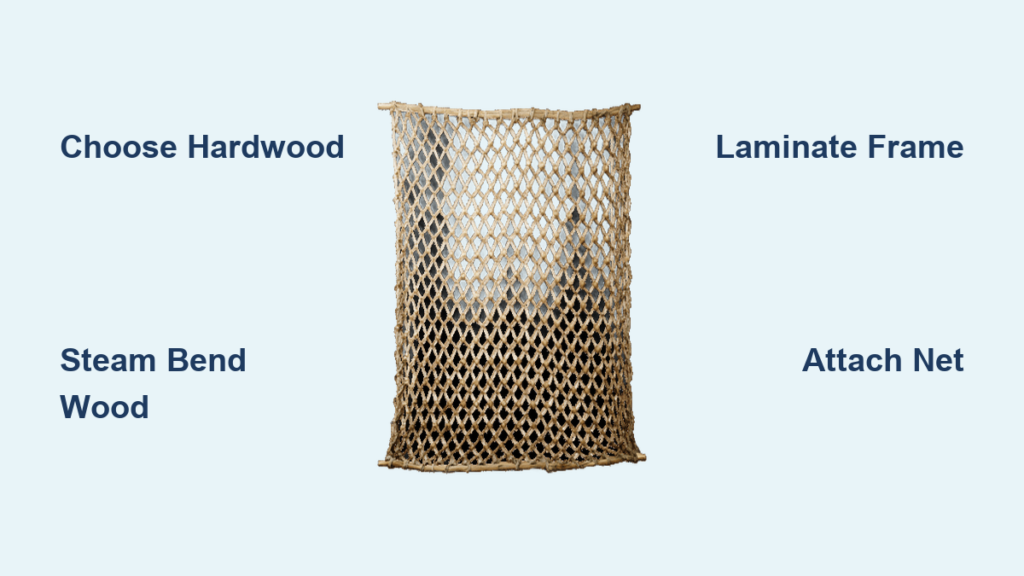
Building a wooden fishing net frame transforms a simple tool into a functional work of art. Whether you’re crafting a landing net for trout or a dip net for panfish, a custom wooden frame offers unmatched durability, lightweight handling, and heirloom-quality craftsmanship. This guide walks you through every step, from selecting the right hardwoods to attaching the finished net, using proven steam bending and lamination techniques.
Choose the Right Wood for Your Net Frame

Selecting the appropriate wood is the foundation of a durable, functional net frame. The best woods combine bendability when steamed with long-term resistance to water and UV exposure. Avoid softwoods like pine for high-stress builds.
The top choices include white ash, which steams and bends exceptionally well while remaining strong and widely available. European Beech holds its shape perfectly after bending, making it ideal for laminations. Black Walnut adds rich color and moderate flexibility, working beautifully as outer layers. English Oak is dense and durable, though it responds better to soaking than steaming. Mesquite offers natural weather resistance and makes an excellent choice for handles.
Pro builders often use contrasting woods for visual impact. One popular combination pairs walnut outer layers with a purple heart center, creating a striking frame that stands out on the water.
Build a Bending Form for Consistent Hoop Shape

Your bending form determines the final shape of the net hoop, so accuracy here ensures a symmetrical, functional frame. This mold serves as the foundation for steam bending and lamination.
To build the form, trace a commercial net insert onto 3/4-inch plywood and cut out the shape using a jigsaw or bandsaw. Reinforce with a second plywood layer glued and screwed underneath for stability. Mark the handle alignment line on the base to ensure proper orientation during assembly.
Drill 1-3/4-inch holes around the outer edge of the form every 4 to 6 inches. These holes allow C-clamps to press the wood tightly against the mold during bending. Optional: coat the form with paste wax or Sellotape to prevent glue adhesion during the clamping process.
Prepare and Soften Wood Strips for Bending
Consistent strip dimensions prevent weak spots and ensure even bending throughout the lamination. Cut strips to 1/8 to 5/32 inch thickness using a table saw or planer, with widths between 3/4 inch and 7/8 inch. Each strip should measure approximately 74 inches long to wrap the full hoop with overlap. Always cut at least one extra strip per type to replace any that crack during bending.
Two methods prepare wood for bending. The cold soak method involves submerging strips in water for 24 hours, which works best for English Oak and other dense hardwoods. The steam bending method uses a homemade steam box for 15 to 30 minutes and works best with beech, walnut, white ash, and mesquite. After steaming, let strips rest in foil for a few minutes to retain heat.
Warning: Cracks can occur at tight curves. Repair any breaks with epoxy after drying.
Laminate and Clamp the Frame

Lamination creates a strong, stable hoop that resists splitting and withstands decades of use. Apply waterproof glue such as Titebond III, Gorilla Polyurethane, or epoxy to all strips. If using polyurethane glue, mist the wood lightly before application to activate curing. Use a paint roller for fast, even coverage.
Align center marks at the top of the hoop, then bend the stack onto the form starting at the top and working outward. Clamp alternately around the curve using 30 or more C-clamps for even pressure. Insert a pre-shaped handle blank and clamp across the laminations to draw everything together tightly.
Leave the frame clamped for at least 24 hours, with 48 hours being better for polyurethane glues. Avoid moving the form during curing, as vibrations can shift alignment. After unclamping, inspect for gaps or springback before proceeding.
Route the Net Groove and Drill Attachment Holes

The groove holds the lashing cord that secures the net, so precision here affects the final functionality. Use a 1/16-inch slot cutter or V-groove bit on a router table. Set depth to 1/8 inch by wrapping electrical tape around the bearing to control the cut. Run the groove around the entire hoop, stopping just above the handle, and keep the cut dead center of the frame thickness.
For hole placement, measure the hoop’s outer edge between handle junctions. Count the loops on your net insert, then divide the length by the number of loops minus one to determine spacing. Wrap masking tape around the hoop and mark tick intervals, then drill 1/16 to 7/64-inch holes perpendicular to the groove. Countersink with a Dremel and ball-end bit to prevent fishing line snagging.
Pro Tip: Clamp the net insert in place during drilling to verify alignment before committing to hole positions.
Shape and Finish the Handle
The handle should fit naturally in your hand for extended use without fatigue. Use solid mesquite, walnut, or cherry. Shape with a bandsaw, then refine with rasps and sanders. Include a shallow recess on the inside to mark the top side for easy orientation.
Add a through-hole or eye screw for attaching a wrist lanyard. The handle is laminated into the frame during the main glue-up, so prepare it beforehand and include it when clamping the lamination stack.
After shaping, fill any small gaps between laminations by mixing PVA glue with fine sawdust from the same wood. Press into gaps and sand flush once dry. Progress through grits from 80 to 400, using an oscillating spindle sander for inside curves.
Apply Waterproof Finish for Marine Durability
A durable finish ensures decades of outdoor use. The best options include Daly’s SeaFin, which is marine-grade and UV-resistant. Spar varnish offers flexibility ideal for outdoor exposure. Tung oil provides a natural look with deep penetration. Clear urethane works well when applied in 5 to 7 thin coats.
Apply thin coats with a brush or rag, waiting 30 minutes between applications. Lightly sand with 320 grit or steel wool between coats, then wipe clean. Repeat for 5 to 7 total coats. Final polish with rubbing compound achieves a silky finish.
Avoid scorching the finish when melting synthetic twine knots during net attachment.
Attach the Net to Your Frame
Secure the net using heavy braided Dacron or 1/16-inch lashing cord. Tie a starting knot in a hole near the handle, ensuring the knot stays in the groove but cannot pass through the hole. Weave the cord through the hole, through the net loop, then through the next hole. Keep the cord seated in the groove and maintain even tension to prevent sagging.
Tie off at the opposite end and melt synthetic knots slightly to secure them. Use rubber-coated mesh for gentle fish handling or silicone-coated nylon to resist algae and mildew. Commercial options like Max Catch or Cumings Nets provide reliable pre-made inserts.
Test the completed net on the water. Check that the frame stays rigid under load, the net deploys and collapses smoothly, and no snag points exist. Steam-bent laminated frames consistently outperform flat-cut or plywood alternatives in both strength and feel.
Frequently Asked Questions About Making a Fishing Net Frame
What is the best wood for steam bending a fishing net frame?
White ash is the top choice for steam bending because it combines excellent flexibility with strength and wide availability. European Beech holds its shape perfectly after bending, making it ideal for the inner laminations of a multi-layer frame.
How long does it take to make a fishing net frame?
The actual building time spans 2 to 3 days, but you need to account for 24 to 48 hours of clamping time while the glue cures. Plan for a weekend project if working evenings during the cure time.
Can I make a net frame without a steam box?
Yes. The cold soak method works well for dense hardwoods like English Oak. Submerge strips in water for 24 hours, then bend directly onto the form. This approach eliminates the need for steam equipment while still achieving clean bends.
Why does my frame crack during bending?
Cracks occur when wood is bent beyond its flexibility threshold, particularly at tight curves. Thicker strips or more laminations distribute stress more effectively. If cracking happens, repair with epoxy after the wood dries completely.
How many coats of finish should I apply?
Apply 5 to 7 thin coats of marine-grade finish for optimal protection. Thin coats dry evenly and build up a durable barrier without runs or sags. Sand lightly between each coat for the smoothest result.
What holds the net to the frame?
A lashing cord threads through holes drilled around the hoop and weaves through the net loops. Heavy braided Dacron or 1/16-inch lashing cord provides strong, UV-resistant attachment. Keep the cord seated in the routed groove for a clean, snag-free connection.
Key Takeaways for Building Your Fishing Net Frame
Making a fishing net frame combines traditional woodworking with practical angling utility. The process rewards patience and precision with a tool that performs flawlessly on the water while showcasing your craftsmanship. Focus on selecting flexible hardwoods like ash, beech, or walnut, and invest time in building an accurate bending form.
Lamination adds tremendous strength to the frame while allowing you to create visual contrast with different wood species. Take your time with the glue-up process, using plenty of clamps and allowing full cure time before handling. The routed groove and carefully spaced holes ensure your net attaches cleanly without snagging fishing line.
Your finished frame should be lightweight yet rigid, beautiful yet functional, and built to last generations. Whether you use reclaimed barn wood or premium mesquite, this project results in a personal tool that enhances every fishing experience.





