You drop your lure through the ice, watch the depth, and wait. Suddenly, the line zips out. Fish on! Instead of reeling, you clamp down, engage the reel, and set the hook hard. That is the power of an inline ice fishing reel. These specialized reels let your lure fall freely without drag resistance, allowing fish to take the bait, turn, and run before you strike. This method leads to deeper hook sets and more solid catches, especially in clear, cold water where fish are cautious.
This guide covers everything you need to know about how to use an inline ice fishing reel, from spooling and dropping to jigging and setting the hook. Whether you are new to the system or refining your skills, these steps will maximize your success on the ice.
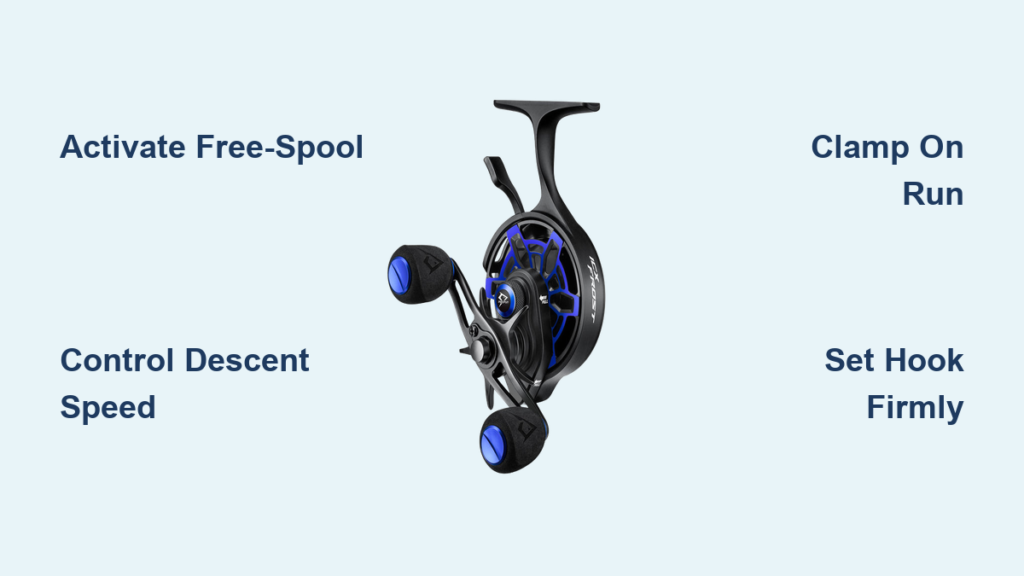
Master the Free-Spool Mechanism
Inline reels shine because of their free-spool function, which allows the spool to spin freely when activated. This means your lure drops naturally, mimicking injured prey. No drag tension means no resistance. Fish can inhale the bait without feeling unnatural pull.
Activate Free-Fall Correctly
Press the free-fall button to disengage the reel brake system. Once pressed, the spool spins freely, letting your lure descend without manual stripping. This is ideal for light jigs or deep-water presentations. Release the button or turn the handle slightly to stop the drop.
Pro Tip: On most models like the 13 Fishing Blackberry 6061 or Genz Spooler, a single click of the handle disables free-spool. Use this to stop instantly when the lure hits bottom.
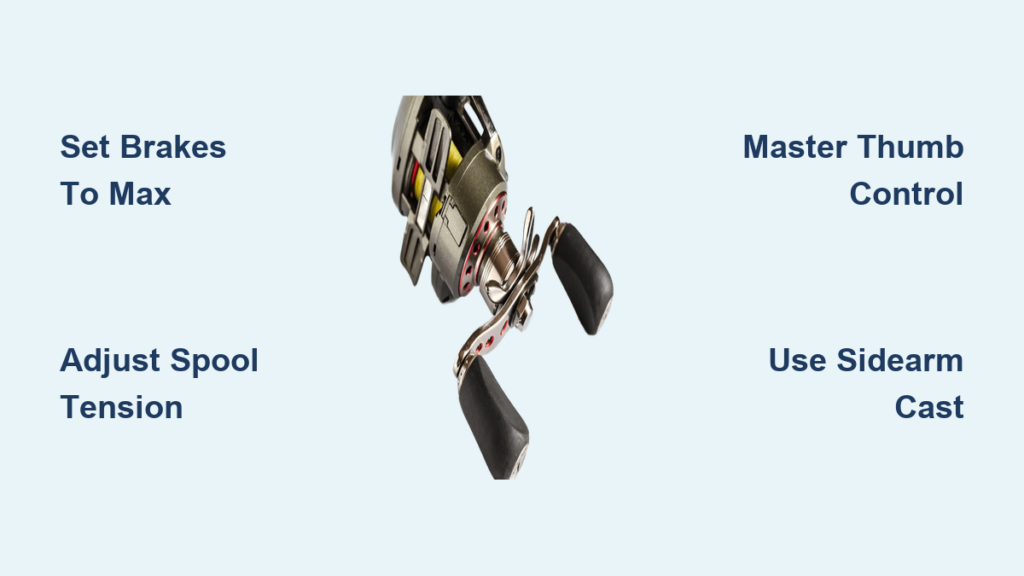
Adjust Tension Per Lure Weight
Use the tension knob to fine-tune how fast your lure sinks. Think of it like a baitcaster spool control.
• Loosen for fast drops with heavy jigs (1/8 oz or more).
• Tighten for slow, controlled descent with buoyant or micro lures (1/32 oz).
Test before each cast. Different holes, depths, and currents demand adjustments. A properly tensioned spool prevents overruns while maintaining natural action.
Lower the Lure: Choose the Right Method

How you lower your lure depends on depth, jig weight, and reel model. Use one of three proven techniques.
Full Free-Spool Drop
Best for medium-depth water (15 to 30 feet) with standard jigs.
• Press the free-fall button.
• Let the lure drop unassisted.
• Watch for bottom contact or bobber stop.
• Disengage free-spool immediately to avoid bird nests.
Warning: Leaving free-spool engaged after the lure stops causes line overruns. Always stop the spool once the bait lands.
Finger Feathering for Deep Water
Best for depths over 30 feet or sensitive sonar work.
• Engage free-spool.
• Lightly press your index finger against the spool edge.
• Control descent speed in real time.
• Adjust pressure based on structure or fish movement seen on your flasher.
This method prevents tangles and gives you tactile feedback as the lure falls through thermoclines or brush.
Hand Stripping in Shallow Zones
Best for water under 15 feet or ultra-light rigs.
• Keep free-spool off.
• Strip line off the spool by hand.
• Keep your thumb on the spool lip to prevent backlash.
• Reel up slack after each jigging motion.
This technique offers maximum control and works well when using live bait or fluttering minnows.
Jig with Precision and Slack
Once your lure is at depth, it is time to trigger strikes. Inline reels excel at intermittent action fishing. Short, sharp movements followed by pauses produce the best results.
Use the Dead-Stick Indicator
This visual cue shows when the line is completely slack. When active, you know the fish can take the bait without resistance. Always return to this mode after jigging.
Execute Controlled Pops
• Lightly pinch the line between fingers.
• Pull up sharply (1 to 2 inches), then release.
• Return to free-spool immediately.
• Repeat every 10 to 15 seconds.
These rip-and-pause motions mimic dying baitfish, triggering reaction strikes from walleye and perch.
Try Subtle Twitches for Finesse
For pressured fish, use this approach.
• Use index finger to tap the spool.
• Create tiny vibrations in the lure.
• Hold still for 30 seconds or longer.
• Repeat.
This mimics a struggling micro-jig or live minnow, perfect for crappie and bluegill.
Set the Hook Like a Pro
This is where inline reels outperform spinning reels. The key is letting the fish commit before setting.
Follow the Hook-Set Sequence
- Free spool. Lure drops naturally.
- Fish takes, turns, runs. Spool spins freely.
- Clamp the spool. Stop rotation instantly with palm or finger.
- Engage the reel. Turn handle slightly to lock mechanism.
- Set the hook. Pull upward firmly.
Sequence: Free spool, fish runs, clamp, engage, set.
This timing ensures the fish has the bait deep in its mouth. Anglers report hooks setting under the tongue, even on light 4 to 6 lb test line.
Avoid Premature Sets
Resist the urge to set on the first tap. Many bites start as light nibbles. Wait for a sharp line movement, the spool spinning freely, or a visible run on your flasher. Then clamp and strike. Patience equals more fish in the bucket.
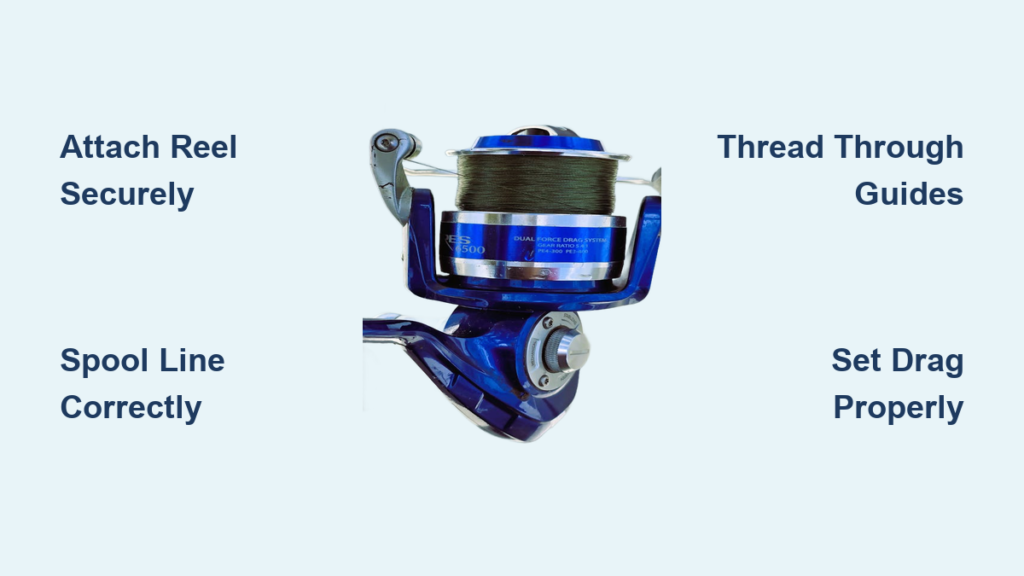
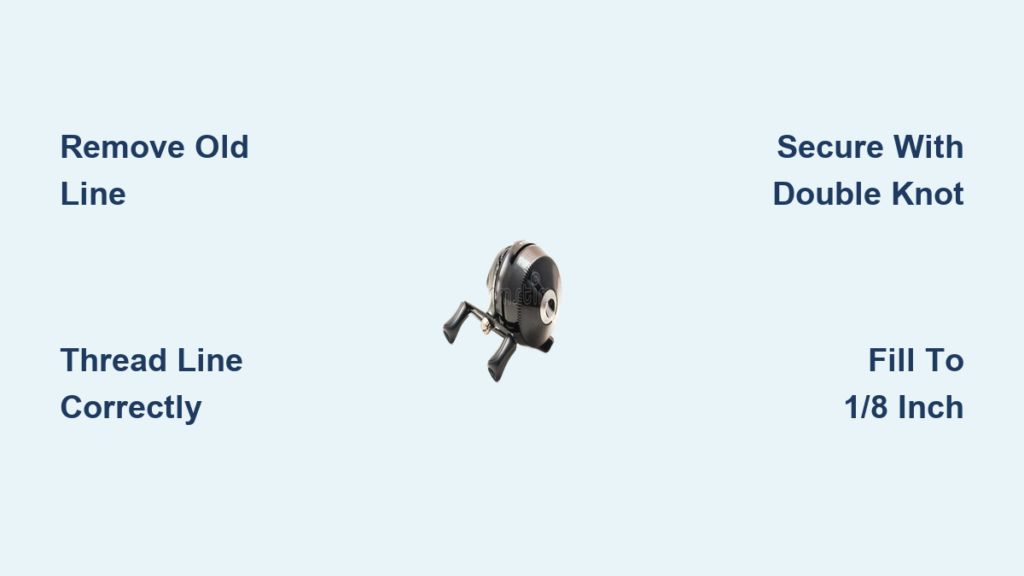
Spool the Reel Without Tangles

A poorly spooled reel causes twists, backlashes, and poor performance. Do it right the first time.
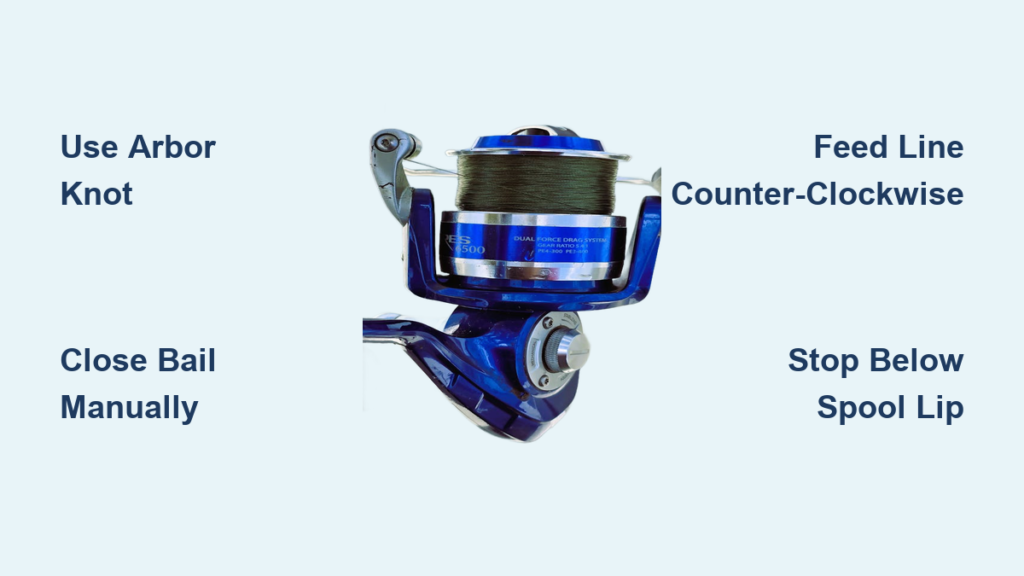
Tie a Secure Spool Knot
• Detach reel from rod.
• Thread line through the spool small loop.
• Pass tag end back through to form a loop.
• Wrap around standing line three times.
• Pull tight to form a clinch-style knot.
• Trim excess.
Never use a slip knot. It can loosen during use.
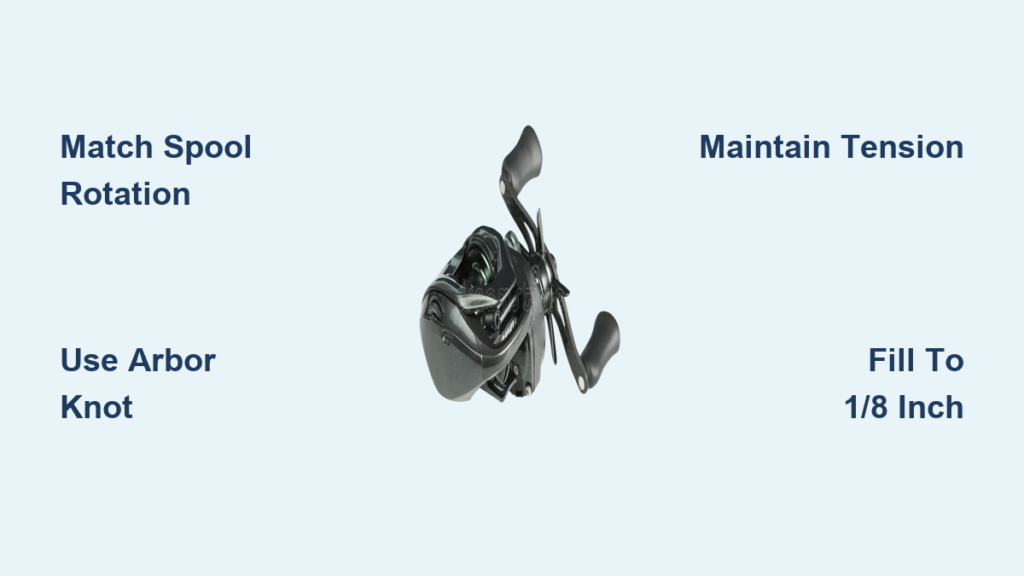
Wind Under Tension
• Reattach reel to rod.
• Run line through top guide.
• Stand on the line near the rod tip to apply tension.
• Reel in slowly, keeping spool aligned.
Tension prevents line memory and overlapping, which cause tangles.
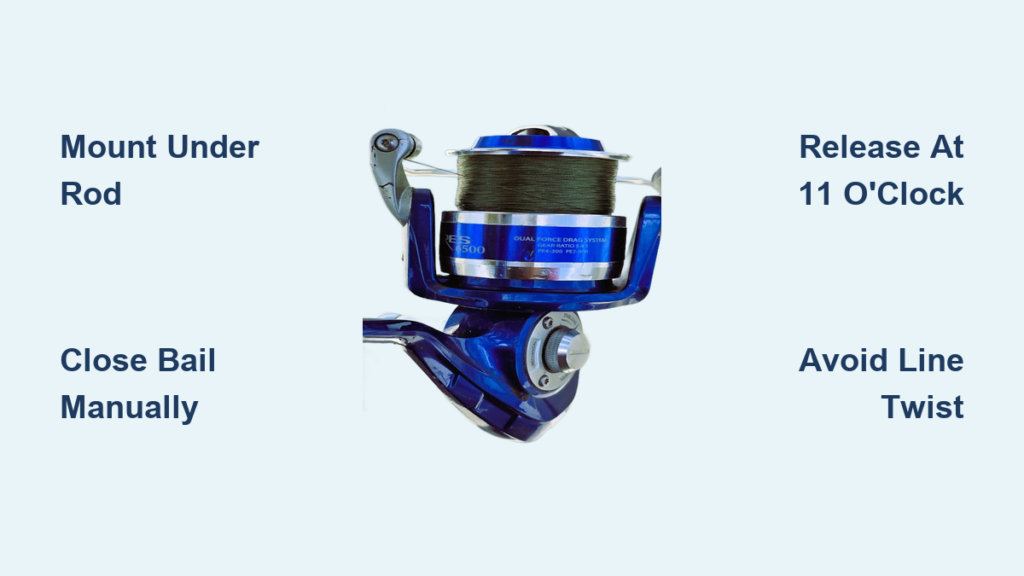
Prevent Line Twists
Ensure line exits from the top of the spool and enters the rod top guide. The line must be wound in the same direction as factory spools. If you see coils forming, stop, stretch the line, and resume under tension.
Optimize for Different Models

Not all inline reels work the same. Adjust technique based on your model.
13 Fishing Blackberry 6061
• Full free-spool with smooth engagement.
• Use palm guard to safely clamp spool.
• Ideal for bass and aggressive jigging.
• Tension knob is highly responsive. Adjust often.
Eagle Inline
• Budget-friendly with solid performance.
• May require hand stripping for 1/32 oz jigs.
• Clean free-fall button regularly. It is prone to ice buildup.
Genz Spooler Series
• Favored by pros for finesse.
• Ultra-smooth free-spool and precise tension.
• Use for live bait or micro-jigs under 1/64 oz.
• Requires minimal finger pressure.
CGi No. 8
• Upcoming model with enhanced ergonomics.
• Rumored to include anti-backlash braking.
• Watch for release updates and field tests.
Prevent Common Problems
Even experienced anglers face issues. Fix them fast with these solutions.
Stop Bird Nests
Cause: Free-spool left on after lure lands. Fix: Disengage free-spool the moment the lure hits bottom. Use finger feathering in deep water to maintain control.
Eliminate Line Twisting
Cause: Line exiting from bottom of spool. Fix: Re-spool ensuring line runs top-to-top (spool to rod guide). Stretch line during winding.
Fix Drag Slippage
Cause: Loose knot or under-tensioned spool. Fix: Retie with a three-wrap clinch knot. Apply foot tension while spooling.
Clear a Stiff Free-Fall Button
Cause: Ice or debris buildup. Fix: Wipe clean after each use. Store in a dry bag or case. Use a small brush to remove frozen slush.
Boost Success With Pro Tips
Small adjustments make big differences on the ice.
Match Line to Reel
Use 4 to 6 pound test fluorocarbon or braid for best results.
• Fluorocarbon: Invisible, sinks fast, great for clear water.
• Braid: Highly sensitive, floats. Use with a leader.
Avoid heavy lines. They reduce sensitivity and hinder free-spool performance.
Adjust Tension Before Every Cast
Water depth, current, and lure type vary between holes. Recalibrate the tension knob each time. A 1/16 oz jig in 8 feet of water needs less resistance than the same jig in 25 feet.
Practice Finger Control
Train your hand to feather the spool smoothly, clamp instantly on runs, and engage the reel with one handle click. Try drills at home. Drop a weighted line indoors, simulate a fish run, and practice the full hook-set sequence.
Inspect Hook Placement After Breakoffs
If the line snaps, check the hook. A deep set under the tongue means your timing was perfect, even if the fish got away. That is a win in technique.
Keep the Free-Fall Button Functional
Ice clogs the mechanism. After fishing, wipe down the reel, apply light lubricant if recommended, and store in a warm, dry place.
Frequently Asked Questions About Inline Ice Fishing Reels
What makes inline ice fishing reels different from spinning reels?
Inline reels feature a free-spool mechanism that allows the lure to descend without drag resistance. This mimics natural prey movement and gives you direct control over the spool. Spinning reels require pre-set drag tension, which can be either too tight or too loose for optimal hook sets.
How do I prevent bird nests with my inline reel?
Bird nests occur when free-spool stays engaged after the lure lands. Disengage free-spool immediately when the lure hits bottom. In deep water, use finger feathering to control descent and prevent overruns.
What line weight works best for inline ice fishing reels?
Use 4 to 6 pound test line. Fluorocarbon offers invisibility and fast sinking, while braid provides high sensitivity. Heavier lines reduce sensitivity and interfere with free-spool performance.
Can I use live bait with an inline ice fishing reel?
Yes. Inline reels work excellently with live bait. Use hand stripping in shallow water or finger feathering in deeper water to control the presentation. The free-spool mechanism lets live bait move naturally.
How do I know when to set the hook?
Wait for the spool to spin freely (indicating the fish has taken the bait and is running), then clamp the spool instantly and set firmly. Avoid setting on the first tap. Patience leads to deeper hook penetration.
Key Takeaways for Using Inline Ice Fishing Reels
Inline ice fishing reels give you unmatched control, sensitivity, and hook-set efficiency. By mastering the free-spool drop, precise jigging, and clamp-and-set technique, you will catch more fish, especially wary ones that reject unnatural presentations.
The core sequence remains the same regardless of model: let the fish take the bait, wait for the run, clamp the spool, engage the reel, and set firmly. This approach produces deeper hook sets and more solid connections.
Whether you are using a budget-friendly Eagle Inline or a high-end Genz Spooler, the principles apply. Adjust your tension before every cast, keep the free-fall button clean, and practice your finger control. With time, this system becomes second nature, and it will become your go-to tool for serious ice angling success.