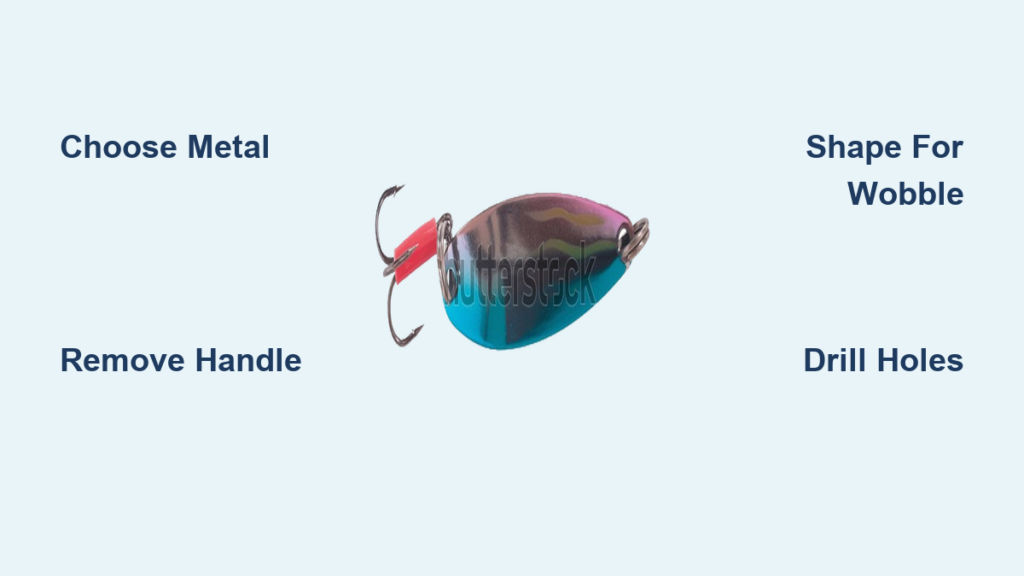
There’s nothing quite like the thrill of reeling in a trophy fish on a lure you built with your own hands. The spoon fishing lure, modeled after a simple kitchen spoon, has been a trusted tool for anglers for over a century. Its wobbling action mimics an injured baitfish and triggers aggressive strikes from predators like pike, muskellunge, bass, and salmon. While commercial spoons like the legendary Dardevle can cost $5 or more, making your own spoon lure costs just pennies and gives you full control over weight, shape, color, and action.
This guide walks you through every step of crafting a high-performance spoon lure from scratch. You’ll learn how to select the right metal, shape for optimal wobble, apply durable finishes like powder coat, and assemble rugged hardware that won’t fail under pressure. Whether you’re fishing in snag-prone cover or trolling deep for kings, a handmade spoon can outperform store-bought models when tuned correctly.
Choose the Right Spoon Material
The foundation of a great spoon lure starts with selecting the appropriate metal. Your choice affects weight, action, and durability in different fishing conditions.
Recycled Kitchen Spoons
Thrift stores, garage sales, and dollar shops are goldmines for spoon blanks. Stainless steel or silver-plated spoons are ideal because they’re corrosion-resistant, durable, and easy to modify. Look for larger tablespoons or serving spoons for pike and salmon. Teaspoons work well for trout and panfish. Avoid plastic or flimsy aluminum spoons because they lack the weight and vibration needed for effective action.
Solid Brass and Stamped Steel
Brass spoons offer higher density, making them excellent for deep trolling or fast currents. They also develop a natural patina that mimics aged baitfish. Stamped steel spoons, often found in bulk packs, are lightweight and perfect for shallow-running lures. Their thin metal cuts easily but may require reinforcement for heavy species.
Pre-Made Blanks vs. DIY Cuts
Commercial spoon blanks like 4.5-inch white steel blanks offer consistent shape and weight, ideal for repeatable builds. However, cutting your own from recycled spoons allows for unique profiles and immediate customization. For beginners, dollar store spoons provide a low-cost way to test designs before investing in premium materials.
Remove the Handle Safely
Handle removal is the first major step in transforming a kitchen spoon into a fishing lure. Proper technique ensures clean cuts and prevents injury.
Cut With a Dremel Tool
Secure the spoon in a vice. Use a Dremel with an EZ456 cut-off wheel and EZ402 mandrel to slice through the handle neck as close to the bowl as possible. Work slowly to avoid overheating the metal. A steady hand ensures a clean cut that won’t affect balance.
Alternative: Hacksaw Method
If you don’t have a rotary tool, a fine-tooth hacksaw works well. Clamp the spoon firmly and saw through the handle. As the cut nears completion, gently bend the handle back and forth. Metal fatigue will snap it off cleanly. This method reduces dust and sparks but takes more time.
Smooth All Sharp Edges
After cutting, the edge will be razor-sharp. Use a metal file or 932 aluminum oxide grinding stone to deburr and smooth the entire perimeter. This prevents cuts during handling and improves water flow around the lure. Never skip this step because rough edges create drag and can damage fishing line.
Shape for Maximum Wobble
The wobbling action is what makes spoon lures so effective. Proper shaping transforms a flat piece of metal into a lifelike swimming lure.
Flatten the Curve With a Hammer
Most kitchen spoons have a deep convex curve that causes excessive spinning. To create a controlled wobble, gently tap the back (convex side) with a hammer on a hard surface. Flatten it slightly, just enough to reduce erratic rotation. Over-flattening kills action while under-flattening causes tumbling.
Test the Swim Action
Before drilling, test the shape. Hold the spoon by the narrow end and roll it between your fingers. It should rotate smoothly without wobbling too violently. Alternatively, float it in a bucket of water and pull it forward. Watch how it moves and adjust by re-hammering until you achieve a balanced side-to-side shimmy.
Match Shape to Target Species
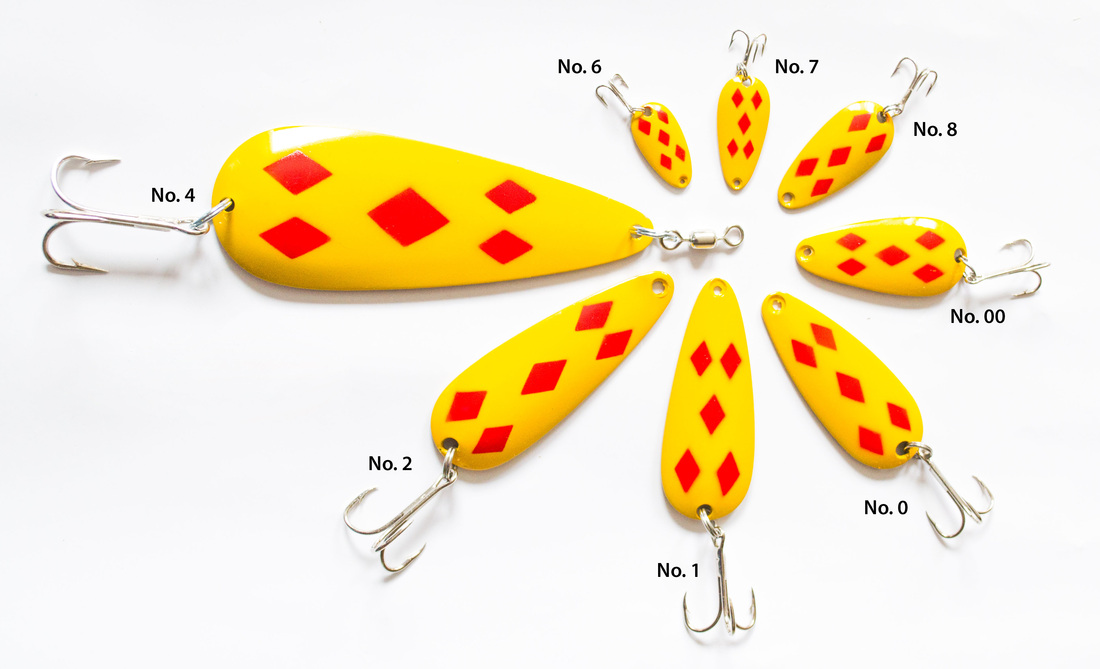
Different fish species respond to different spoon shapes. Long, thin spoons like the Krocodile style are cut from narrow spoons and ideal for fast trolling and triggering reaction strikes. Short, fat spoons like the Strobe style have a wider profile that creates a violent wobble, perfect for lethargic fish in cold water. The Len Thompson #1 profile is a proven classic with moderately curved rounded bowl for consistent action.
Drill Holes and Install Hardware

Proper hole placement ensures balanced action and secure hardware attachment. This phase transforms your shaped spoon into a functional fishing lure.
Mark and Punch Drilling Points
Use a center punch to mark two spots: one at the narrow tip and one at the widest part of the bowl. Accurate placement ensures balance. Misaligned holes cause the lure to veer or spin. Punch firmly to create a small dent because this keeps the drill bit from wandering.
Drill Clean 1/8-Inch Holes
Clamp the spoon in a vice. Use a 1/8-inch drill bit to bore through both marks. Apply light pressure and let the bit do the work. Drilling at an angle ruins balance, so keep the bit perpendicular to the spoon surface. Deburr the holes with a file or grinding stone afterward.
Attach Split Rings and Hooks
Slide a steel split ring into each hole. Use pliers to open and close them securely. On the wide end, attach a treble hook for general use or a 3/0 Siwash hook for large pike or salmon. On the narrow end, add a swivel like a Coastlock snap swivel to prevent line twist during retrieval.
Pro Tip: For King Salmon, use 80lb test split rings because they resist opening under brute force. Cheap bronzed trebles can bend, so upgrade to Owner or Eagle Claw hooks for reliability.
Paint for Visibility and Attraction

The right paint job makes your lure visible and attractive to fish. Proper preparation and application techniques ensure the finish lasts through many casts.
Prep the Surface for Paint
Even shiny spoons need prep. Sand the entire surface with coarse grit (80-120) to create tooth for paint adhesion. Wipe clean with acetone to remove oils and residue. Skipping this step leads to peeling paint after just a few casts.
Apply Liquid Paint or Fingernail Polish
For quick results, use auto body touch-up paint or colored fingernail polish on the convex side. Classic patterns include red-and-white stripes proven on pike and muskellunge, black with red speckles that mimic natural forage, and solid glow colors like green or white for night fishing. Let dry completely before handling, usually 2-4 hours.
Use Powder Coat for Durability
Powder coat creates a rock-hard finish that lasts years. Here’s how to apply it:
- Heat the spoon with a heat gun or plumber’s torch (30 seconds, don’t glow red).
- Sprinkle powder evenly over the hot surface. It melts on contact.
- Shake off excess over newspaper.
- Cure in a 350°F oven for 30 minutes.
- Apply two coats of urethane-based clear coat, baking between coats.
Warning: Never use enamel or lacquer clear coat because they soften and peel. Urethane is marine-grade tough.
Try Glow and Reflective Tape
Instead of paint, apply strips of glow tape or reflective tape. These options charge quickly with a flashlight, allow easy pattern changes, and provide flashing contrast as the spoon wobbles. They’re ideal for stained water or low-light conditions.
Tune Action and Prevent Failures
Even well-made spoons sometimes need adjustment. Learning to tune action separates amateur builds from high-performance lures.
Fix Excessive Spinning
If your lure spins like a propeller, the curve is too deep. Gently flatten the back with a hammer. Re-test in water and repeat until you get a side-to-side wobble instead of a roll.
Stop Lure from Tracking Straight
A lure that dives straight lacks attraction. Slightly increase the curve or add a heavier hook. You can also bend the split ring on the wide end to alter angle and induce wobble.
Ensure Correct Orientation
Always fish with the line attached to the narrow end and the hook on the wide end. Reversing this kills the natural swimming motion. The narrow tip cuts water first, letting the bowl flutter side to side.
Optimize for Target Species

Matching your lure to target species dramatically improves success rates. Size, weight, and color all play important roles.
Build Lures for King Salmon
Use solid brass or thick steel blanks. Finish in white-green glow, the most effective color at depth. Pair with 80lb split rings and 3/0 Siwash hooks. These lures handle fast tides and powerful runs.
Catch Pike and Muskie
Go big with 3-5 inch spoons. Use red-and-white or black-dot patterns. Use weedless treble guards if fishing near grass. Long, thin spoons trigger explosive strikes during trolling.
Fish for Bass and Trout
Downsize to teaspoon blanks. Lighter metal creates subtle action, perfect for finesse retrieves. Natural colors like silver or perch-patterned finishes work best in clear lakes.
Target Panfish
Tiny spoons made from cut-off spoon handles (1-1.5 inches) attract crappie and bluegill. Use small split rings and #6 or #8 hooks. Jig them vertically with light line.
Extend Lure Life and Performance
Proper maintenance keeps your handmade lures performing season after season. A little care goes a long way.
Recharge Glow Finishes
Glow-in-the-dark paint fades after repeated casts. Shine a UV light or bright flashlight on the lure for 30 seconds before each use. This recharges the phosphorescence for maximum visibility underwater.
Inspect Hardware Regularly
After each trip, check split rings for opening or corrosion, hooks for dullness or bending, and paint for chipping. Replace worn parts immediately. Don’t wait for failure on the water.
Store Lures Properly
Keep handmade spoons in a tackle box with dividers. Wrap hooks in felt or foam to prevent snagging lines. Avoid humid areas to prevent rust, especially on steel spoons.
Frequently Asked Questions About Making Spoon Fishing Lures
What is the best metal for making spoon lures?
Stainless steel and solid brass are the best metals for spoon lures. Stainless steel offers corrosion resistance and durability while brass provides higher density for deep trolling. Avoid flimsy aluminum or plastic spoons because they lack the weight needed for effective action.
How long does powder coat finish last on a spoon lure?
Properly applied powder coat can last 9 years or more without chipping. This significantly outperforms liquid paint or tape finishes. The key is proper surface preparation (roughing the metal) and using urethane-based clear coat for sealing.
Why does my spoon lure spin instead of wobble?
Excessive spinning means the spoon’s curve is too deep. Gently hammer the convex (back) side to flatten it slightly. Re-test in water after each adjustment until you achieve a side-to-side wobble instead of a propeller-like spin.
What hooks should I use for salmon fishing?
For King Salmon, use 3/0 Siwash single hooks paired with 80lb test split rings. Single hooks provide better hook-ups than treble hooks for salmon and resist bending under the massive force of these powerful fish.
Can I use regular paint on spoon lures?
Yes, but durability varies significantly. Auto body touch-up paint and fingernail polish work for quick projects. However, powder coat provides far superior durability. If using regular paint, always apply a urethane clear coat for protection.
Do spoon lure colors really matter?
Color matters based on water conditions and time of day. In clear water, natural silver or perch patterns work best. In stained water, use bright colors like green, red, or orange. For night fishing, solid glow colors are essential. The classic red-and-white stripe remains proven for pike and muskellunge.
Key Takeaways for Building Your Own Spoon Lures
Making a spoon fishing lure is more than a DIY project. It’s a way to outsmart fish with custom-tuned action, unbeatable durability, and zero fear of losing gear in snags. Start with a dollar store spoon to practice shaping and drilling before investing in premium materials. The most critical factor is achieving the right wobble, so test your lure in water before finalizing the build.
Spend extra time on surface preparation and finishing. Properly prepped surfaces with powder coat and urethane clear coat can last nearly a decade. Cheap out on hooks and split rings, and you’ll lose the fish of a lifetime. Upgrade to quality hardware like Owner or Eagle Claw hooks for reliability under pressure.
Build a variety of lures in different sizes, weights, and colors. Success varies by location, species, and conditions. What works for pike in your local lake may not work for salmon in another river. Experiment, take notes, and refine your technique. The next trophy might come on a lure you made yourself.