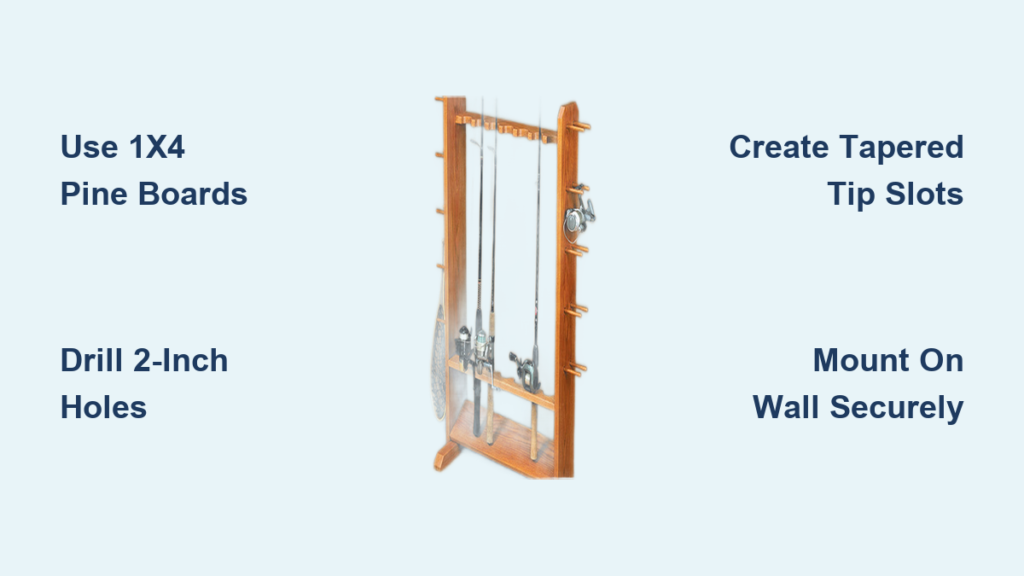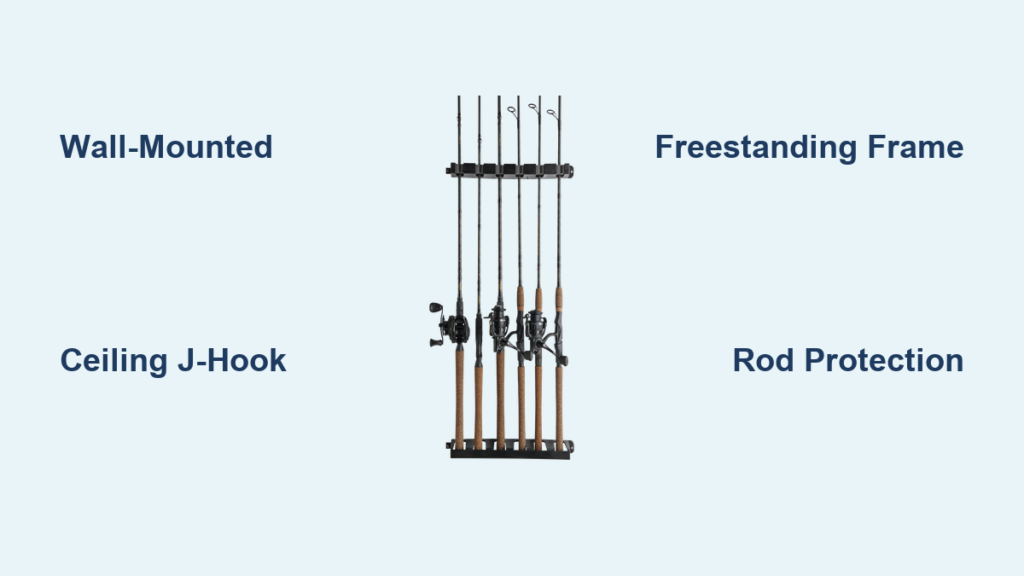

If you’re tired of leaning rods against the wall or tripping over gear at the bank, learning how to make a fishing pole holder is the smart, affordable solution. Whether you need a permanent storage rack for your garage, a rugged portable stand for riverbank fishing, or a sleek display piece for your cabin, DIY fishing pole holders offer unmatched customization and durability. This guide pulls from proven designs so you can build exactly what fits your space, budget, and fishing style.
You’ll get precise measurements, tool requirements, and pro tips to avoid common mistakes, all based on tested builds that hold rods securely and last for years.
Build a Wall-Mounted Wooden Rod Rack

This high-capacity wooden rack stores multiple rods vertically, protecting reels and tips while saving floor space in sheds or garages.
Cut and Prep the Boards
Use two 1×4 boards cut to 6 feet for the top and bottom rod holders. A third 1×4 serves as the backing board for wall mounting. Note that actual width of 1×4 lumber is 3.5 inches. Mark a centerline down each board at 1.75 inches from either edge. This line guides hole placement for consistent alignment.
Drill 2-Inch Rod Holes
Start hole markings 3 inches from the board end, then space each subsequent mark every 4 inches on-center. This 4-inch spacing prevents reels from touching. Use a 2.125-inch hole saw to drill 2-inch diameter holes through the top board. After drilling, trim 3.25 inches from each end of the top board for a clean, symmetrical look.
Transfer Holes to Bottom Board
Clamp the top and bottom boards together, perfectly aligned. Transfer hole positions from the top board to the bottom using a pencil. Drill the bottom board separately to avoid splintering the top piece. Sand all hole edges smooth with a random orbital sander or file. No rough spots remain that could damage rod finishes.
Shape Rod Retention Cutouts
Mark 1-inch wide openings on both sides of each hole using a square. These side cutouts let you slide rods in and out easily while keeping them seated. Cut with a jigsaw or router, maintaining consistent curve direction across all holes. Reverse the curve on the final hole for visual balance.
Add Tip Support Groove
On the bottom board, route a shallow groove along the centerline where rod tips rest. Make it 1/8 to 1/4 inch deep to prevent tip roll and add stability. If you lack a router, use a spade bit to drill overlapping shallow holes, then smooth with a chisel. Sand the entire board surface to prevent splinters.
Assemble and Mount to Wall
Glue and screw the top and bottom boards to the backing board using wood glue and #6, 2.25-inch trim head screws. Drill pilot holes every 5 to 6 inches to prevent splitting. Avoid placing screws near cutout zones. Start by securing the center and ends, then fill in the rest.
Mount the rack to wall studs using a stud finder. Secure with #10, 3.125-inch screws for maximum load support. Attach one side first, level the rack, then fasten the other side. This design holds many rods but cannot accommodate 8-footers due to ceiling height limits.
Build a Freestanding Wooden Rod Stand

Choose between a weatherproof outdoor rack or a refined poplar display stand. Both are stable, functional, and easy to build.
Construct a Weather-Resistant Vertical Rack
Use two 48-inch 1×8 boards for the rod holders and four 36-inch 1×6 boards for the back frame. Cut a centerline down each 1×8, then mark hole centers every 2 inches. Place an X on every other mark for 4-inch on-center spacing. This results in eight holes per board.
Drill through each X with a Forstner bit. Then cut each 1×8 in half along the centerline using a table saw. This creates two boards with perfect half-circle rod holders. Smooth edges with a router or sandpaper.
Assemble the back frame using Flex Glue and pocket hole screws. Attach an angled front board to push rods forward for a snug fit. Mount the half-circle boards at top and bottom. Reverse the top board so rods lean into it. Secure with glue and screws.
Attach 9.5-inch 1×3 feet to the base using pocket holes for stability. Apply Flex Seal Liquid with a brush, starting from the bottom up. This black, rubberized coating seals against moisture, UV rays, and rust. Let cure 24 to 48 hours before use.
Build a Poplar 10-Rod Display Stand
This elegant stand uses poplar for a smooth, attractive finish. Ideal for indoor use or as a gift.
Cut list:
• Two 1×3 boards at 30 inches
• Four 1×3 boards at 13.25 inches
• Two 1×4 boards at 30 inches
• One 1×5 board at 30 inches
• One 1×8 board cut into two 34-inch pieces and one 30-inch piece
Drill 3/4-inch holes in one top 1×3 cross brace for rod tips. In one bottom 1×3 brace, drill 1.75-inch holes for rod handles. This dual-hole design uses gravity to lock rods in place. Thin tips go up top, heavy handles seat below.
Sand all pieces smooth. Use pocket hole screws to assemble side panels, cross braces, and structural supports. The frame transitions from wide to narrow and back, creating a balanced, professional look.
For mobility, attach caster wheels to the base. Finish with stain and polyurethane for a polished appearance. Position any green streaks in the poplar on the underside to keep the front clean.
Create Portable PVC Bank Rod Holders
Perfect for anglers who fish from shore. Lightweight, stable, and built to handle strong fish and windy conditions.
Assemble a Split-Ring Clamp Holder
This design uses a steel stake and split-ring clamp to eliminate wobble in standard PVC holders.
Parts needed:
• 1.5-inch PVC Y-fitting
• 1-inch by 1.5-inch PVC reducer
• 2-foot length of 1-inch PVC pipe
• 3-foot steel stake (3/4-inch rebar)
• 1-inch galvanized split ring hanger with bolt and washers
• PVC primer and cement
Start by priming and cementing the reducer into the Y-fitting. Insert and tap fully, then let set for 30 seconds. Next, mark 12 inches from the bottom of the 1-inch PVC pipe. Drill a centered pilot hole, then enlarge to fit the bolt.
Insert the bolt into the split ring hanger, leaving a small portion protruding. Remove the hanger’s retaining screws, slide it over the PVC pipe, align the bolt with the drilled hole, then reattach and tighten. This creates a high-torque, slip-resistant mount.
Finally, prime and cement the top of the 1-inch pipe into the reducer. Optional: paint black for UV protection. To use, drive the steel stake deep into the ground at least 12 inches, slide on the holder, and tighten the bolt.
Field tests show zero wobble even with a Hellcat rod under full drag. The split ring is a game-changer for stability.
Build a Slotted Angle Iron Hybrid
This rugged, low-cost holder combines PVC pipe with industrial angle iron for maximum strength.
Materials needed:
• 10 feet of 1.25-inch or 1.5-inch PVC pipe (about $3.73)
• 10 to 12 feet of 1.5-inch by 1.5-inch slotted angle iron (about $10 per 4 feet)
• 1/4-inch carriage bolts, washers, nuts (about $5)
• Rustoleum spray paint (about $6)
Cut PVC into 12-inch lengths. Cut angle iron into 24-inch pieces, then grind one end to a point for easy ground penetration. About 12 inches will drive into the ground.
Paint angle iron with multiple coats of Rustoleum to prevent rust. Let dry completely.
Insert PVC into the angle iron channel, tops aligned. Drill through PVC and both sides of the angle iron using the slots as guides. Drill two holes at top and bottom.
Insert four 1/4-inch carriage bolts from the inside of the PVC outward through the angle iron. This keeps the interior smooth and rod-safe. Tighten with a 7/16-inch wrench.
Each unit costs about $6 and holds rods firmly even when a catfish pulls hard with proper drag settings. Lightweight, visible, and durable for repeated field use.
Explore Alternative Storage Ideas
Beyond the main builds, several budget hacks and niche solutions work for unique fishing or storage needs.
Try the Water Noodle Rack
For a no-cost solution, slice pool noodles and mount them to a board or fence. Cut 2-inch wide rings and space 4 inches apart. Slide rods through. The soft foam protects finishes and prevents slippage. Great for kids’ rods or temporary setups.
Mount on a Garage Door
Save floor space by installing rod holders on your garage door. Use the wall rack design but attach to a backing board secured to the door with L-brackets. Ensure rods don’t interfere with the door’s path. Ideal for frequent anglers with limited wall space.
Use Rustic Wood for Display
Knotty pine or unfinished red oak adds cabin charm. These woods are available pre-cut or as plans for rustic-style racks. Seal with matte polyurethane to preserve natural texture while protecting against moisture.
Integrate Into Cabinets or Benches
Build rod storage into tackle room furniture. Add half-circle cutouts to the side of a cabinet or under a bench overhang. Keeps rods accessible but out of the way. Perfect for organized fishing rooms.
Choose the Right Design for You

| Feature | Wall Rack | Weather Rack | Poplar Stand | PVC Split-Ring | Angle Iron |
|---|---|---|---|---|---|
| Best For | Garage storage | Outdoor use | Indoor display | Bank fishing | Heavy-duty fishing |
| Holds | 6+ rods | 8 rods | 10 rods | 1 rod | 1 rod |
| Cost | About $40 | Moderate | Moderate | Under $15 | About $6 |
| Weatherproof? | No | Yes | Needs finish | Yes | Yes |
| Tools Needed | Hole saw, router | Table saw, Forstner bit | Pocket hole jig | Drill, cement | Grinder, drill |
Key build tips:
• Always use 4-inch on-center spacing to prevent reel clashes
• Sand every edge thoroughly to prevent splinters that damage rods and hands
• Drive stakes at least 12 inches deep for wind and fish resistance
• Use interior bolts in PVC/metal hybrids for smooth interiors that won’t scratch rods
• Set proper drag on your reel because even the best holder cannot save gear if drag is too tight
Frequently Asked Questions About Making a Fishing Pole Holder
What is the best material for a DIY fishing pole holder?
The best material depends on your use case. For indoor garage storage, 1×4 pine or poplar wood works well and looks attractive. For outdoor or bank fishing, PVC pipe or powder-coated metal provide weather resistance and durability. Poplar offers the best balance of affordability and refined appearance for display pieces.
How much does it cost to build a fishing pole holder?
Costs vary widely by design. A basic wall-mounted wood rack runs about $40 in materials. PVC bank holders cost under $15 each. The angle iron hybrid is the cheapest at approximately $6 per unit. Weather-resistant outdoor racks cost more due to sealants like Flex Seal.
What tools do I need to make a fishing pole holder?
Essential tools include a drill with hole saw bits (2.125-inch for rods), a stud finder for wall mounting, and sandpaper for smoothing edges. Advanced builds may require a table saw, pocket hole jig, router, or PVC cement. Most basic builds need only standard woodworking tools.
How far apart should I space holes for fishing rod holders?
Use 4-inch on-center spacing for all rod holder designs. This spacing prevents reel conflicts when multiple rods are stored together. Never space holes closer than 4 inches or reels will touch and damage each other.
Can I use PVC pipe for bank fishing rod holders?
Yes, PVC works excellently for bank fishing. The key is using a steel ground stake driven at least 12 inches deep and adding a split-ring clamp to eliminate wobble. Plain PVC holders wobble badly, but the split-ring design tested successfully with no movement even under heavy pressure.
How do I make my fishing pole holder weatherproof?
Apply Flex Seal Liquid to outdoor wood racks for a rubberized coating that blocks moisture and UV rays. Paint metal components with Rustoleum to prevent rust. Seal all wood with outdoor-rated polyurethane or marine-grade varnish. Reapply weatherproofing annually for maximum protection.
Key Takeaways for Building Your Fishing Pole Holder
Whether you’re building a lifetime garage rack or a throw-in-the-truck bank holder, these designs deliver reliability and value. The wall-mounted wood rack lasts decades when mounted properly to wall studs. The PVC split-ring holder outperforms store-bought models for half the price. And the poplar stand doubles as functional art.
Pick your project based on where you fish and how you store gear. Garage anglers benefit most from the wall-mounted rack. Bank fishermen need the portable PVC or angle iron designs. Those wanting display-worthy storage should choose the poplar stand.
Gather the tools listed for your chosen design, source materials from your local hardware store, and build a fishing pole holder that works as hard as you do. Start with the simplest design that fits your needs, then upgrade as your skills and requirements grow.