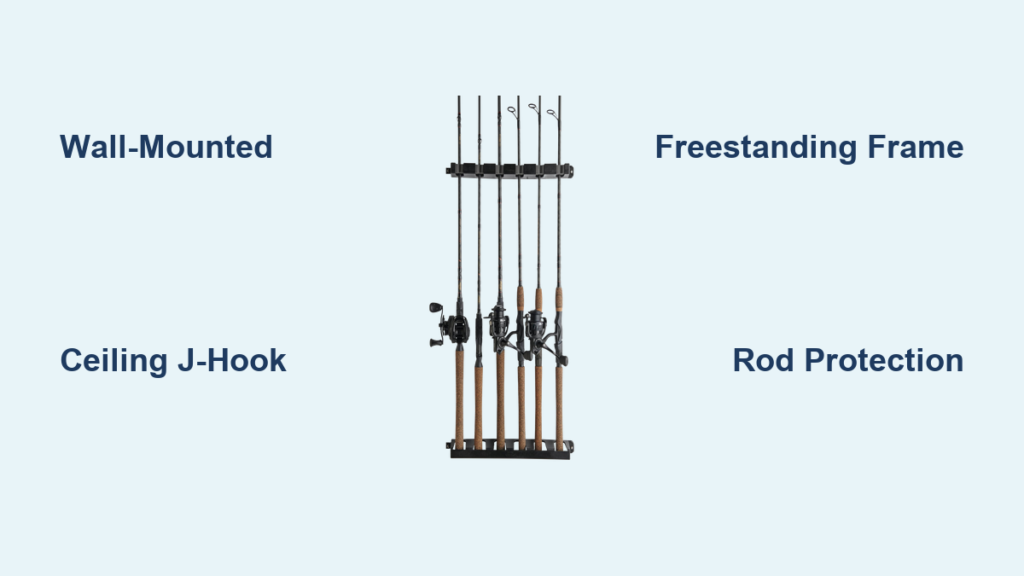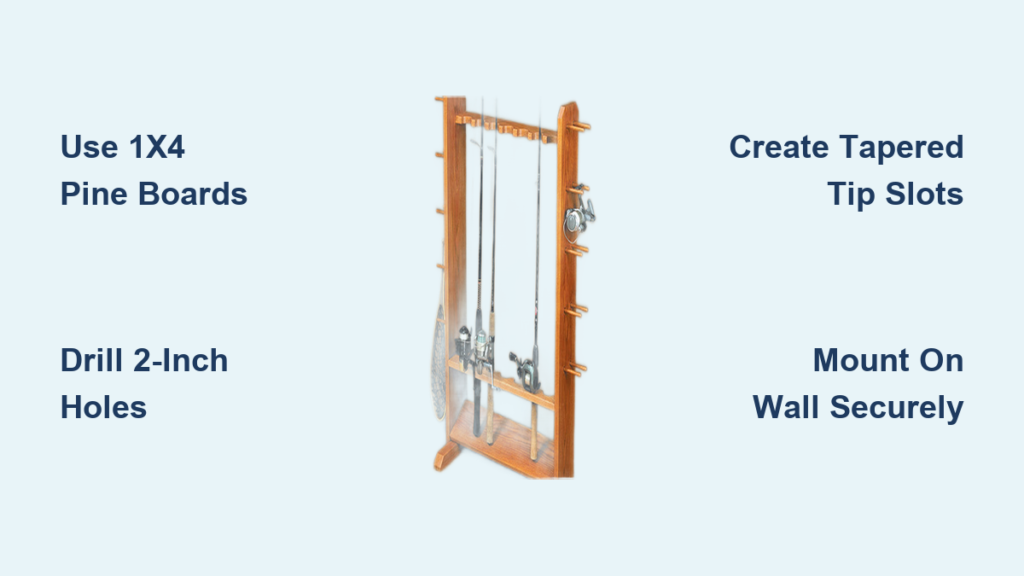
If your garage or cabin is cluttered with tangled fishing rods, a custom wooden fishing pole rack solves the problem in just a few hours. This beginner-friendly DIY project costs under $25 in materials and keeps your rods organized, protected, and easy to access. Unlike flimsy store-bought racks, a wood version supports each rod properly and adds rustic charm to any space. In this guide, you’ll learn exactly how to make a fishing pole rack out of wood using basic tools and affordable pine boards.
Materials and Tools You Need
Choosing the Right Wood
Use two 1×4 pine boards cut to 42 inches long. Pine is perfect for beginners because it’s inexpensive, easy to cut, and readily available at any hardware store. Select boards with straight grain and minimal knots for strength and a clean finished look.
For a premium appearance or outdoor use, consider cedar, poplar, or oak. These hardwoods resist warping better but require pilot holes when drilling due to their density.
Essential Tools List
You will need these tools for precision work:
• Jigsaw with a fine-tooth blade for smooth cuts
• Drill with a 2-inch Forstner bit for clean holes
• Orbital sander or sanding block with 120 to 220 grit paper
• Clamps to hold boards steady during drilling
• Measuring tape, square, and level for accurate layout
A Forstner bit creates flat-bottomed holes that look professional, unlike spade bits which can splinter soft pine.
Cutting and Preparing Your Boards
Making Clean Straight Cuts
Cut both 1×4 boards to exactly 42 inches using your jigsaw. Clamp each board securely to a workbench before cutting to prevent vibration and ensure straight edges.
After cutting, stack the boards together and clamp them firmly. This alignment step is critical because it guarantees all holes and slots match perfectly across both pieces.
Marking and Drilling Rod Butt Holes
:max_bytes(150000):strip_icc()/Drillingwoodbits-GettyImages-91352323-59c2dfbf845b3400118c5d68.jpg)
Spacing Holes for Maximum Capacity
Measure 3 inches from one end of the stacked boards to mark the center of the first rod hole. Then mark additional centers every 4 inches along the entire length.
This 4-inch spacing prevents reel handles from bumping into each other while fitting 10 rods on a 42-inch board. Find the center of the board width and transfer all marks to both pieces.
Drilling Clean Holes
Use a 2-inch Forstner bit and drill straight down through both boards at each marked point. Drill slowly to reduce heat and splintering. Place scrap wood underneath the boards to prevent blowout on the backside.
These 2-inch holes accommodate most standard rod grips, from spinning rods to fly rods.
Creating Tapered Tip Slots

Designing Angled Slots for Secure Fit
Each rod needs a tapered slot to cradle the tip without applying stress. Follow these steps:
- Estimate the natural angle a rod tip would rest at when the butt sits in the hole
- Draw a straight line along that angle starting near the top edge
- Measure 1 inch down that line and mark a second point
- Draw a second parallel line forming a narrow opening
- Cut along both lines with the jigsaw to create a sloped slot
- Sand the interior thoroughly to remove all burrs
The tapered design keeps rods from slipping out while allowing easy removal.
Shaping and Smoothing Edges
Rounding Corners for Safety
Use a compass or jar lid to draw rounded corners at each end of the boards. A 1 to 2-inch radius looks clean and prevents injury from sharp edges.
Cut along the curved lines with your jigsaw using slow, controlled movements. Then sand all edges, faces, and corners starting with 120-grit paper and finishing with 220-grit for a silky-smooth surface.
Smooth wood protects your rods and your hands, especially important in high-traffic areas like garages.
Applying Protective Finish
Sealing and Enhancing the Wood
After sanding, wipe the boards with a tack cloth to remove all dust. Then apply your chosen finish:
• Clear polyurethane adds moisture resistance and durability
• Stain plus clear coat provides custom color and grain enhancement
• Rust-Oleum Glow-in-the-Dark Clear Coat charges under light and glows in dark spaces
Apply 1 to 2 coats following the manufacturer’s drying instructions. Allow full curing time, usually 24 hours, before mounting.
Avoid oil-based finishes if you plan to use glow coating since water-based products bond better.
Mounting Your Rack Securely
Installing on Wall or Ceiling
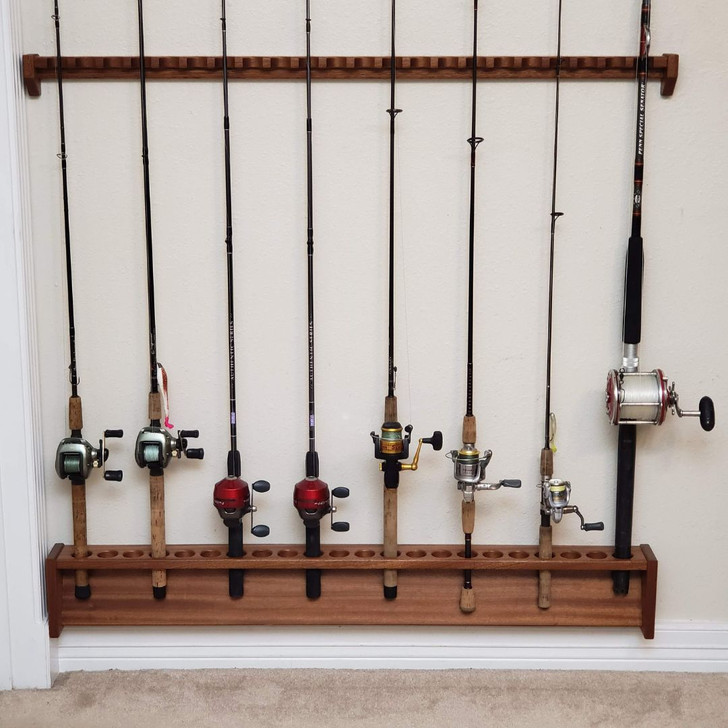
Decide whether to mount vertically on a wall or horizontally under a shelf. Vertical mounting is most common and saves space.
Use a level to position the rack straight. Hold it against the wall and mark screw locations through the back of the board.
Choosing the Right Anchors
Mount directly into wall studs using 1.5 to 2-inch wood screws for the strongest hold. If studs aren’t available, use plastic wall anchors rated for at least 50 pounds total load.
Ensure enough clearance exists for rod tips to rest in slots without bending.
Customizing Your Design
Adding Features and Storage
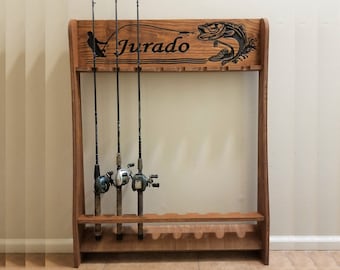
Need more capacity? Extend the board length and add holes every 4 inches. For a compact version, build a 24-inch rack holding 5 rods.
Consider these upgrades:
• Add small hooks for nets, pliers, or fishing vests
• Attach a bottom shelf for lure boxes or tackle bags
• Engrave or label rod types next to each hole
• Build a dual-sided rack for twice the capacity
Personalize with wood burning, stencils, or painted accents to match your decor.
Preventing Common Mistakes
Avoiding DIY Errors
Never eyeball hole spacing. Always use a measuring tape and square for accuracy. Rough slot edges can damage fishing line or rod guides, so sand all interior surfaces smooth.
Never skip wall anchor checks. Safety matters more than speed. Use Forstner bits instead of spade bits for cleaner holes, and test-fit one rod before final mounting to confirm proper angle and clearance.
Maintaining Your Wood Rack
Long-Term Care Tips
A well-built rack lasts for years with minimal maintenance:
• Dust monthly with a dry cloth
• Reapply finish every 1 to 2 years in humid climates
• Check screws annually and tighten if needed
• Rotate rods occasionally to prevent wear in one spot
Keep the rack indoors or in a dry shed. Prolonged moisture exposure can warp pine wood over time.
Frequently Asked Questions About Building a Fishing Pole Rack
What type of wood is best for a fishing pole rack?
Pine is the best choice for beginners due to its low cost, easy availability, and simple workability. For outdoor use or a more premium look, cedar, poplar, or oak offer better resistance to warping and moisture.
How many fishing rods can a 42-inch rack hold?
A 42-inch board with holes spaced 4 inches apart can hold 10 fishing rods comfortably. The first hole is positioned 3 inches from the end to provide proper end clearance.
Do I need special tools to make tip slots?
A jigsaw with a fine-tooth blade handles the tapered tip slots effectively. The key is drawing accurate angle lines before cutting and sanding the interior smooth to prevent line damage.
Can I install this rack outdoors?
You can, but pine isn’t ideal for outdoor conditions. If mounting outdoors, use cedar or apply a marine-grade sealer. Also ensure the rack is sheltered from direct rain and harsh weather.
How do I know if my wall can support the rack?
Mount directly into wall studs for maximum strength. If studs aren’t available, use wall anchors rated for at least 50 pounds. A fully loaded rack with 10 rods and reels can weigh 30 to 40 pounds total.
Key Takeaways for Building Your Wooden Fishing Pole Rack
This DIY project delivers exceptional value at under $25 in materials. The design uses two 1×4 pine boards with 2-inch butt holes spaced 4 inches apart, accommodating up to 10 fishing rods. Tapered tip slots keep rods secure while allowing easy one-handed removal. The entire build takes just a few hours with basic tools, making it perfect for woodworking beginners.
The optional glow-in-the-dark finish adds functionality in dark garages or basements. Mount securely into wall studs or use appropriate anchors, and your rack provides reliable, long-term organization that protects your investment in fishing gear.