Imagine you’re by a quiet lake or stranded on a survival trip with no gear, just a length of string and your hands. With the right technique, you can turn that simple cord into a working fishing net capable of catching real fish. Making a fishing net with string is a timeless skill that blends practicality with craftsmanship. Whether for survival, recreation, or DIY curiosity, this guide walks you step by step through creating a durable, functional net using only string and basic tools.
You’ll learn how to choose the right materials, form consistent knots, control mesh size, and shape your net for real-world use. No prior experience needed. By the end, you’ll know exactly how to build a net that works, not just one that looks like one.
Choose the Right String for Your Fishing Net
Your net is only as strong as the string you use. The wrong material will snap in water or stretch out of shape, leaving you empty-handed when it matters most.
Best String Types
- Nylon twine: Strong, water-resistant, and widely available—ideal for beginners
- Hemp cord: Traditional, tough, and biodegradable, but absorbs water over time
- Polypropylene rope: Floats in water and resists rot, perfect for aquatic use
- Cotton thread: Only for decorative nets—too weak when wet
Pro Tip: Use paracord inner strands for ultra-durability. Strip the sheath and braid the 7 inner fibers together for maximum strength.
Minimum Strength Guidelines
- Diameter: At least 1.5 mm
- Tensile strength: 25+ lbs (11 kg)
- Length: Double the desired net length per strand (10 ft string yields 5 ft of net row)
Avoid thin yarn or shoelaces. They look like string but fail completely under tension.
Prepare Essential Tools for Net Making
You do not need fancy equipment, but a few simple tools make the job faster and more precise. Having the right tools ensures consistent mesh size and saves hours of frustration.
Essential Tools List
- Mesh board or sizing card: A flat stick cut to your desired mesh diagonal (1-inch wide card creates 1-inch mesh)
- Netting needle: A blunt needle to pull string through loops—can be wood, plastic, or metal
- Anchoring point: A carabiner, nail, or hook to secure your starting loop
- Scissors: For clean cuts
- Dowel or pencil: To hold top loops during turning
DIY Hack: Make a mesh stick from a popsicle stick. Sand the edges smooth so it does not fray the string during knotting.
Create the First Row with Lark’s Head Knots
This is where your net begins. Each knot becomes the foundation of a mesh hole, so precision here affects the entire finished net.
Step-by-Step Base String Setup
- Cut a base string to your desired net width (18 inches for a small net)
- Take a separate strand and fold it in half to form a loop
- Place the loop behind the base string
- Pull both ends through the loop and tighten—this forms a lark’s head knot
- Repeat every inch along the base string for standard mesh
Visual Cue: The knot should grip the base string tightly without sliding. If it moves, your tension is too loose.
Form the First Mesh Using the Mesh Board
This is the core knotting technique. You will repeat this hundreds of times to grow your net, so mastering it early saves rework later.
Core Knotting Process
- Tie a reef knot (square knot) around your mesh board to create a fixed loop
- Slide it off and attach to a carabiner or hook—this becomes your anchor point
- Insert the mesh board into the anchor loop
- Pass the string over the board, then through the loop, and pull tight
- Use the needle to pass under the two strands of the new loop, then over the base strand
- Pull through to form a knot positioned just above the loop
Critical Rule: A knot below the loop creates a slipknot that will fail under pressure. Always position knots above the loop.
Pro Tip: Keep tension even throughout. Too loose creates sagging mesh. Too tight distorts the shape.
Build Rows Vertically to Add Depth
Each new row adds depth to your net. This is where patience pays off—consistent work produces a uniform, professional-looking result.
Vertical Building Process
- Insert the mesh board into each loop of the current row
- Form a new loop with the string using the same technique
- Tie a knot above each loop using the needle
- Complete all loops in the row before moving to the next
Time Estimate: Expect 10 to 15 knots per minute once you establish a rhythm.
Growth Rate: Twelve rows produce approximately 28 inches (72 cm) of depth with 1-inch mesh.
Expand the Net Width for Different Shapes
Want a wider net? You can add one loop per row to create triangular expansion, or maintain fixed width for rectangular nets. The method you choose determines your final net shape.
Triangular Expansion Method
- After finishing a row, add one extra knot at the end
- This creates one more loop in the next row
- Repeat and the net grows wider like a fan
- Use this for cast nets, seines, or large scoop nets
Rectangular Growth Method
- Do not add extra loops at the end of rows
- Each row maintains the same number of knots
- Creates a rectangular net ideal for dip nets
Control Mesh Size for Target Fish
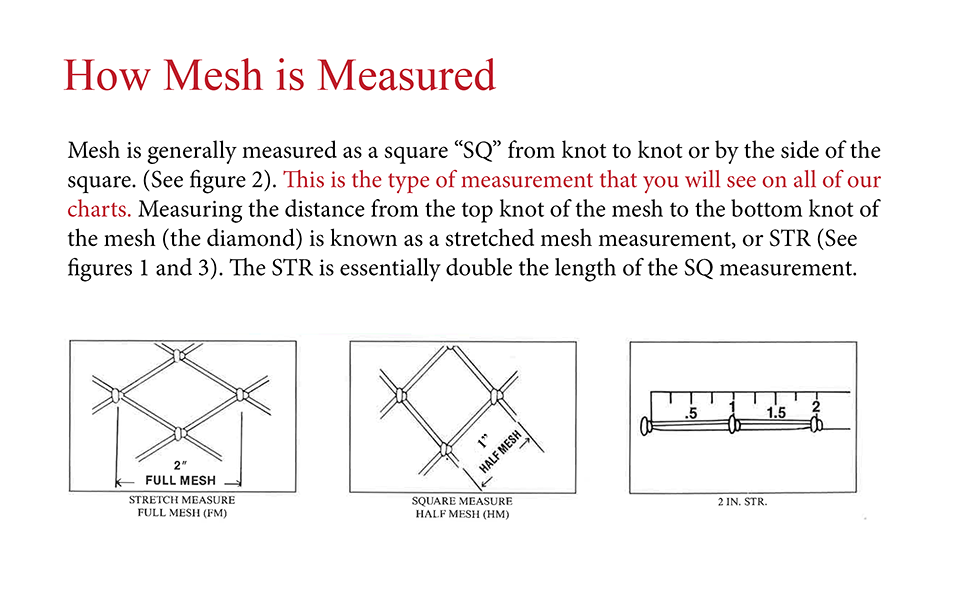
Your mesh size determines what fish you can catch. Matching mesh to your target species is essential for both effectiveness and legal compliance.
Mesh Size Chart
| Mesh Diagonal | Catches |
|---|---|
| 0.5 inch (1.3 cm) | Minnows, baitfish |
| 1 inch (2.5 cm) | Bluegill, perch |
| 2 inches (5 cm) | Catfish, trout |
| 3+ inches (7.5 cm) | Eels, mullet |
Regulation Alert: Some areas ban small mesh to protect young fish. Check local fishing regulations before use.
Adjusting Mesh Size
- Smaller mesh board produces smaller holes for fine mesh
- Larger card creates bigger gaps for catching larger fish
- Always test a small section first before committing to the full net
Finish the Net Properly
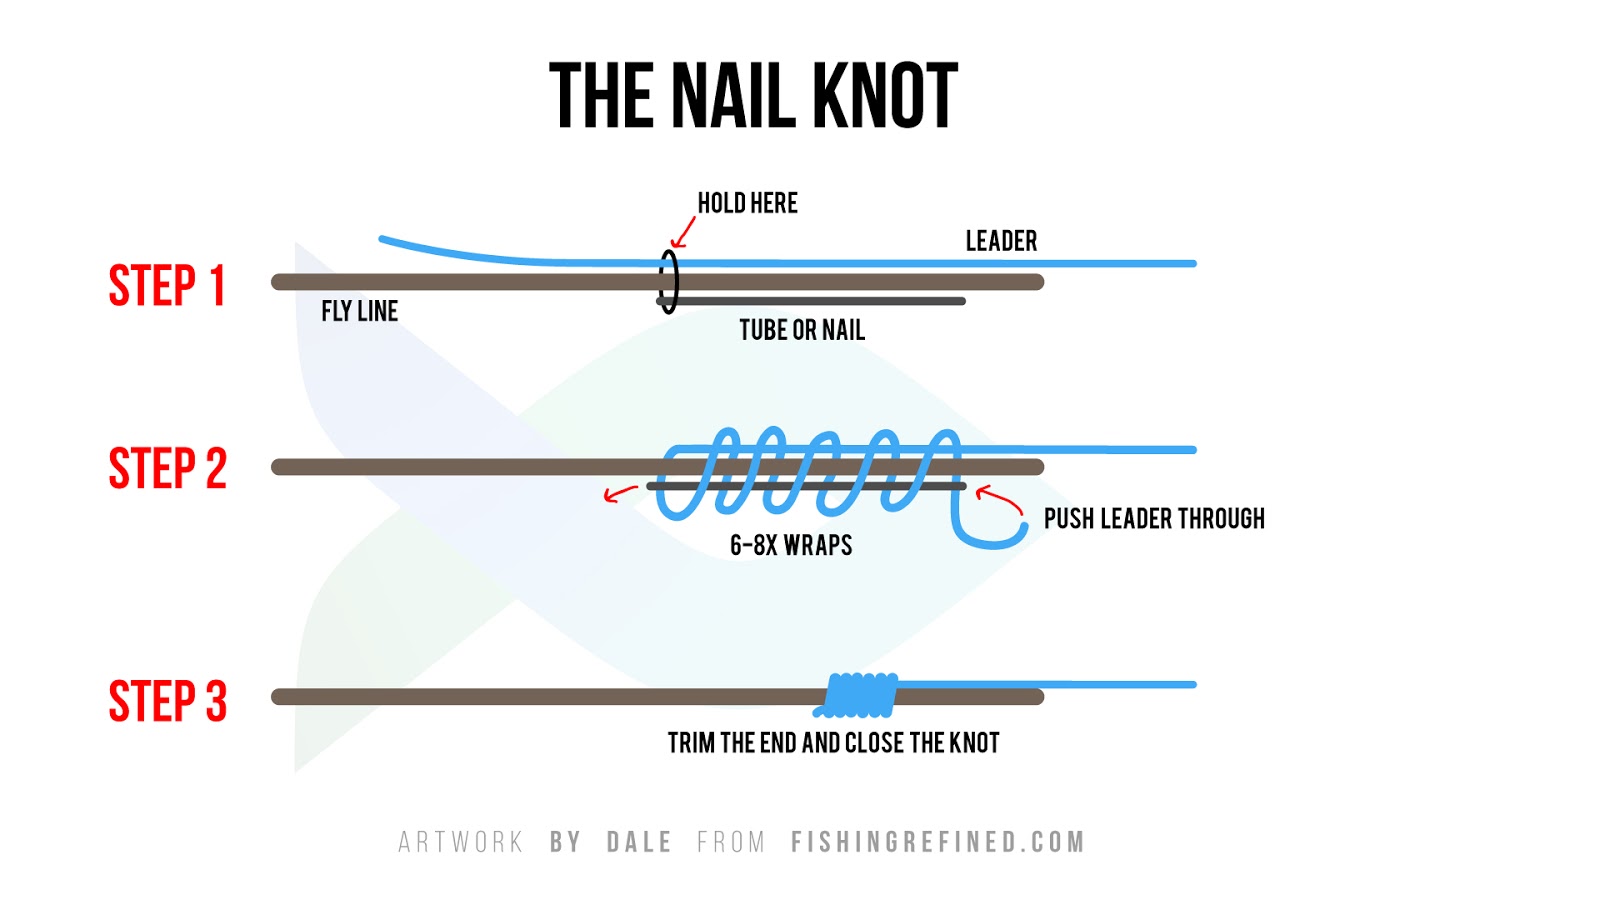
A poorly finished net unravels fast. Taking time on the final steps ensures your hard work does not go to waste.
Taper to Close (For Bag Nets)
- Stop adding loops after reaching desired width
- In each new row, skip one loop at the end to narrow gradually
- End with one loop for a closed bag shape
Final Knot Technique
- Thread needle through the last loop
- Tie a double overhand knot or constrictor knot
- Trim excess, leaving a ½-inch tail
Warning: Never cut the string before securing the final knot. The net will immediately unravel.
Test and Maintain Your Fishing Net
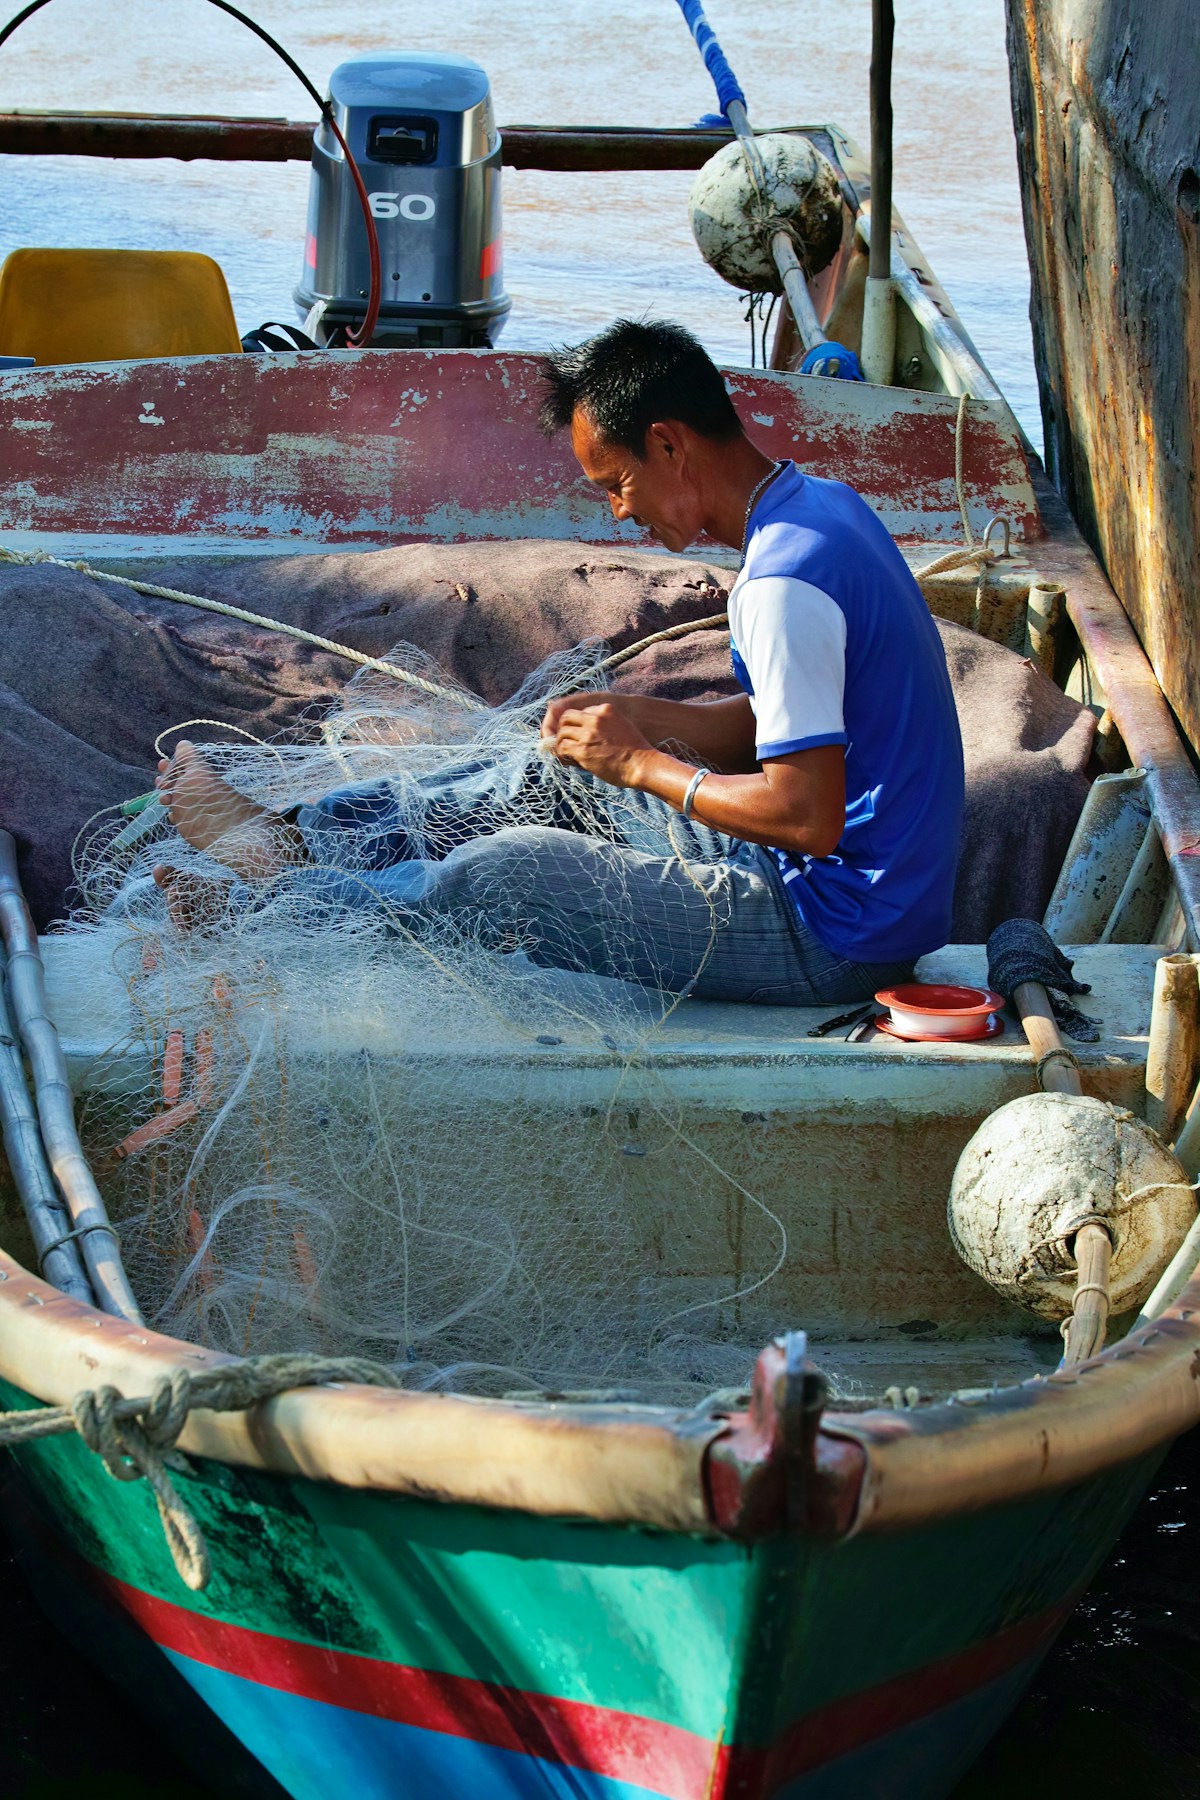
Your net is not done until it has been proven in the water. Proper testing and maintenance extend its life significantly.
First Use Tips
- Try in calm, shallow water first
- Scoop slowly rather than yanking
- Check for broken strands after each use
Cleaning and Storage
- Rinse with fresh water after every fishing trip
- Hang in shade to dry—sunlight weakens fibers over time
- Store loosely coiled, never compressed
Repairing Damage
- Cut out the damaged section
- Splice in new string with a sheet bend or double fisherman’s knot
- Retie surrounding mesh to match the original pattern
Lifespan: Natural fiber nets last 6 to 12 months. Synthetic cords last 2 to 5 years with proper care.
Frequently Asked Questions About Making a Fishing Net with String
What type of string is best for making a fishing net?
Nylon twine and polypropylene rope are the best choices. Nylon offers strength and water resistance. Polypropylene floats and resists rot, making it ideal for aquatic use. Avoid cotton thread, which weakens significantly when wet.
How long does it take to make a fishing net?
A small 6×6 inch test net takes about 30 minutes. A full-sized net with 1-inch mesh takes several hours, depending on your experience level and the desired size. Expect roughly 10 to 15 knots per minute once you establish a rhythm.
What mesh size should I use for catching specific fish?
Use 0.5-inch mesh for minnows and baitfish. One-inch mesh catches bluegill and perch. Two-inch mesh lands catfish and trout. Three-inch or larger mesh targets eels and mullet. Always check local regulations for minimum mesh size requirements.
Can I use natural fibers like hemp for my fishing net?
Yes, hemp works well and provides traditional aesthetics. However, natural fibers absorb water and degrade faster than synthetic options. Soak hemp in linseed oil before use to reduce water absorption and extend the net’s lifespan.
How do I prevent my knots from slipping?
Always tie knots above the loop, never below. A knot below the loop creates a slipknot that fails under tension. Using a mesh board or sizing card ensures consistent knot placement and prevents slippage.
What is the easiest net shape for beginners?
The rectangular dip net is the easiest shape for beginners. It requires no expansion or reduction techniques—just consistent rows of the same width. Master this before attempting conical or fan-shaped nets.
Key Takeaways for Making a Functional Fishing Net with String
Making a fishing net with string is a rewarding skill that combines practicality with traditional craftsmanship. The right materials matter tremendously—nylon or polypropylene string outperforms natural fibers in durability and water resistance. Always use a mesh board or sizing card to maintain consistent hole sizes throughout your net.
The core technique is simple but requires consistency. Tie every knot above the loop to prevent slippage. Maintain even tension throughout. Start with a small test net before attempting larger projects. With practice, you can build nets for any purpose, from catching dinner to preparing for survival situations.
Gather your materials, find a comfortable workspace with good lighting, and begin your first net today. The skill improves with repetition, and each net you make builds toward mastery.