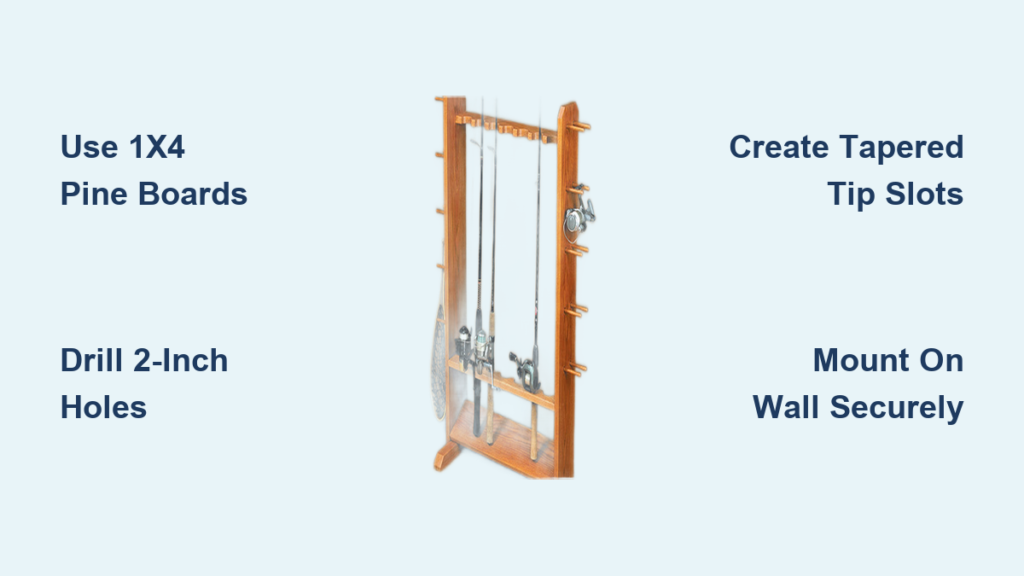
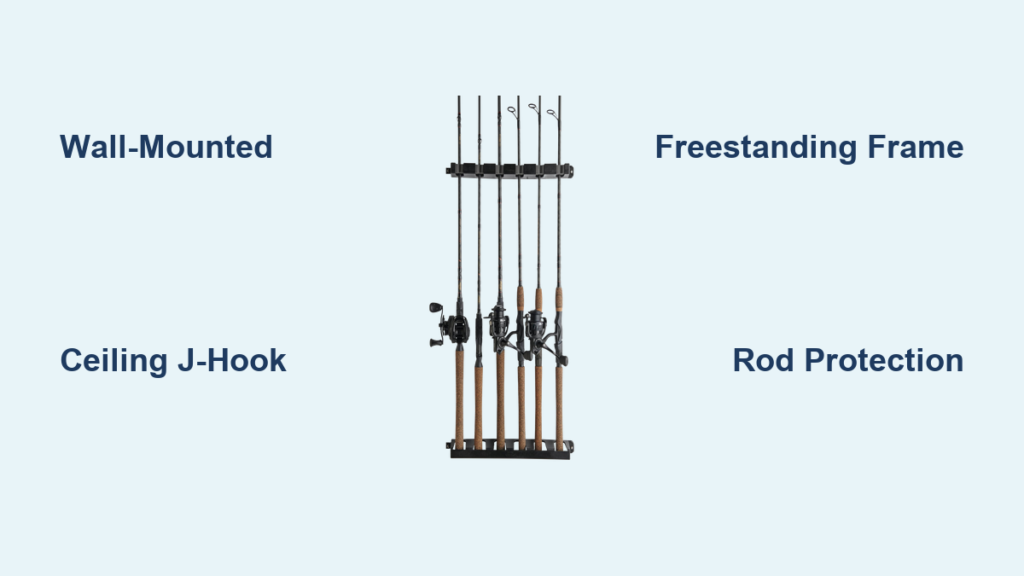
If you’re tired of leaning fishing rods in the corner only to find tangled lines or damaged guides, it’s time to build a fishing pole stand. A well-designed rod holder keeps your gear organized, protected, and ready for action, whether you’re storing rods in the garage or using them on the bank. With just basic tools and affordable materials, you can create a custom fishing pole stand that fits your space and needs. This guide covers every step to build durable, functional, and space-saving solutions.
Wall-Mounted Rod Rack for Garage Storage

A wall-mounted rack keeps rods horizontal and protected while maximizing floor space in your garage or shed. This design accommodates up to ten rods and fits comfortably under standard ceilings.
Cut Boards to Exact Dimensions for Horizontal Storage
Select a 6-foot-long 1×4 poplar board for the main face, as this wood resists warping and takes stain beautifully. Trim 3.25 inches off each end to achieve a balanced 66.5-inch length. Cut a second 1×4 to match for the backing support. Lay both boards flat with edges perfectly aligned, then clamp them together to maintain position during drilling. Mark a center line 1.75 inches from each long edge to guide hole placement and ensure symmetry.
Drill and Shape Rod-Securing Slots
Mark the first hole 3 inches from the end, then space subsequent holes 4 inches apart center-to-center. Use a 2.125-inch hole saw to drill through both boards at each mark. After drilling, remove the top board and prepare vertical slots. With a 1-inch square, draw lines down from both sides of each hole extending about 1 inch. Connect the lines to form rectangular cutouts. Use a jigsaw or router to remove the wood, creating a vertical slot above each hole. Round the bottom tip of each slot slightly so the rod slides in smoothly but won’t slip out.
Add Bottom Support Groove for Rod Protection
Flip the board over and locate the area beneath each slot. Using a router with a ¼-inch bit, cut a shallow groove about 1/8-inch deep running horizontally under each rod position. This groove supports the rod blank below the reel, preventing stress on the guides. If you don’t have a router, use a ½-inch spade bit to drill overlapping shallow holes, then smooth with a chisel. Sand the groove lightly to eliminate sharp edges.
Mount the Rack to Your Wall
Apply wood glue between the front and back boards. Secure with #6, 2.25-inch screws every 5 to 6 inches, avoiding areas near the slots to prevent splitting. Insert screws at the ends and center first, then fill in intermediate positions to control warping. Once assembled, sand all surfaces with 120-grit and then 220-grit paper. Wipe clean and apply stain or sealant if desired. To mount, position the rack 8 to 10 inches above the floor. Locate wall studs, pre-drill holes, and fasten with #10, 3.125-inch screws. Use a level to ensure straight installation.
Freestanding Rod Holder with Casters
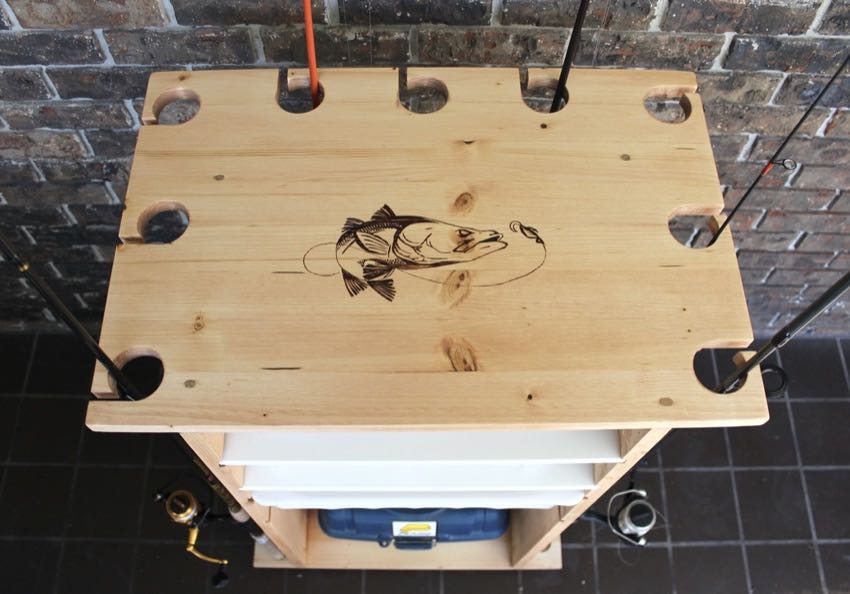
A freestanding holder with wheels gives you a mobile fishing station perfect for boats, docks, or garage reorganization. The dual-level hole system locks rods securely in place.
Build the Frame with Pocket-Hole Joinery
Cut two 34-inch 1×8 boards for vertical legs and two 30-inch 1×8s for the base. Attach them to form an H-shaped base frame. Cut two 30-inch 1×3s for the top cross brace and a 30-inch 1×5 for middle support. Use a pocket-hole jig to drill angled holes in the ends of the 1×3 and 1×5. Assemble the side frames by joining the 1×3 and 1×5 between the 1×8 legs using 1¼-inch pocket screws. This hidden joinery creates strong, clean corners. Reinforce with wood glue for added durability.
Drill Dual-Level Rod Holes
On the top 1×3 cross brace, drill ¾-inch diameter holes using a Forstner bit. These hold the thin section of the rod just above the reel. On the bottom base frame (1×8), drill 1¾-inch holes with a hole saw to accommodate rod handles. Space both sets of holes to align vertically, creating a two-point support system that locks rods in place. Expect to clear the hole saw core 9 to 10 times during drilling to avoid binding. Countersink slightly if needed so rod grips sit flush.
Install Wheels for Mobility
Attach caster-mounting plates to the bottom of each 1×8 leg. Use ¾-inch screws to secure 2-inch swivel casters with brakes. This turns your holder into a mobile fishing station ideal for docks, boats, or garage reorganization. Choose rust-resistant casters if using near saltwater. Test stability by loading rods and rolling across uneven surfaces. For extra rigidity, add diagonal corner braces or a secondary crossbar. Sand all edges and apply polyurethane to protect against moisture.
Ground-Insert Rod Holder for Bank Fishing
This portable holder drives into soil or sand to keep rods upright while you fish from the bank. It’s particularly effective for catfishing and night fishing where rods must stay unattended.
Cut and Prepare Steel and PVC Materials
Cut a 10-foot length of 1½-inch schedule 40 PVC into six 12-inch sections. These will hold the rod butts. Cut a 10-foot length of 1½-inch by 1½-inch slotted angle iron into six 24-inch pieces. Use a grinder or hacksaw to taper one end of each steel piece into a sharp point for easy insertion into hard-packed soil or sand. The pointed end should penetrate about 12 inches, leaving 12 inches above ground to support the rod. Wear safety goggles during cutting and deburr metal edges to prevent injury.
Paint and Assemble with Carriage Bolts
Spray paint all angle iron pieces with Rustoleum in a bright color like orange or yellow for visibility at dawn or dusk. Apply two coats, letting each dry completely. Once dry, slide a PVC sleeve over the top 12 inches of the steel stake. Align the top edges flush to prevent the PVC from cracking when pounding into hard ground. Drill four ¼-inch holes through both materials: two near the top (one per side) and two near the bottom, aligned with the slots. Insert ¼-inch carriage bolts from the inside of the PVC outward to ensure a smooth interior that won’t damage rod grips. Secure with washers and nuts, tightening with a 7/16-inch wrench.
Deploy in Field Conditions
Drive the pointed end into firm ground at a slight backward angle (about 15 degrees) to resist forward pull from fish strikes. Insert the rod butt into the PVC sleeve until the reel seat rests securely. Set your reel drag properly to allow line release under pressure to prevent rod breakage. These holders work exceptionally well for catfishing or night fishing where rods must stay upright unattended. After use, wipe down metal parts and store indoors to prevent rust. Re-tighten bolts seasonally for continued performance.
Garage Door Rod Storage Solutions
Maximize unused vertical space by mounting rod holders directly to garage door panels. This method keeps rods accessible yet out of the way, ideal for frequent anglers with limited wall space.
Attach Non-Marring Hooks to Door Panels
Use adhesive-backed or screw-in hooks designed for garage doors, choosing non-marring types to avoid damaging the surface. Position hooks on the lower 2 to 3 panels, ensuring rods won’t interfere with the door’s path when opening. Install one hook per rod spaced at least 6 inches apart. For heavier rods, reinforce with L-brackets screwed into the door’s internal frame.
Use Removable Rails for Flexibility
Install a removable wooden rail (1×3 or 1×4) across two or more door panels using heavy-duty Velcro strips or quick-release brackets. Drill rod holes in the rail as you would for a wall-mounted rack. This modular design lets you take the entire rod holder down when not in use or transfer it to another location. Label each hole for rod type (bass, trout, etc.) to streamline gear selection.
Space-Saving Solutions for Small Areas
For tiny workshops or apartments, these compact designs keep rods organized without consuming floor space.
Build an Overhead Ceiling Rack
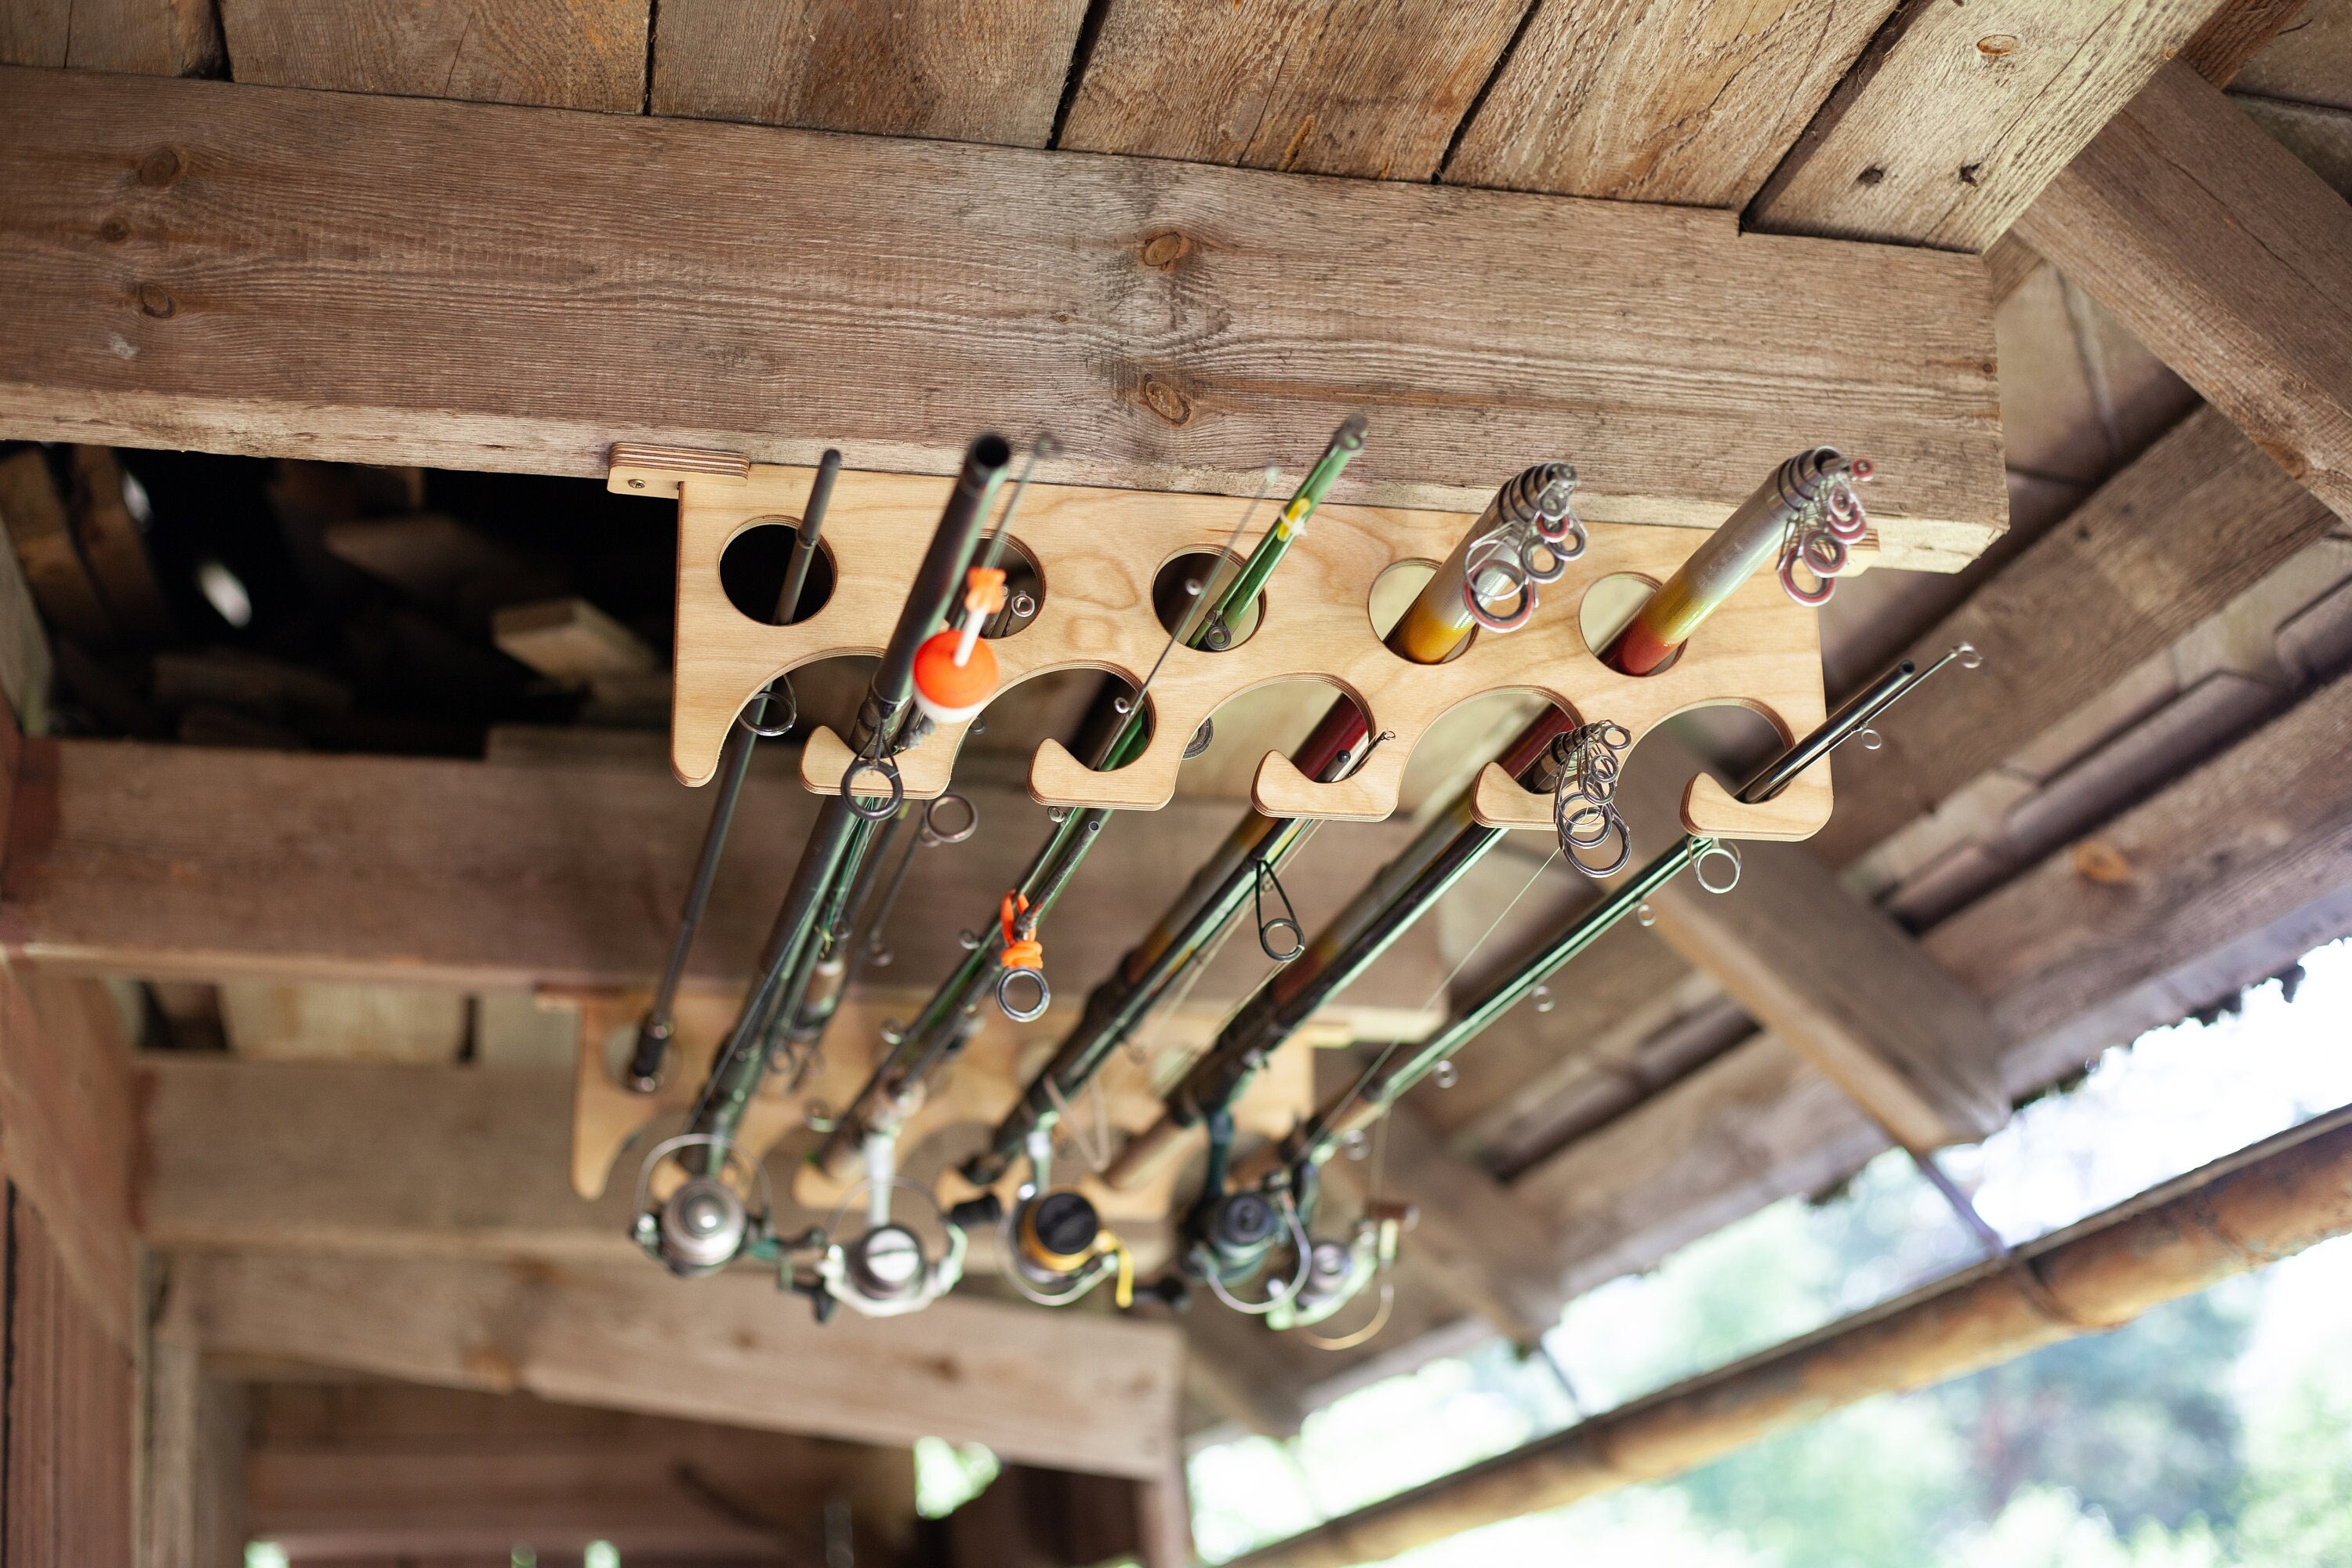
Cut two 1×3 boards to fit between ceiling joists. Mount with 3-inch lag screws and joist hangers. Drill 2-inch holes spaced 4 inches apart, then shape vertical slots as in the wall-mounted design. Add a pull cord or pulley system to lower and raise the rack, similar to a bicycle hoist. This keeps rods dust-free and out of foot traffic zones. Ideal for ice fishing rods or fly rods used infrequently.
Make a Pool Noodle Rod Rack
For a low-cost temporary solution, use a $2 pool noodle. Cut 1-inch slits every 4 inches along its length. Mount vertically on a scrap board or wall stud using screws through the center hole. Insert rod butts into the slits. The foam cushions grips and prevents slipping. This hack works well for kids’ rods or backup gear. While not as durable as wood or metal, it’s a quick fix for renters or those testing storage needs before committing to a permanent build.
Create a Custom Fishing Station

Turn your fishing pole stand into a full gear station by combining rod storage with tackle organization and tool access.
Combine Rod Storage with Tackle Organization
Attach a wall-mounted rod rack above a tackle cabinet with labeled drawers. Include a small shelf for pliers, line cutters, and tools. Add a wader drying rack below using wooden pegs or metal hooks. For fly anglers, integrate a tying bench with built-in bobbin and scissor holders. Use leftover 1×4 scraps to build a rod display wall, angling rods diagonally for visual appeal. This holistic approach keeps everything in one zone, streamlining prep time.
Add Protective Linings and Labels
Line rod holes with felt, rubber grommets, or heat-shrink tubing to prevent finish scratches. Cut 1-inch felt strips and glue inside each slot or hole. Use colored vinyl tape to label rods by species or technique (red for muskie, blue for trout). Engrave wooden racks with names or quotes using a rotary tool. These small upgrades enhance both protection and personalization.
Maintain Your Fishing Pole Stand for Longevity
Regular maintenance ensures your stand lasts for years while protecting your investment in fishing gear.
Inspect and Re-Tighten Fasteners
Check all screws, bolts, and joints every 3 to 6 months, especially on mobile or outdoor units. Vibration from garage doors or boat movement can loosen connections over time. Re-tighten pocket screws and carriage bolts as needed. Replace any rusted hardware on ground-insert holders. For wall-mounted racks, verify anchor stability annually by tapping around mounts and listening for hollow sounds that indicate loosening.
Protect Against Moisture and Rust
Seal wooden stands with polyurethane, especially in damp garages or near lakes. Reapply every 1 to 2 years. For metal components, touch up paint chips on angle iron to prevent rust spread. Store ground-insert holders indoors during winter. Wipe down freestanding units after saltwater use. A quick rinse and dry go a long way in extending lifespan.
Frequently Asked Questions About Making a Fishing Pole Stand
What materials do I need to build a fishing pole stand?
You’ll need basic lumber (1×3, 1×4, or 1×8 boards depending on design), a hole saw or Forstner bit, wood screws, wood glue, and sandpaper. Ground-insert holders require PVC pipe and angle iron with carriage bolts. A pocket-hole jig helps with hidden joinery on freestanding models.
How much does it cost to build a DIY fishing pole stand?
A wall-mounted rack costs approximately $40 in materials. A freestanding holder runs about $30 to $45. Ground-insert holders cost $35 to $40 for six units. All are significantly cheaper than commercial models.
What size hole do I need for fishing rod storage?
Use a 2.125-inch hole saw for the main rod body on wall-mounted racks. For freestanding holders, drill ¾-inch holes for the rod section above the reel and 1¾-inch holes for handles. This dual-diameter system provides secure two-point support.
Can I store 8-foot rods in a wall-mounted rack?
A 7-foot 3-inch rod fits comfortably with 8 to 10 inches of floor clearance. An 8-foot rod will not fit under standard 9-foot ceilings when mounted near the floor. Consider ceiling-mounted or freestanding designs for longer rods.
How do I protect rod finishes from scratches?
Line holes with felt strips, rubber grommets, or heat-shrink tubing. Cut 1-inch felt pieces and glue inside each slot or hole. This cushioning prevents finish damage during insertion and removal.
Key Takeaways for Building Your Fishing Pole Stand
Building a fishing pole stand is a simple, rewarding project that solves real storage problems. Choose a wall-mounted rack for permanent garage storage, a freestanding holder with casters for mobile use, or ground-insert holders for bank fishing. Each design offers durability, customization, and long-term value compared to store-bought models. With precise cuts using a hole saw, smart assembly techniques, and proper sealing, you can create a system that protects your rods, saves space, and keeps you organized season after season. Start with the design that matches your space and needs, and customize with protective linings, labels, or color coding for your specific fishing gear.