
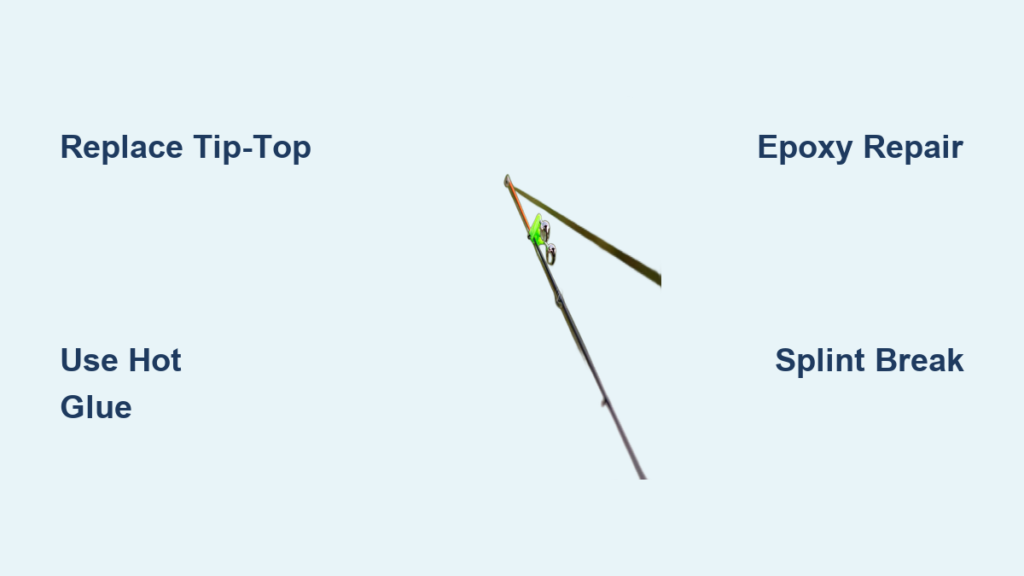
A snapped fishing rod tip can ruin a fishing trip, but it does not have to end your season. Whether you high-sticked a big catch or accidentally crushed the tip in a car door, knowing how to fix a broken fishing rod tip is a skill every angler should have. The good news is that most tip damage is repairable with basic tools and materials, often in under five minutes for emergency use. From temporary field fixes to permanent epoxy rebuilds, restoring your rod’s function is fast, affordable, and surprisingly simple.
This guide covers everything you need to know, from assessing damage types to performing permanent repairs that can last for years. You will learn which tools to carry, step-by-step procedures for both temporary and lasting fixes, and expert tips to avoid common mistakes.
Assess the Damage Type
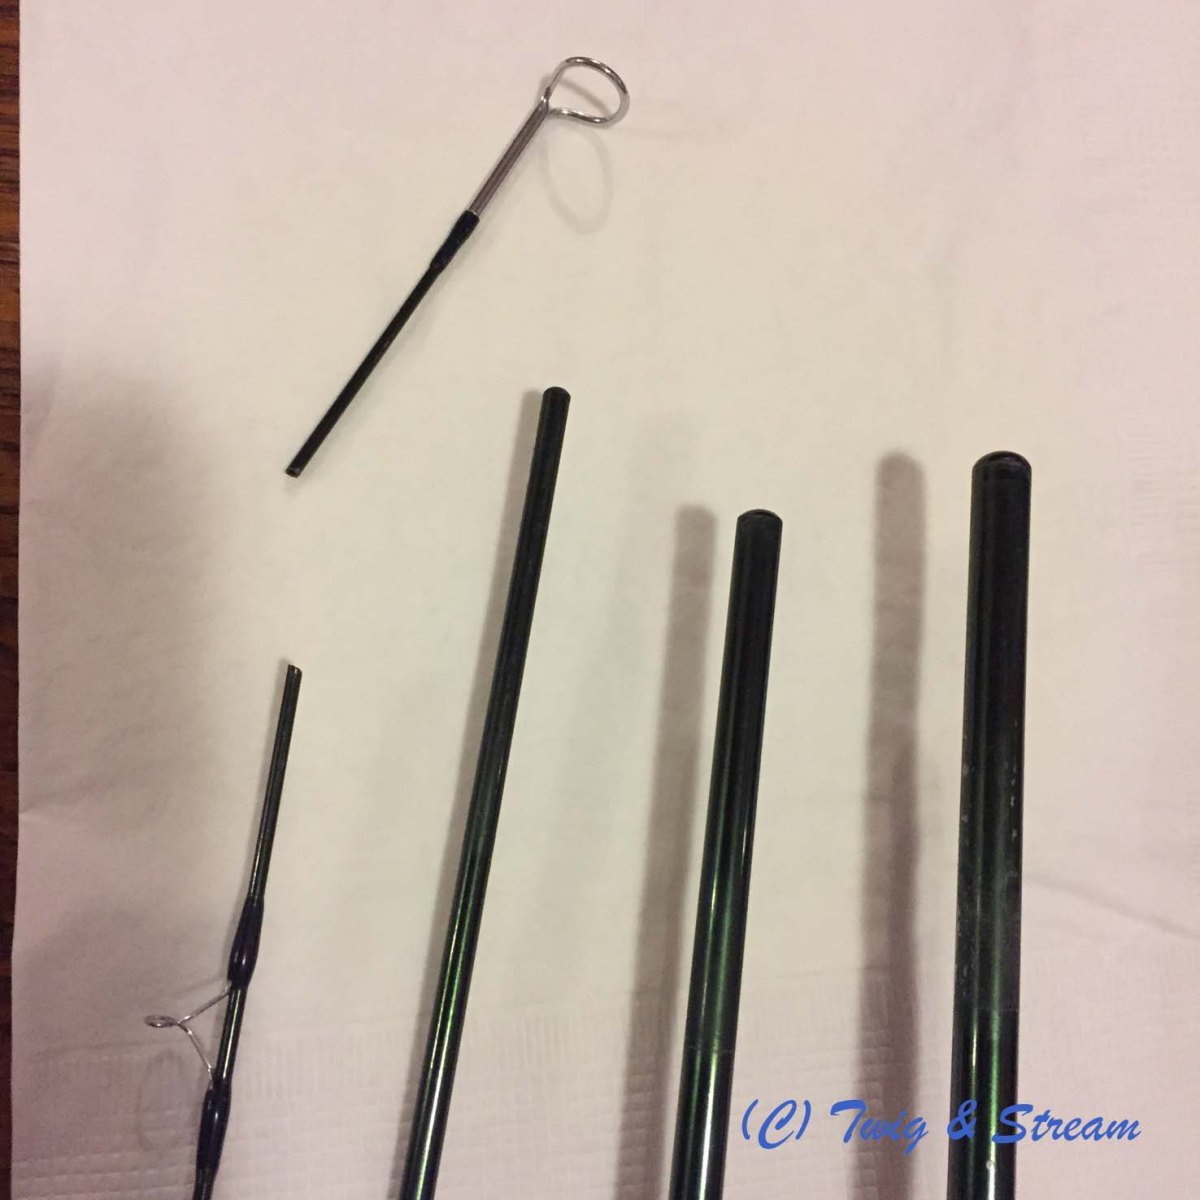
Before grabbing glue or tools, identify exactly what is broken. The repair method depends entirely on the nature of the damage, and using the wrong approach can waste time or worsen the problem.
Tip-Top Guide Is Broken or Missing
The small metal ring at the very end (tip-top) is cracked, bent, or detached. This is the most common issue and the easiest to fix. You usually only need to replace the guide itself.
Rod Blank Snapped at the Tip
The graphite or fiberglass shaft itself has fractured. This requires structural reinforcement using a splint and epoxy. It is still repairable, but the fix is more involved than a simple guide replacement.
Guide Foot Detached from Blank
The metal base that holds the tip-top has come loose due to worn epoxy or thread. This calls for rewrapping and recoating with fresh thread and epoxy for a secure bond.
Hairline Crack or Split
The tip shows signs of delamination or internal splitting without full breakage. Early detection allows for preventative reinforcement before total failure occurs.
Crushed or Pinched Tip
Often caused by closing a car window on the rod, this damages internal fibers. If the structure is compromised, splinting or replacement may be necessary.
Rule of Thumb: If the break is more than 2 inches below the tip, consider professional repair or rod replacement. Deeper cracks weaken the rod’s action and sensitivity.
Gather Essential Repair Tools
You do not need a full rod-building shop. A few key items based on your repair type will get you covered for both emergency and permanent fixes.
Emergency Field Kit
This portable kit enables on-the-water fixes and costs under five dollars. Keep these items in a waterproof tackle box labeled with spare tip sizes for quick matching.
- Spare tip-top guides (Fuji multi-packs recommended)
- Hot melt glue stick
- Lighter or matches
- Fine file or hook sharpener
- Pliers for handling hot parts
- Utility knife or razor blade
Permanent Repair Add-Ons
These items create long-lasting, professional results when you return home from your fishing trip.
- Two-part slow-cure epoxy (Flex Coat recommended)
- Five-minute quick-set epoxy for fast turnaround
- 220 to 400 grit sandpaper or emery cloth
- Rod-building thread (Fuji Ultra POLY)
- Small paintbrush (one-eighth inch)
- Burnishing tool or smooth coin
- One-eighth-inch masking tape
- Heat gun or hair dryer
- Spinning rod dryer or DIY drill setup
Pro Tip: Store everything in a waterproof tackle box. Label spare tips by size for quick matching in the field.
Perform a Quick Field Fix
When you are miles from shore and need to keep fishing, a hot melt glue repair gets you back in action fast. This temporary fix holds through multiple trips until you can perform a permanent repair.
Replace Tip-Top with Hot Glue
- Smooth the broken end using a fine file. Never use pliers, which crush fibers and worsen the damage.
- Heat a glue stick with a lighter until molten. Do not burn it.
- Apply a small dab to the rod tip.
- Warm the inside of the replacement tip-top tube slightly to expand it.
- Slide the guide on, rotating gently to spread glue evenly.
- Align it straight with the other guides. View from multiple angles to check alignment.
- Hold until cooled (30 to 60 seconds), then trim excess glue with a fingernail.
Why It Works: Hot glue is reversible, adjustable, and strong enough for light fishing. It holds through multiple trips until you can do a permanent fix.
Upgrade to a Permanent Epoxy Repair

Once home, replace the temporary glue with a durable epoxy bond that can last years. This method provides UV resistance, flexibility, and a clear finish that will not yellow or crack.
Steps for Long-Term Fix
- Remove old tip by reheating with a lighter. Wipe off residue.
- Clean and dry the rod blank thoroughly.
- Roughen the inside of the new tip-top tube with sandpaper.
- Mix equal parts two-part epoxy. Stir for at least 60 seconds.
- Apply a thin layer to the blank tip or inside the guide.
- Slide on the new tip, aligning perfectly with the guide line.
- Pass a lighter nearby to pop air bubbles. Do not overheat.
- Let cure 12 to 24 hours (48 hours for full strength).
Best Epoxy Choice: Use slow-cure rod-building epoxy, not hardware store varieties. It is UV-resistant, flexible, and will not yellow or crack.
Rebuild with Thread Wrapping for Pro Results
For maximum durability and a factory-like finish, wrap the guide foot with thread and seal with epoxy. This technique provides professional results that look great and perform durably.
Remove Old Guide Safely
- Apply indirect heat with a lighter or heat gun. Rotate the rod to avoid burning.
- Once epoxy softens, use a razor blade to shave off thread and coating.
- Unwind the thread from the foot, then scrape off residue.
- File down sharp edges on the new guide foot. Coat with black Sharpie and nail polish to prevent rust.
Position and Wrap the New Guide
- Tape the guide in place with one-eighth-inch masking tape. Do not cover the foot.
- Start thread wrapping from the rod toward the center of the foot.
- Keep tension even. Avoid gaps or overlaps.
- Lock the thread using a braided fishing line loop. Insert doubled braid under wraps, trap it, then pull the loop back through to hide the knot.
- Trim and lightly flame the end to prevent fraying.
Pro Tip: Use a burnishing tool to compress and polish the thread before epoxy. It gives a smooth, professional look.
Apply Epoxy Finish
- Mount rod on a spinner or rotate manually every 5 to 10 minutes.
- Mix slow-cure epoxy, stir well.
- Brush on a thin, even coat over the entire wrap.
- Eliminate bubbles by gently exhaling or using low heat.
- Clean edges with an alcohol swab while spinning.
- Spin for 8 to 12 hours, then let cure fully (48-plus hours).
Avoid Drips: Too much epoxy causes runs. Thin coats cure clearer and stronger.
Repair a Snapped Rod Blank with a Splint
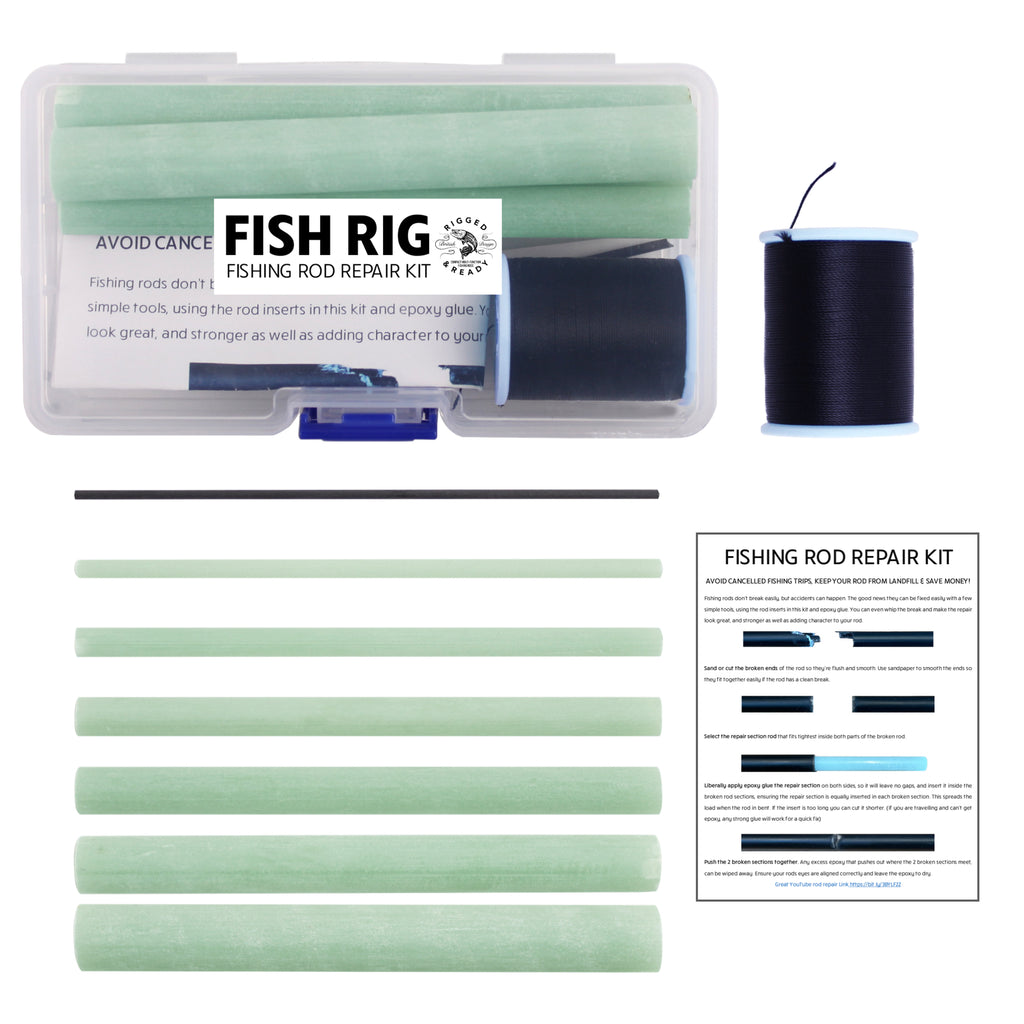
If the blank itself broke, restore structural integrity with an internal splint. This method works for light to medium fishing but may reduce sensitivity and slightly stiffen the tip.
Insert a Reinforcing Splint
- File both broken ends flat and smooth.
- Choose a round insert such as a fiberglass rod section, small finishing nail with head removed and ends sanded, or a sewing needle for ultra-light rods.
- Ensure splint extends at least 1 inch into each side of the blank.
- Drip epoxy or cyanoacrylate into both hollow ends.
- Insert splint into one side, then carefully join the halves.
- Align all guides in a straight line before glue sets.
Reinforce the Joint
- Wrap sewing thread tightly over the break (1 inch on each side).
- Tie off and trim excess.
- Seal with thin glue layer and let dry.
Note: This repair works for light to medium fishing but may reduce sensitivity and slightly stiffen the tip.
Align the New Tip Correctly
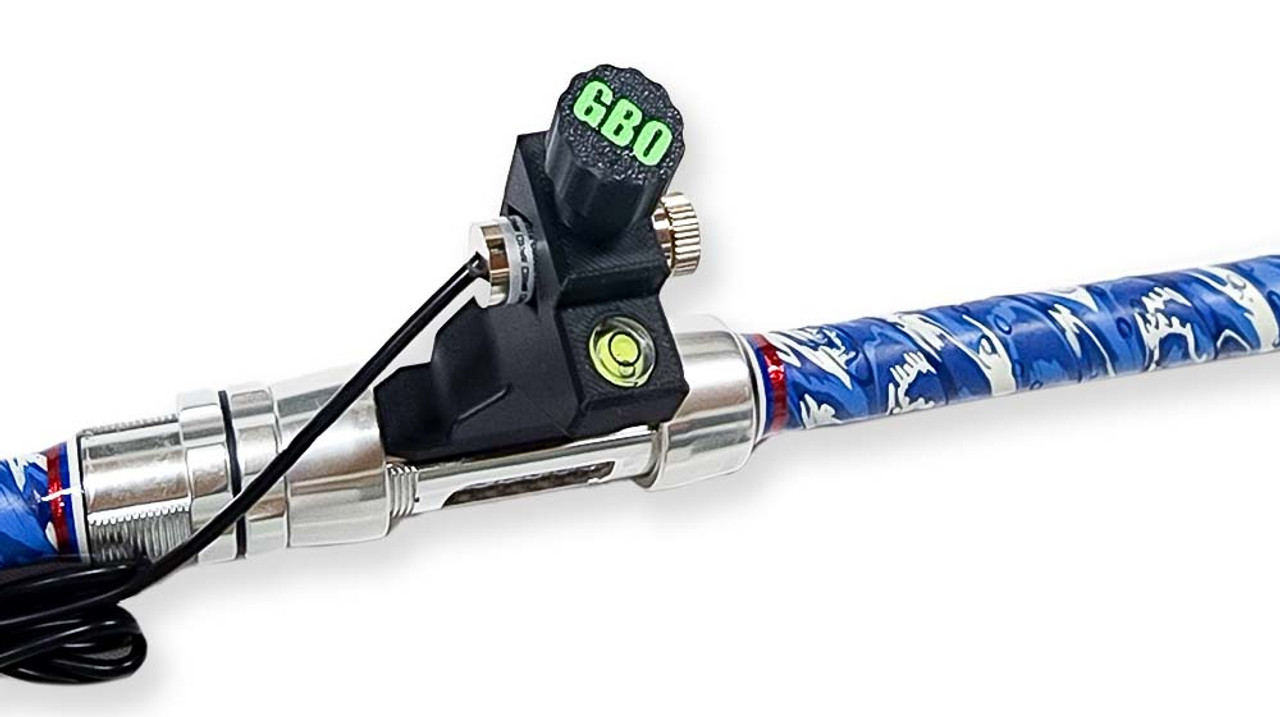
Misalignment ruins casting performance and wears line faster. Taking time to ensure proper alignment saves frustration later and protects your line from premature wear.
Check Guide Line Straightness
- Rotate the rod and sight down the guides from the butt end.
- All rings should form a straight line.
- Use a laser level or straight edge for precision if available.
- If misaligned, reheat (for glue) or rework (before epoxy cures).
Consequence of Misalignment: Increased line friction, reduced casting distance, and premature line breakage.
Avoid Common Repair Mistakes
Even small errors can weaken the repair or ruin the rod. Learning what not to do is just as important as knowing the correct steps.
| Mistake | Fix |
|---|---|
| Crushing blank with pliers | Use a fine file only |
| Overheating during guide removal | Apply indirect, rotating heat. Stop when epoxy softens. |
| Skipping surface prep | Sand and clean all bonding areas |
| Poor alignment | Check from multiple angles before final set |
| Too much epoxy | Apply thin coats. Spin rod during cure |
| Using mismatched guide sizes | Match tube diameter. Slight ring size variance is acceptable |
Golden Rule: A clean, flat, dry surface is essential for strong adhesion.
Know the Performance Trade-Offs
Repairs work well, but understand the limitations so you can set proper expectations and adjust your fishing style if needed.
| Factor | After Repair |
|---|---|
| Sensitivity | Slight reduction if heavily wrapped or splinted |
| Action | May stiffen slightly at the tip |
| Durability | Epoxy repairs last years. Hot glue is temporary |
| Casting | Unaffected if guide size and alignment are correct |
| Aesthetics | Visible wrap unless expertly done |
Best For: Light to medium fishing. For heavy-duty use (surf, saltwater, big game), consider professional repair or replacement.
Frequently Asked Questions About Fixing a Broken Fishing Rod Tip
Can I fix a broken rod tip while on the water?
Yes. Using a hot melt glue stick, a lighter, and a spare tip-top guide, you can perform a temporary repair in under five minutes. This fix holds through multiple fishing trips until you can do a permanent epoxy repair at home.
What causes fishing rod tips to break?
Common causes include high-sticking (lifting fish vertically), accidental crushing in car doors or storage compartments, impact damage from drops or snags, fatigue failure from repeated flexing, and overloading with line or lure weights beyond the rod’s rated capacity.
How long does a permanent epoxy repair last?
When done properly with slow-cure rod-building epoxy, a permanent repair can last for the lifetime of the rod. Quick-set epoxies are less durable and may yellow or become brittle over time.
Can I repair a snapped rod blank myself?
Yes. You can repair a snapped blank by inserting a reinforcing splint (fiberglass rod section, small nail, or needle), gluing the break with epoxy or cyanoacrylate, and wrapping with thread for reinforcement. This works for light to medium fishing but may slightly reduce sensitivity and stiffen the tip.
When should I replace the rod instead of repairing it?
If the break is more than 2 inches below the tip, the blank is severely cracked or delaminated, or you need the rod for heavy-duty saltwater or big game fishing, consider professional repair or full replacement.
Key Takeaways for Fixing Your Broken Fishing Rod Tip
A broken fishing rod tip is rarely a death sentence for your favorite rod. With a few dollars in materials and basic tools, you can fix most tip damage quickly and effectively. The key is assessing the damage type first, then choosing the appropriate repair method. A hot melt glue field fix gets you back fishing within minutes, while a permanent epoxy and thread wrap repair restores near-original strength and durability.
Always carry a compact repair kit in your tackle bag containing spare tip-tops, glue sticks, a file, and a lighter. This simple preparation prevents lost fishing time when damage occurs. Remember to check alignment after every repair, and inspect your rod regularly for signs of wear or corrosion, especially after saltwater use.
With proper technique and quality materials, your repaired rod can perform reliably for years. The minimal investment in learning these skills pays off every time you save a broken rod instead of replacing it.





