
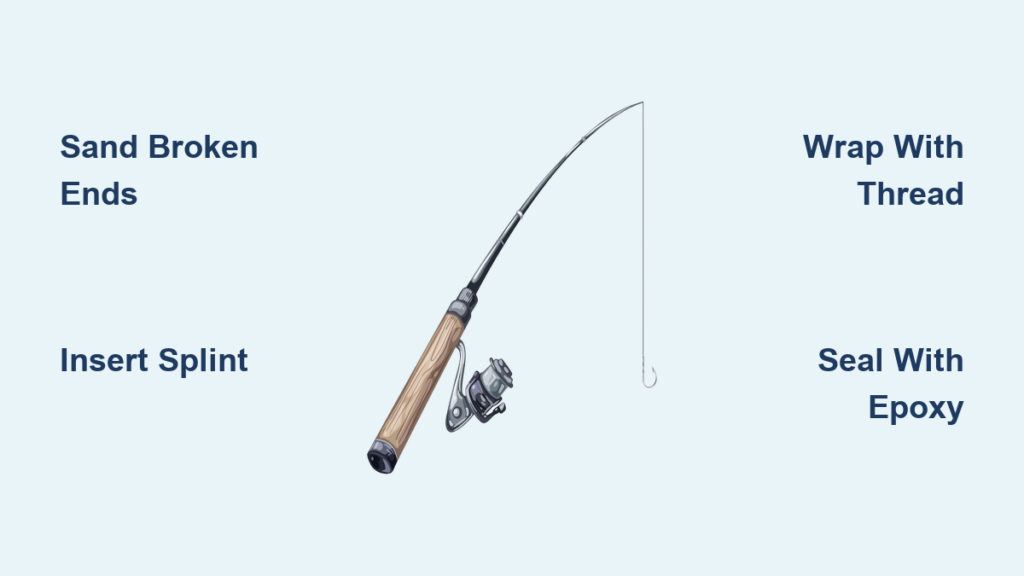
A snapped fishing pole can feel like a gut punch, especially if it happened mid-cast or while reeling in a trophy fish. But before you toss it in the trash, know this: you can fix a broken fishing pole at home with basic tools and a little patience. Whether the break is near the tip, mid-section, or at a guide, a well-executed repair can restore enough strength and flexibility for everyday fishing. This guide walks you through a proven splint-and-wrap method using common materials, so you can get back on the water without breaking the bank.
While a repaired rod will not match the original factory strength, it can handle light to moderate use, perfect for casual anglers, backup rods, or sentimental favorites. The key is proper alignment, internal reinforcement, and external sealing. Follow these steps carefully, and your rod can last for many more seasons.
Assess the Break Location
Check for Clean vs. Crushed Breaks
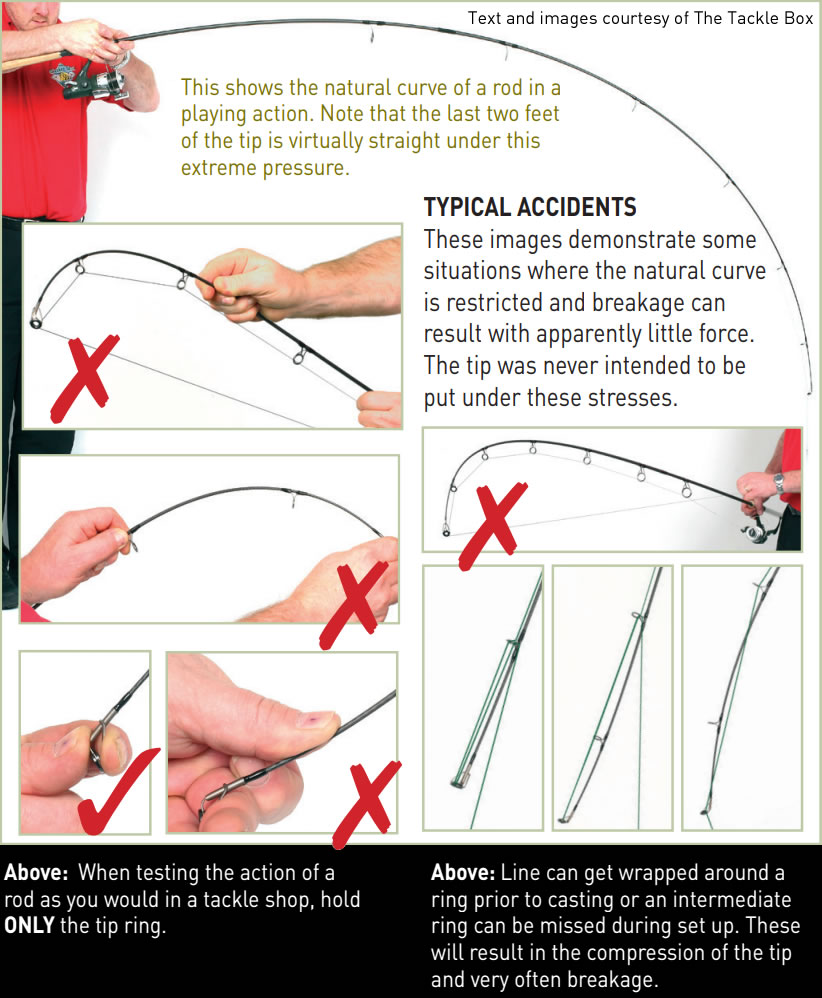
The success of your repair depends heavily on the type of break. A clean snap, where the rod blank splits straight across, is ideal for splinting. These breaks allow for maximum surface contact and alignment. Use a magnifying glass if needed to inspect for cracks or fraying.
A crushed or splintered break, where the graphite or fiberglass is shattered, is harder to fix. If the tube walls are compromised over a large area, the structural integrity may be too weak for a reliable repair. In such cases, consider replacing the rod or sending it to a professional rod builder.
Identify the Section Type
Fishing rods are typically made in multi-piece blanks. Determine whether the break is near a guide (eye), between guides, or at a ferrule (joint). Breaks between guides are easiest to repair. If the break is near a guide, you may need to remove or reposition it later. Ferrule breaks often require specialized sleeves or replacement joints, which we will cover in alternative methods.
Gather Repair Supplies

Essential Tools and Materials
You do not need a full workshop to fix a broken fishing pole. Here is what you will need:
- Epoxy or cyanoacrylate (super glue) — epoxy offers longer working time and superior strength, while super glue sets fast but is more brittle
- Fine-grit sandpaper (200 to 400 grit) — for smoothing broken ends
- Strong sewing thread or dental floss — used for external wrapping
- Rigid splint material that fits snugly inside the rod blank, such as a small finishing nail (head removed), a sewing needle, or fiberglass or carbon fiber rod
- Wire cutters or utility knife — to trim splint length
- Clamp, tape, or rubber bands — to hold pieces in place during curing
Choose the Right Splint
The splint is the backbone of your repair. It must fit tightly inside the hollow rod blank, extend at least one inch into each side of the break, and be straight and smooth to avoid internal damage. A finishing nail is a popular DIY choice. Use pliers or a grinder to remove the head and file the ends smooth. For better performance, use a fiberglass or carbon fiber rod segment from a hardware store or rod repair kit.
Prepare the Broken Ends
Sand for a Flat Surface
Begin by cleaning both broken ends. Hold each section under a bright light and inspect the fracture. Use fine-grit sandpaper to gently sand the ends until they are flat and smooth. This removes debris, burrs, and uneven edges that could prevent proper alignment.
Pro Tip: Roll the rod on a flat surface while sanding to ensure even contact and prevent angling the cut. Avoid sanding too aggressively, as this can widen the inner diameter and weaken the bond. Your goal is a clean, square edge that fits flush when joined.
Test Fit Before Gluing
Dry-fit the two pieces together without adhesive. Slide them over the splint (if using) to check alignment. The guide rings should line up in a perfectly straight line. If they are offset, the rod will cast poorly and may break again. If misalignment occurs, re-sand one or both ends until straight.
Insert and Bond the Splint
Apply Adhesive to the Splint
Choose slow-curing epoxy for best results, as it gives you time to align everything before it sets. Apply a thin, even layer inside both hollow ends of the rod blank and on the splint itself. If using super glue, work quickly, as these fast-setting adhesives bond in seconds but offer less flexibility.
Slide and Align the Sections
Insert the splint into one broken end. Then, carefully slide the second piece onto the other side of the splint. Push gently until both sections meet flush.
Critical Step: Align the guide rings in a straight line. Rotate the sections as needed so all eyes sit in the same plane. A crooked alignment will ruin casting accuracy and rod action. Use tape or a small clamp to hold the joint steady while the glue cures. Place the rod on a flat surface to ensure it does not sag or bend during drying.
Cure Time:
– Epoxy: 6 to 24 hours
– Super glue: 5 to 10 minutes (full strength in 24 hours)
Avoid handling the rod until fully set.
Reinforce the External Joint
Wrap with Thread for Strength
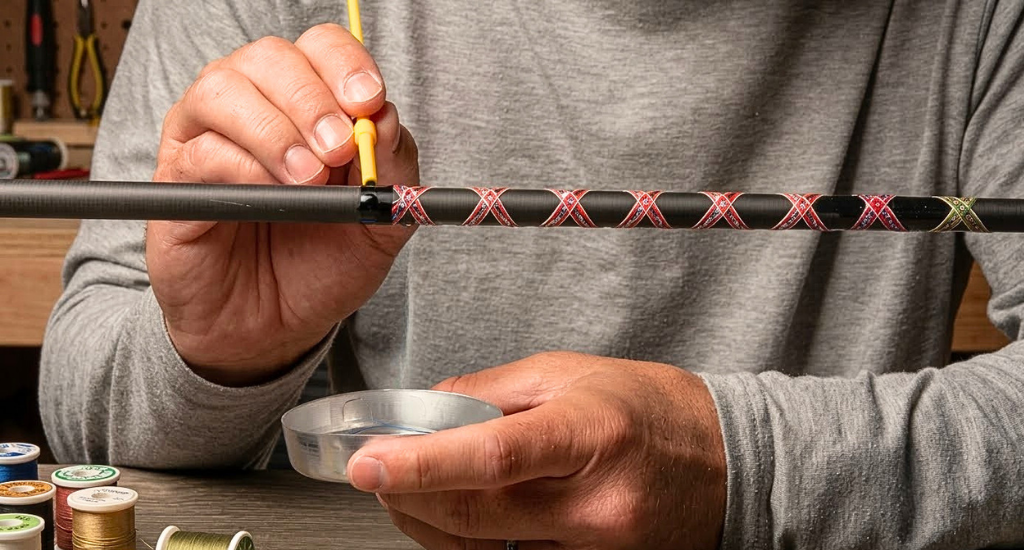
Once the internal splint is secure, reinforce the outside to prevent stress fractures. Start wrapping about one inch below the break. Use tight, even tension to wind the thread up and over the break, covering at least one inch above. Overlap each wrap slightly to create a compact, smooth layer. Tie off with a double knot and trim excess.
Pro Tip: Dip the thread in glue as you wrap for added stiffness and cohesion.
Seal with Epoxy or Super Glue
After wrapping, apply a thin coat of epoxy or super glue over the entire wrapped area. Use a small brush or toothpick to spread it evenly, sealing every fiber. This creates a hard, protective shell similar to factory-finished rods. Let it dry completely, preferably overnight. Optional: for a smoother look, sand lightly after drying and apply a second coat.
Alternative Repair Methods
Use a Commercial Rod Repair Kit
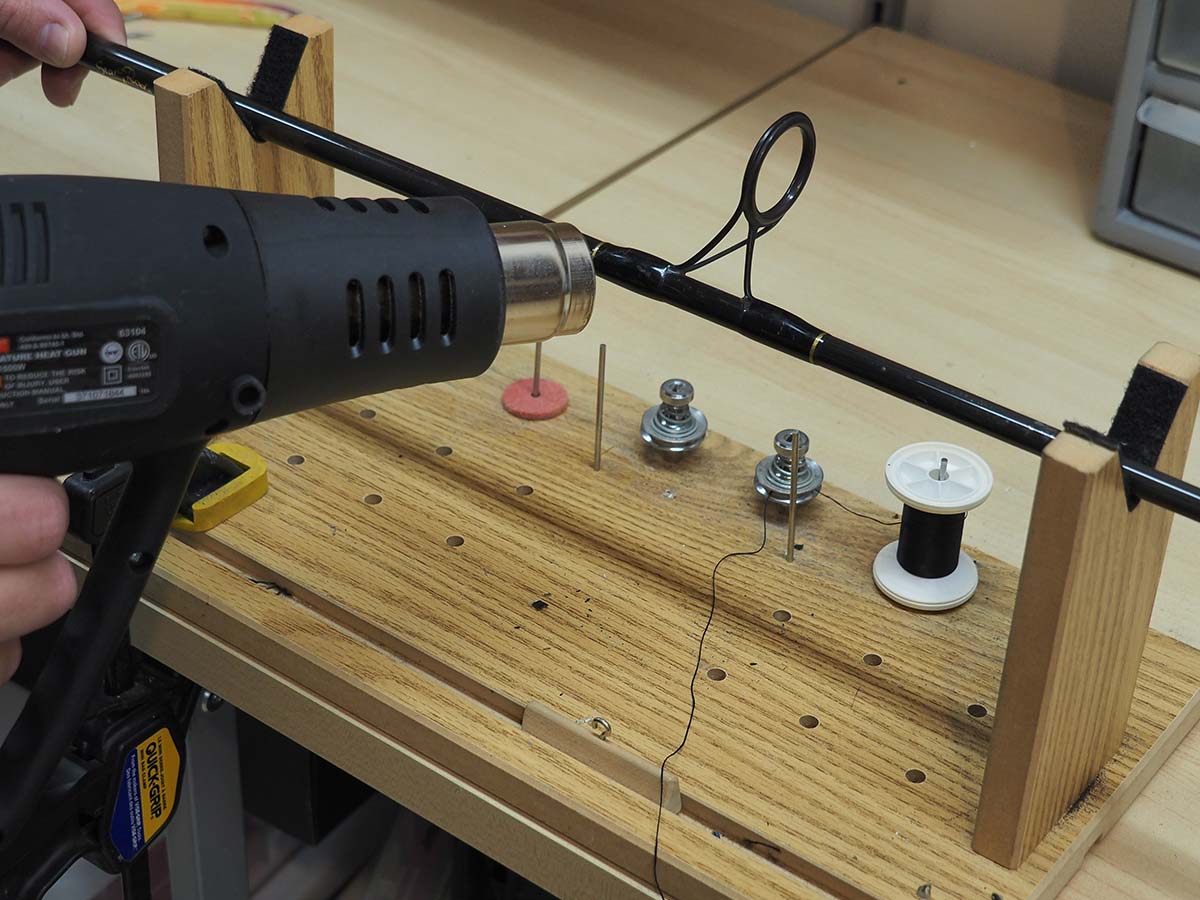
For better results, consider a fishing rod repair kit from brands like Mud Hole Tackle. These include precision carbon or fiberglass splints, high-strength rod-building epoxy, and wrapping thread. These kits are designed specifically for rods and offer superior fit and durability compared to household substitutes.
Replace Damaged Ferrules
If your rod broke at the joint (ferrule), a splint may not be enough. Instead, remove the damaged ferrule with heat or solvent. Install a splice sleeve or replacement ferrule and bond with epoxy and re-wrap. This requires more skill but restores the rod is modular design.
Send to a Professional
For high-end or custom rods, professional repair is worth the cost. Expert rod builders use lathe-turned splints, UV-cured resins, and precision alignment tools. They can often make the repair nearly invisible and restore 80 to 90 percent of original strength.
Test the Repaired Rod
Perform a Flex Test
Before using it on the water, test the rod is integrity. Hold the rod horizontally. Gently bend it through its full range of motion. Watch the repair site for cracking, popping, or separation. If you hear or feel any weakness, reinforce the wrap and reapply glue.
Start with Light Fishing
Use the rod for smaller fish and lighter lines at first. Avoid heavy lures, deep drops, or aggressive hook sets. Gradually increase pressure as you gain confidence in the repair.
Performance Expectations

Understand the Limitations
Even the best DIY repair has trade-offs. Reduced strength means the joint is still a weak point. Stiffer action occurs because the splint adds rigidity, altering the rod is natural flex. Risk of re-breakage exists, as under heavy load the rod may snap again.
Best uses for a repaired rod:
– Catch-and-release for panfish or trout
– Backup rod for emergencies
– Teaching beginners
Avoid using it for large game fish like bass, pike, or saltwater species.
Prevent Future Breaks
Store Rods Properly
Store rods horizontally in a padded rod rack or case. Avoid leaning rods in corners or against sharp edges. Use rod socks or tubes for transport.
Handle with Care
Never step over a rod lying on the ground. Do not over-reel or apply excessive pressure when fighting fish. Inspect guides and blanks regularly for cracks or stress marks.
Upgrade Weak Points
Consider replacing old or chipped guides with tungsten or stainless steel models that resist snagging and wear.
Key Takeaways for Fixing Your Broken Fishing Pole
Fixing a broken fishing pole is more than just a quick fix, it is a testament to an angler is resourcefulness. With epoxy, a nail splint, and thread wrap, you can restore a snapped rod to functional condition in under a day. While it will not replace a factory blank, it keeps gear in action and memories alive. For sentimental rods, vintage models, or emergency repairs, this method delivers real value. Just remember to align carefully, reinforce fully, and fish responsibly.
Now, grab your tools and give that broken pole a second chance. The next bite might come on your repaired favorite.
Frequently Asked Questions About Fixing a Broken Fishing Pole
Can I fix a broken fishing pole with super glue alone?
Super glue (cyanoacrylate) can work for minor fixes, but it is brittle and does not provide the same strength as epoxy. For a durable repair, use slow-curing epoxy for the internal bond and super glue for sealing the external wrap.
How long does it take to fix a broken fishing pole?
The actual repair process takes about 30 minutes to an hour. However, you must wait 6 to 24 hours for epoxy to fully cure before handling the rod. Super glue sets faster (5 to 10 minutes) but reaches full strength in 24 hours.
Will the repaired rod be as strong as before?
No, a repaired rod will not match original strength. The repair site becomes a weak point that may break again under heavy load. Use repaired rods for light fishing, not for large game fish.
What is the best splint material for rod repair?
A snug-fitting fiberglass or carbon fiber rod segment is ideal. A small finishing nail (head removed and ends smoothed) works well as a budget alternative. The key is a tight fit inside the hollow blank.
Can I fix a broken rod tip with this method?
Yes, the splint-and-wrap method works for tip breaks, mid-section breaks, and breaks near guides. However, if the break is too close to the tip guide, you may need to remove and reattach the guide after repair.





