If your spincast reel isn’t casting smoothly or you’ve noticed frayed, stiff, or discolored line, it’s time for a fresh spool. Changing fishing line on a closed reel—also known as a spincast or push-button reel—is a simple but essential maintenance task that boosts casting performance, prevents tangles, and keeps you from losing fish to weak or degraded line. Unlike spinning reels, closed reels have a sealed front cover that protects the spool, making them beginner-friendly but requiring a specific relining process.
This guide walks you through every step, from removing the old line to testing your new setup. You’ll learn how to properly secure the line, wind it evenly, and avoid overfilling, which is the number one cause of casting tangles. Whether you’re using a Shakespeare Synergy, a Zebco 33, or a budget combo rod, this process applies to all standard closed-face reels.
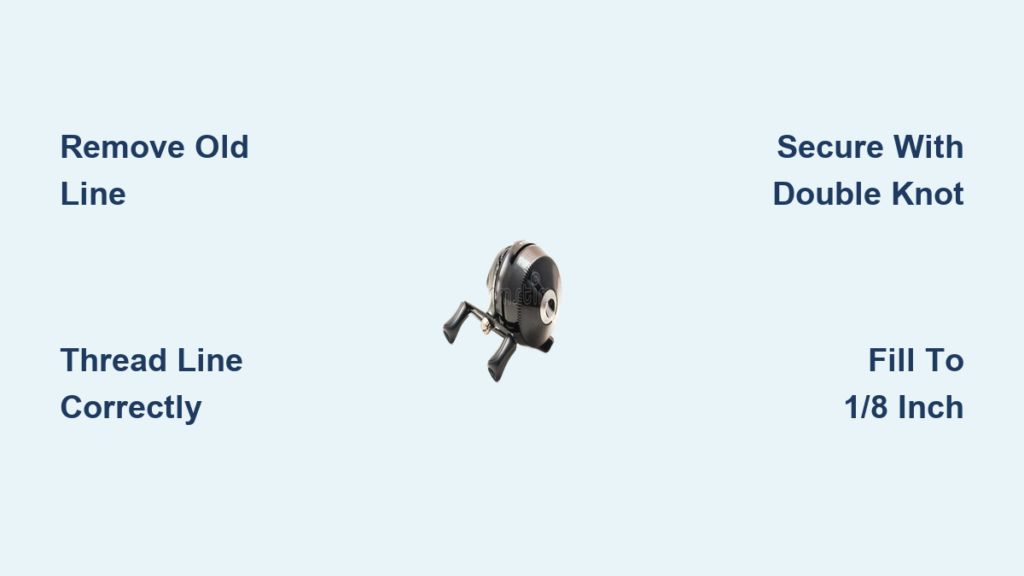
Remove Old Line and Clean the Spool

Before adding new line, you must fully clear the old. Degraded or kicked line reduces casting distance and increases the risk of break-offs.
Press the Thumb Button and Pull Off Line
Start by pressing the thumb button (spool release) to disengage the spool. With the reel attached to the rod, slowly pull the line off with your free hand. Continue until all usable line is removed. If it’s stuck or coiled tightly, gently rotate the handle while pulling to help it unwind smoothly.
Cut and Discard Remaining Line
Once most of the line is off, cut the tag end near the spool. If any short piece remains tied, remove it completely. Never leave old line scraps inside the reel. They can interfere with spool rotation and cause mechanical issues.
Wipe Down Spool and Cover
Use a dry cloth or paper towel to clean the exposed spool. Remove dust, sand, or salt buildup that could affect line lay. Also wipe the inside of the spool cover (front cone). Check that the line extrusion hole is clear. A dirty or obstructed spool leads to uneven winding and frustrating tangles during your next cast.
Unscrew and Reattach the Spool Cover
The spool cover must be removed to access the spool and reinstalled before winding can begin.
Remove Cover Counterclockwise
Grasp the dome-shaped cover and unscrew it counterclockwise. Most covers thread directly onto the reel body. If it’s tight, ensure you’re not cross-threading. Align the grooves before turning and never force it. Apply even pressure instead.
Warning: Forcing the cover can strip threads or crack the housing, especially on older or plastic reels. Take your time with this step.
Reinstall Cover Clockwise
After tying the new line, replace the cover and screw it on clockwise until snug. Do not overtighten. Misaligned threads are a common issue. If you feel resistance, back off and realign before continuing.
Choose the Right Fishing Line
Using the correct line type and strength ensures smooth performance and prevents slippage or annoying tangles.
Use Monofilament for Best Results
Monofilament is the top choice for closed reels. It’s stretchy, easy to tie, and grips the spool well. Most spincast reels are designed with mono in mind. Use six to ten pound test, matching your rod’s recommended range (printed on the blank).
Pro Tip: High-quality mono resists memory and tangles better than cheap line. The extra investment pays off in better casting performance.
Try Fluorocarbon in Clear Water
Fluorocarbon is nearly invisible underwater and sinks faster. This makes it ideal for clear lakes or finesse fishing. It’s stiffer than mono, so spool it slowly under light tension to avoid coiling. Stick to twelve pound test or less for compatibility with most closed reels.
Avoid Braided Line
Braided line is not recommended for most closed reels. Its thin diameter can sink too deep into the spool, causing overfilling and frustrating jams. It also tends to slip on smooth spools and increases casting resistance. If you must use braid, apply it as backing and tie on a mono or fluorocarbon leader.
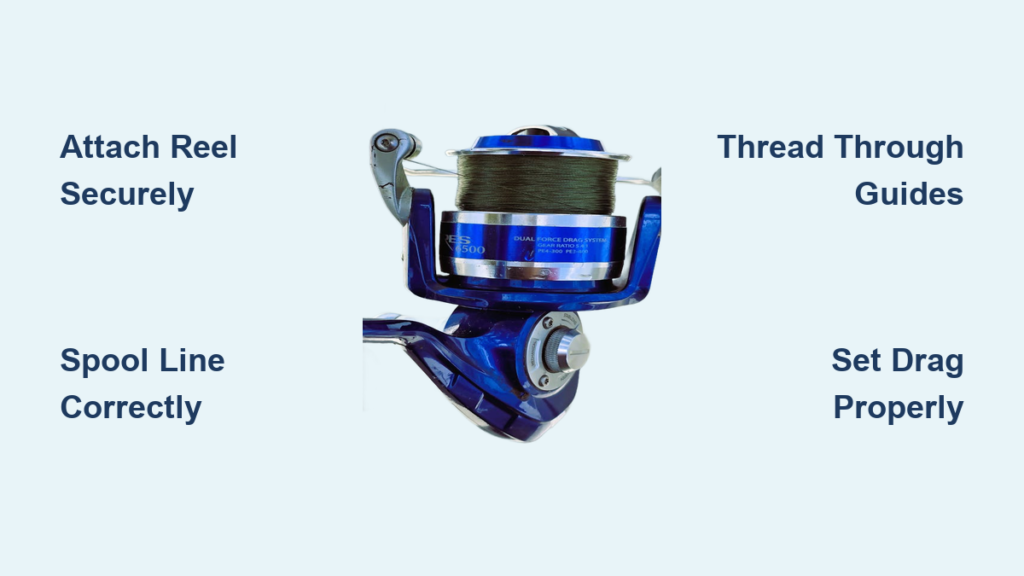
Tie the Line to the Spool Securely
A loose knot means slipping line and casting failure. Use one of two proven methods to ensure your line stays put.
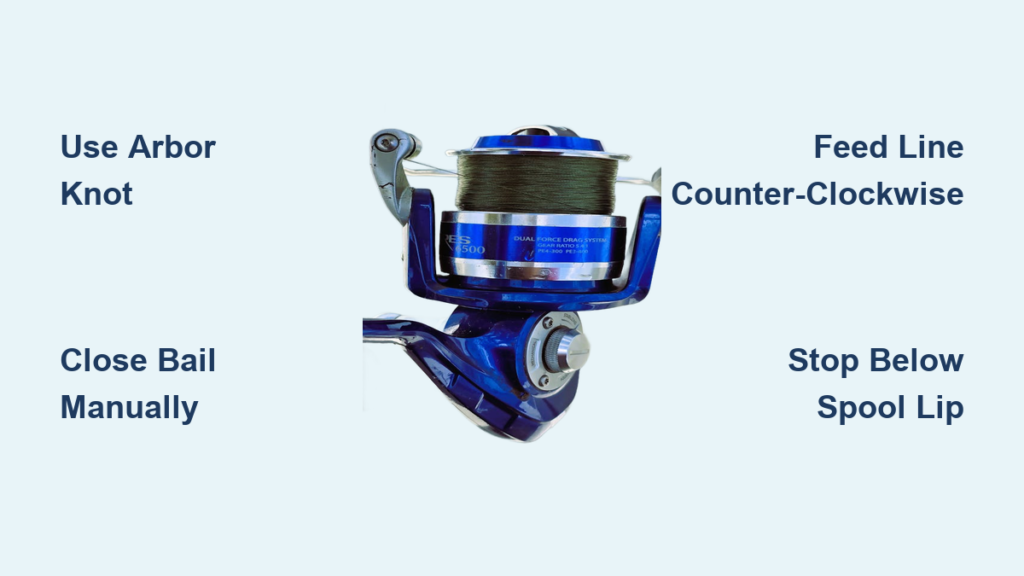
Use Double Overhand Slip Knot (Best Method)
The double overhand slip knot provides the most secure attachment for spincast reels.
- Leave a twelve-inch tag end
- Tie a simple overhand knot at the end of the line
- Form a loop with the standing line and tie a second overhand knot around it, leaving the first knot outside the loop
- Pull the standing line firmly. The first knot slides into the second, cinching tight against the spool
- Trim the tag end cleanly
Why it works: The slip knot locks down firmly and won’t rotate loose during winding, even after repeated use.
Try Wrap-and-Knot Method (Alternative)
This method works but is less secure than the slip knot on smooth spools.
- Wrap the line two to three times around the spool
- Hold the wraps with your finger to keep them in place
- Tie an overhand or double overhand knot around the standing line
- Pull tight and trim the excess
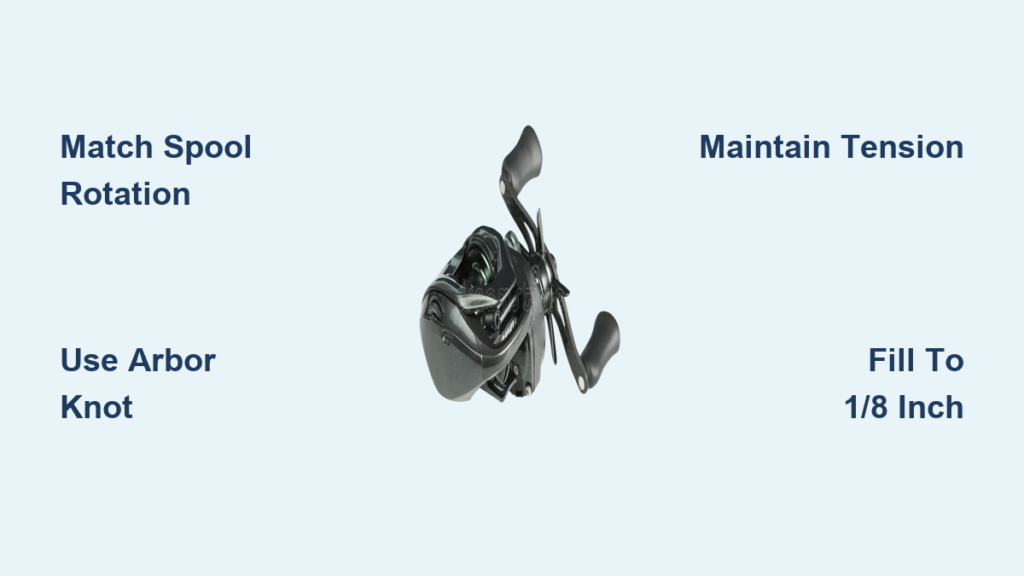
Wind Line Under Proper Tension

Proper winding prevents loose coils, memory, and those frustrating tangles that ruin a fishing trip.
Set Drag to Moderate Tension
Adjust the tension dial to a medium setting. This adds internal resistance, helping the line lay evenly as you wind. Too loose and the line will overlap. Too tight and you’ll strain the gears.
Maintain Finger Pressure at First Guide
Hold the line between your index finger and thumb at the bottom rod guide. Apply light, consistent pressure as you crank. This manual tension keeps coils tight and prevents slack buildup that leads to tangles.
Crank Handle Clockwise
Turn the reel handle clockwise at a steady pace. After forty to fifty turns, pause and check the line lay. If it’s piling up on one side, guide it gently with your finger to spread it evenly across the spool width.
Pro Tip: Place the line spool on the ground label-side up so it unrolls in the correct direction. This reduces line twist significantly.
Fill to Correct Capacity
Overfilling is the most common mistake and the main cause of casting tangles. Getting this right makes all the difference.
Stop 1/8 to 3/16 Inch Below Rim
The line should sit one-eighth to three-sixteenths inch (three to five millimeters) below the outer edge of the spool. Overfilling causes line to jump off during casting. Underfilling reduces capacity and casting distance.
Visual Check: Look at the spool from the side. You should see a small gap between the line and the rim.
Check Reel’s Line Capacity Label
Most reels list specs on the base. For example, a Shakespeare Synergy Steel 10 Siiz holds seventy-five yards of ten pound test mono. Generic one-thousand-size reels typically hold sixty to eighty yards of six to ten pound test. Never exceed the recommended yardage.
Finish and Test Your Setup
These final steps ensure your reel performs when it matters most on the water.
Cut and Secure Excess Line
After winding, cut the line, leaving eighteen to twenty-four inches of tag end. Wrap it around the reel handle to keep it from slipping into the cover. Then cut off the excess cleanly.
Thread Line Through Extrusion Hole
If you haven’t already, run the line through the center hole in the spool cover before screwing it on. This ensures a straight path and smooth flow during casting.
Test Cast with a Lure
Tie on a lightweight lure or hook. Press the thumb button and make three to five practice casts. The line should release smoothly without looping, snagging, or hesitating.
If tangles occur: You likely overfilled the spool or wound under too little tension. Re-spool with attention to fill level and finger pressure.
Fix Common Relining Problems
Even with care, issues can arise. Here’s how to solve them fast.
Line Tangles During Casting
Cause: Overfilling or loose winding
Fix: Unspool down to the proper level and re-wind with consistent tension
Line Slipping on Spool
Cause: Poor knot or smooth spool surface
Fix: Retie using the double overhand slip knot and ensure it’s cinched tight
Cover Won’t Screw On
Cause: Cross-threading or debris in threads
Fix: Remove cover, clean threads, realign, and turn slowly. Never force it.
Uneven Line Distribution
Cause: No manual guidance during winding
Fix: Pause every twenty to thirty cranks and use your finger to shift line side-to-side
Poor Casting Distance
Cause: Overfilling, line memory, or wrong line type
Fix: Check fill level, use fresh high-quality mono, and avoid braid
Maintain Your Reel for Long Life
Proper care extends your reel’s performance and reliability for years.
Rinse After Saltwater Use
Rinse the reel with fresh water after every saltwater trip. Focus on the spool area and button mechanism. Salt buildup causes corrosion and drag issues that ruin performance.
Store in Cool, Dry Place
Keep the reel out of direct sunlight and extreme heat. UV rays weaken both line and plastic components. A soft reel bag provides extra protection.
Re-Spool Every 6-12 Months
Even if line looks fine, replace it at least once per season. Old line loses strength and develops memory that causes tangles.
Inspect Line Before Each Trip
Check for nicks, frays, or stiffness. A quick visual scan prevents mid-fight breakages that cost you the fish of a lifetime.
Expert Tip: Don’t cheap out on line. Good line casts better, lasts longer, and gives you confidence when the big one bites.
Frequently Asked Questions About Changing Fishing Line on a Closed Reel
How often should I change the line on my spincast reel?
You should change the line at least once every six to twelve months with regular use. Replace it immediately after heavy use, saltwater exposure, or any snagging incident. Old line is a leading cause of lost fish due to unexpected breakage under pressure.
Can I use braided line on a closed reel?
Braided line is generally not recommended for most spincast reels. Its thin diameter can sink too deeply into the spool, causing overfilling and jams. It also tends to slip on smooth spools without backing. If you want to use braid, apply it as backing and tie on a mono or fluorocarbon leader.
What happens if I overfill my spool?
Overfilling causes the line to jump off the spool during casting, leading to tangles, backlash, and poor performance. The line should sit one-eighth to three-sixteenths inch below the outer rim of the spool.
Why does my line slip off the spool after I tie it?
Line slipping indicates a poor knot or insufficient tension. Use the double overhand slip knot method and ensure it’s cinched tight against the spool. Make sure the knot is pulled firmly before trimming.
What pound test line should I use for my closed reel?
Match the pound test to your rod’s recommendations, typically printed on the blank. For most spincast reels, six to ten pound test monofilament works well. Check your reel’s capacity label for specific limits.
Why is my casting distance poor after re-spooling?
Poor casting distance usually results from overfilling the spool, line memory from old or low-quality line, or using the wrong line type. Check your fill level, use fresh high-quality monofilament, and avoid braided line.
Key Takeaways for Changing Line on Your Closed Reel
Changing fishing line on a closed reel doesn’t take long, but doing it right makes all the difference on the water. Stick with monofilament or fluorocarbon for best performance, avoid overfilling the spool, and always wind under tension using your finger to guide the line evenly.
The double overhand slip knot is your best friend for securing line to the spool. Take time to align threads when reinstalling the cover, and never force anything. After re-spooling, test with several practice casts before your fishing trip to catch any issues early.
With this routine, your spincast reel will deliver smooth, reliable performance cast after cast, season after season. Regular maintenance and quality line are the secrets to never missing a bite because of gear failure.