
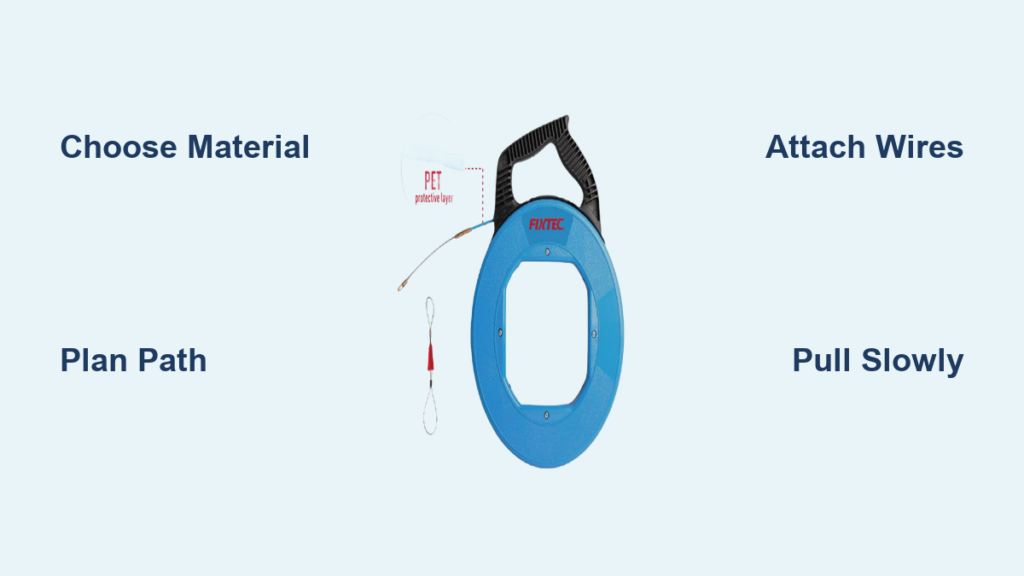
If you’ve ever needed to run electrical wire through a wall, conduit, or ceiling, you’ve likely encountered the challenge of hidden pathways. That’s where fishing tape comes in. This essential tool allows electricians and DIYers to guide wires through tight, enclosed spaces with precision and control. Whether you’re upgrading a circuit, installing a new outlet, or adding lighting, knowing how to use fishing tape properly can save time, prevent damage, and ensure a clean, professional result.
Using fishing tape isn’t just about shoving a stiff wire through a hole. It involves planning, technique, and safety. A poorly executed pull can lead to snagged wires, damaged insulation, or even injury. But when done right, it’s a smooth, efficient process. In this guide, you’ll learn how to feed, attach, and pull wire using fishing tape, plus pro tips for avoiding common mistakes, managing friction, and troubleshooting issues on the fly.
Choose the Right Fish Tape Material for Your Project

Not all fish tapes are the same. The material determines where and how effectively it can be used. Selecting the correct type before starting your project can mean the difference between a smooth pull and a frustrating stuck tape.
Steel fish tape offers maximum push strength and is ideal for long conduit runs. It excels in pushing power, making it the preferred choice for EMT or PVC runs where distance is a factor. However, steel is conductive and can pose a risk if it contacts energized circuits. It also rusts if it gets wet, so avoid using it in damp environments.
Fiberglass fish tape is non-conductive, making it the safest option for working near energized panels or in unknown environments. It eliminates the risk of electrical shock associated with metal tapes. While it offers less pushing power compared to steel, its safety profile makes it indispensable for retrofit scenarios.
Nylon or polymer tapes are best for short, tight wall cavities. They’re highly flexible but lack the stiffness needed for conduit runs. These work well for navigating complex, short-distance obstructions but aren’t suitable for long-distance work.
For most home electrical projects involving walls or ceilings, fiberglass or steel (if de-energized) are the top choices.
Plan the Wire Pull Path Before Starting
Successful wire pulling is determined before the tape is ever inserted. Rushed planning often leads to stuck pulls, damaged insulation, and extended project times. Take time to assess your route thoroughly.
Before inserting the tape, evaluate the specific constraints of your run. Confirm the conduit diameter and expected number of conductors to ensure compliance with conduit fill limits. Overfilled conduits dramatically increase pull tension and can cause wires to bind.
Estimate the total length and count the number of bends. A run with multiple 90-degree bends behaves differently than a straight 40-foot shot. Bend count is as critical as distance.
Check for fire blocking in walls, insulation density, unexpected horizontal bracing, or tight radius sections in the conduit. These hidden obstacles can stop your tape cold.
Verify all circuits in the area are de-energized using a voltage tester before beginning work. This is non-negotiable for safety.
When possible, feed the tape from the end with fewer bends. Feeding from the easier direction reduces cumulative friction during the initial pass.
Feed Fish Tape Through Conduit and Wall Cavities
The goal of the feed is to navigate the tape through the path without kinking or binding. Proper technique during this phase prevents most common problems.
Pull 5 to 6 inches of the fish tape out of the plastic housing. Do not unreel the entire length at once. Some models require pressing a release button, while others allow direct pulling.
Insert the tape slowly into the conduit or wall opening with steady forward pressure. Keep one hand near the feed point to guide alignment.
Rotate the tape gently when resistance appears. This rotation helps the tip navigate bends and couplings. If the tape binds or stops hard, do not force it. Forcing forward creates permanent kinks that weaken the tape.
Instead, pull back slightly, rotate, and refeed. If resistance increases sharply, stop immediately to assess for obstructions or tight bends.
Continue feeding until a foot or two of the tape is exposed at the destination end.
Navigate Bends and Obstructions Without Snagging
Bends are the biggest challenge when learning how to use fishing tape. The tape tip must pivot smoothly through elbows and turns without catching.
Rotate the tape as you push. This helps the tip pivot through elbows. Use a slight twisting motion to walk the tape around corners.
For 90-degree bends, feed slowly and let the tape’s natural curve do the work. The tape wants to go straight, so guide it gently around the turn.
If the tape sticks, pull back 6 to 12 inches, rotate 90 degrees, and try again. This change in orientation often allows the tip to find the next section.
For wall cavities, listen for scraping sounds. This may indicate contact with wood or insulation. Adjust your angle or use a flexible rod to redirect.
Never force the tape through a bend. Forcing causes kinks that weaken the metal and create snagging points for future pulls.
Attach Wires to Fish Tape Securely
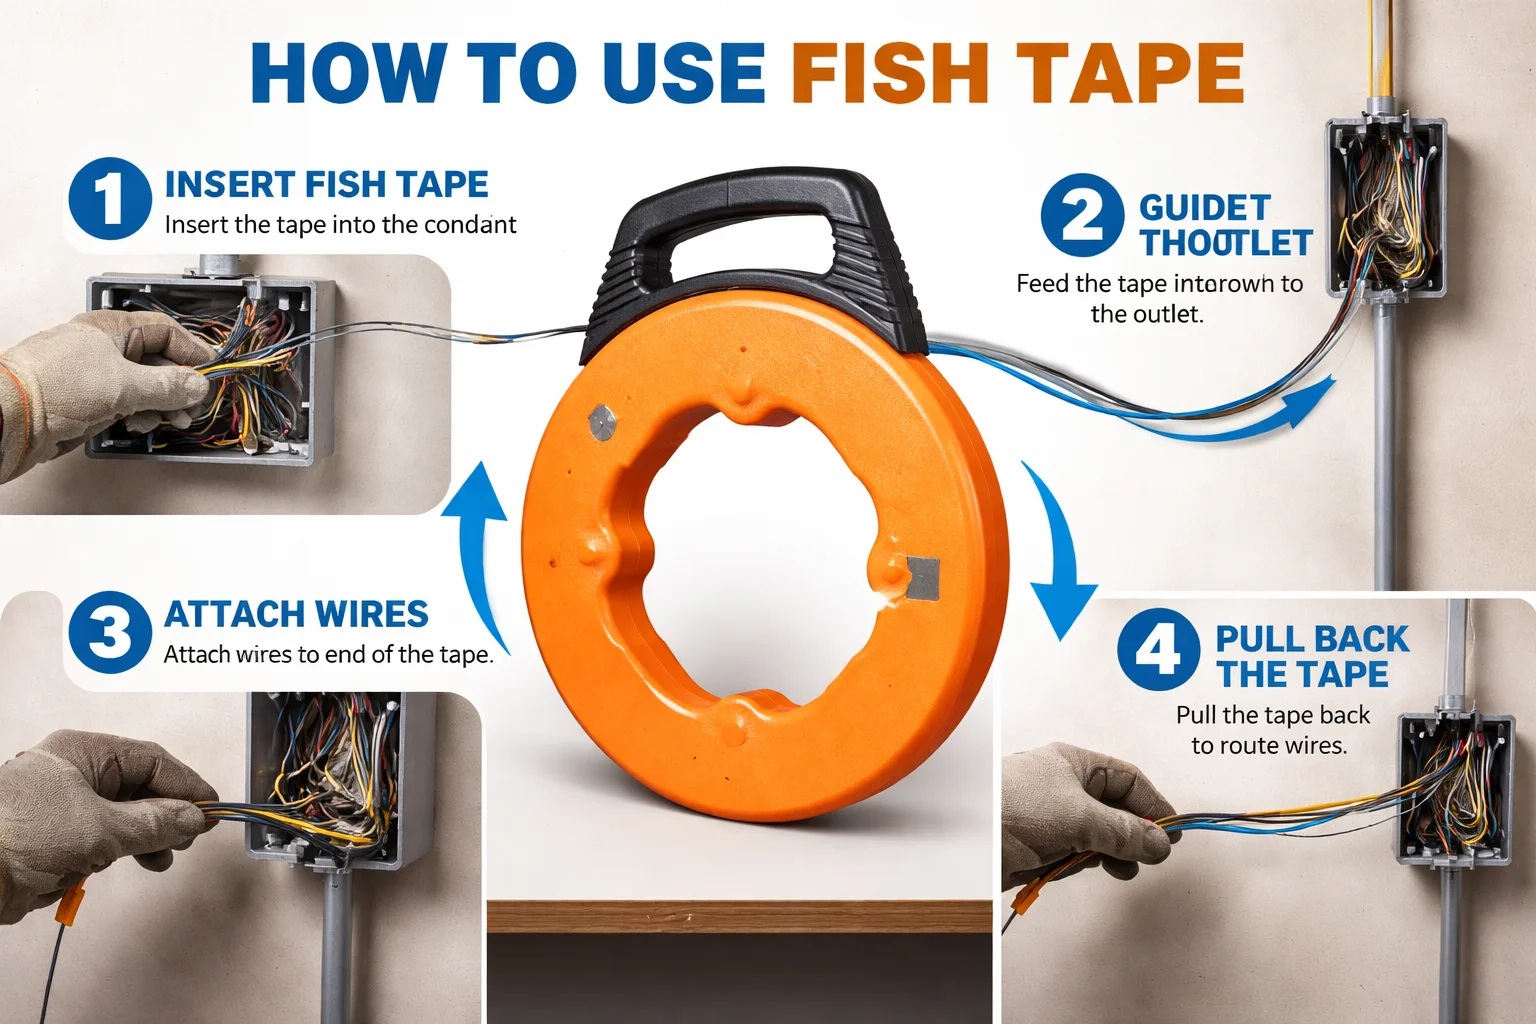
Properly attaching the wires to the fish tape is the most common failure point in wire pulling. The objective is to create a head that is compact, tapered, and smooth to prevent snagging.
Use a cable sheathing ripper to remove the outer sheathing from the electrical cable, exposing several inches of the individual wires. Strip the plastic insulation from the ends of the wires to expose the copper.
Twist the exposed copper wires together tightly. Leave one wire slightly loose at the very end for attachment if using a hook method, or twist all together if threading.
Thread the copper through the fish tape’s eyelet or hook. Tamp down the wires tightly by hand so the bundle is smooth with no protruding strands.
Wrap the connection tightly with electrical tape. Start where the wires attach to the fish tape and end the wrap at the cable sheathing. Use only one layer of tape, ensuring it is tight and smooth.
Form a gradual taper at the transition point between the fish tape and the wire bundle. A bulky joint will catch on couplings. A tapered joint will slide through smoothly.
Use wire-pulling lubricant on the taped section for long or tight runs to reduce friction.
Pull Wire Through Conduit with Control
Pulling requires coordination and controlled tension to prevent insulation damage or connection failure. Rushing this step ruins otherwise good work.
For long runs, utilize two people. One pulls steadily at the reel end while the other feeds the cable at the entry point to relieve tension. Communication regarding resistance changes is vital.
Pull the fish tape back slowly and patiently. Avoid jerking motions, which increase the risk of insulation scraping, connection separation, and sudden recoil.
If using lubricant, apply a small amount to the wire head before it enters the conduit. This is especially important for runs over 50 feet or those with multiple bends.
If the wire binds halfway, stop. This usually indicates friction buildup or a dry conduit section. Add lubricant if possible and resume with steady tension.
Pull at least 12 inches of wire through before disconnecting. This prevents the cable from retracting and being lost inside the wall or conduit.
Troubleshoot Common Fish Tape Problems
Even with proper technique, issues can arise. Knowing how to diagnose and fix them quickly saves time and prevents damage.
If the tape stops hard at one location, you likely hit a tight bend, obstruction, or fire block. Back out slightly, rotate the tape, and refeed gently. Do not force.
If the wire binds halfway during the pull, friction buildup or a dry conduit is the culprit. Apply wire-pulling lubricant. Ensure the pull is steady and not jerky.
If the tape kinks during feed, excessive force was applied at an obstruction. Remove the tape and inspect for permanent damage. If kinked, the tape may need replacement or heat repair.
If insulation appears scuffed after the pull, high friction or sharp fitting edges are likely to blame. Inspect conduit fittings for burrs. Ensure proper lubrication was used. Verify the wire head was tapered correctly.
If the tape gets stuck on sharp edges, the head is poorly shaped or rusted. Repair the head using the heat method. Clean rust and apply light oil if appropriate for the environment.
Repair a Damaged Fish Tape Head
A bent or misshapen fish tape head can snag on every turn, ruining a pull. While many attempt to fix bends with pliers alone, this often results in a flat, uneven tip. The professional method involves heat treatment to restore the metal’s pliability.
Use a torch to heat the bent head of the fish tape for approximately 10 seconds. This process makes the metal more pliable, reducing the risk of cracking or breaking during reshaping. This is particularly effective in cold weather when metal is brittle.
Once heated, use needle-nose or lineman’s pliers to gently shape the head. The goal is a smooth, rounded point with a slight curve, known as a kickback. This design allows the tape to glide through conduit with minimal resistance.
Allow the metal to cool completely before touching. The metal will be extremely hot immediately after heating.
This technique restores functionality, extends the tool’s life, and improves wire-pulling efficiency by eliminating snag points.
Stay Safe While Using Fish Tape
Working with fish tape involves significant physical and electrical hazards that require strict adherence to safety protocols. Never skip these precautions.
Always de-energize circuits before starting. Use a voltage tester to confirm power is off. This is the most critical safety step.
If working near live panels or if the status of wiring is uncertain, use fiberglass fish tape only. Steel conducts electricity and can cause electrocution.
Wear safety glasses at all times. The fish tape is a stiff, high-tension metal strip that can whip unpredictably if released suddenly. Eyes are vulnerable to flying debris.
Wear heavy-duty gloves to prevent knuckle bruises, cuts, and abrasions caused by the tape catching on conduit edges or sliding through hands during a pull.
Never open the fish tape reel casing unless replacing the tape. Uncontrolled unspooling can cause injury.
When to Use Fish Rods Instead of Fish Tape

Fish tape excels in long, enclosed runs. But for short, open cavities, fish rods may be better. Knowing when to switch tools makes you more efficient.
Use fish rods for attic-to-wall runs, stud bay work, or short vertical drops. They’re rigid, steerable, and ideal for precise placement in open cavities.
Use fish tape for conduit, long horizontal runs, or multiple bends. It excels in length and navigating continuous pathways.
Fish rods lack the continuous flexibility of tape for long conduit pulls. However, they offer superior steering precision for short, specific cavity runs.
Some pros use both. A rod reaches the cavity, then tape pulls the wire. This combination handles complex jobs efficiently.
Key Tips for Successful Wire Pulls
Master these professional techniques to ensure clean, efficient installations every time.
Taper every connection. A smooth transition prevents 90% of snags. The transition from tape to wire must be smooth and tapered.
Never force the tape. Back off and refeed instead. Muscle does not solve friction. Planning does.
Use two people for pulls over 30 feet. Coordination prevents kinks and damage.
Check conduit fill. Don’t exceed 40% for three or more wires. Overfilling is a primary cause of failed pulls.
Label wires before pulling for easy identification later. Tape the hot, neutral, and ground wires together before pulling.
Work patiently. Rushed pulls lead to damaged insulation and stuck wires. Move slowly, especially when passing through insulation or unknown wall cavities.
Frequently Asked Questions About Using Fish Tape
What is the best fish tape material for home electrical work?
Fiberglass is best for most home projects involving walls and ceilings because it’s non-conductive and safe for retrofit work. Steel is better for long, straight conduit runs where maximum push force is needed, but only if circuits are de-energized.
How do I prevent wires from snagging during a pull?
Create a smooth, tapered connection between the fish tape and wires. Strip the cable sheathing, twist wires tightly, and wrap with electrical tape starting at the fish tape and ending at the sheathing. Form a cone shape at the transition point.
Can I use fishing tape in damp environments?
Avoid steel fish tape in damp conditions because it rusts. Fiberglass or nylon tapes are better for wet environments. If steel tape gets wet, dry it thoroughly before storage to prevent corrosion.
How do I know if my fish tape is damaged?
Check for kinks, bends, rust, or a misshapen head. A damaged head catches on every coupling and fitting. If the tape kinks during use, inspect it carefully. Kinks weaken the metal and can cause breakage during pulls.
Do I need lubricant for wire pulling?
Use wire-pulling lubricant for runs over 50 feet, those with three or more bends, or when pulling multiple cables. Lubricant reduces jacket heat buildup, lowers friction, and preserves insulation integrity. Use only lubricants rated for electrical use.
Final Takeaways for Mastering Fish Tape
Knowing how to use fishing tape transforms complex wiring jobs into manageable tasks. By choosing the right tape material for your environment, planning the path carefully, and creating a smooth wire head, you’ll avoid the frustration of stuck pulls and damaged insulation.
The most critical skills are patience and preparation. Plan your route, assess obstacles, and feed the tape gently. Never force it through bends. When attaching wires, create a tapered, snag-resistant connection. Pull slowly and steadily with proper lubrication.
Whether you’re a seasoned electrician or a determined DIYer, these techniques will help you fish wire like a pro. Practice on simple runs first, then tackle more complex projects as your confidence grows. With the right approach, you can install wires efficiently, safely, and successfully every time.





