A push button fishing reel that won’t cast or retrieve properly can ruin your day on the water. Whether the button is stuck, the handle won’t turn, or the line won’t release, most issues stem from simple mechanical problems not permanent damage. The good news? Fixing a push button fishing reel is usually quick, tool-free, and takes less than 10 minutes. This guide walks you through every common failure, how to diagnose it, and exactly how to fix it using proven methods from experienced anglers and repair experts.
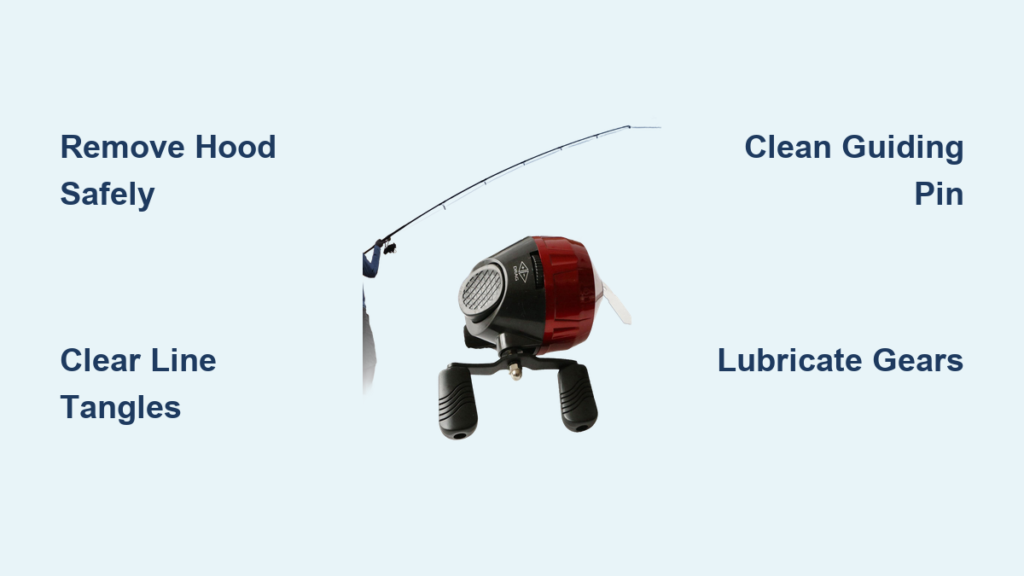
Remove the Reel Hood Safely
Before diagnosing any issue, expose the internal mechanism by removing the top cover commonly called the hood.
Unscrew the Hood Correctly
Rotate the hood counterclockwise to remove it. On some models, a set screw may secure the mechanism, so loosen it first with a small screwdriver. Hold the internal parts as you unscrew because the spring and lever may pop out when pressure is released.
This matters because the hood keeps everything aligned. Removing it gives full access to the nub, lever, guiding pin, spring, and drive pin, which are the core components responsible for casting and retrieval.
Check for Sudden Button Release
If the push button suddenly springs up when the hood is removed, that’s normal. It means the spring is functional and under tension. If the button doesn’t move at all, suspect seized components or internal tangles blocking the mechanism.
Diagnose the Core Problem
Most push button reel failures fall into a few predictable categories. Use these visual and functional checks to pinpoint the issue.
Button Won’t Press Down
Line Tangle Blocking the Lever
Look for fishing line wrapped around the spring, lever, or pin. Even a small loop can lock the mechanism completely. Fix this by carefully pulling out tangled line by hand or with tweezers. Avoid cutting unless absolutely necessary.
Seized Guiding Pin
The metal pin must slide smoothly in its channel. If it’s stuck, try pushing it in and out manually. If it remains immobile, corrosion or gunk is likely the cause. Gently bend the metal channel with needle-nose pliers to free the pin, but never force it.
Misaligned Hood
A loose or crooked hood pushes the mechanism upward, blocking the nub from moving properly. Look for a visible gap between the hood and reel body. Fix this by ensuring the hood sits flush before tightening.
Clean Internal Components Thoroughly
Dirt, salt, sand, and dried grease are silent killers of spincast reels. Cleaning restores smooth operation and prevents future jams.
Wipe Down All Exposed Parts
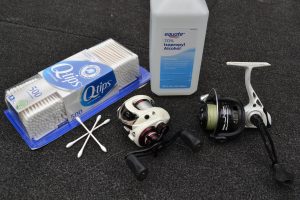
Use a clean, dry cloth to remove dust and grime from all internal components. For stubborn buildup, dip a cotton swab in isopropyl alcohol and wipe the pin channel, lever pivot, gear teeth, and spring. Never soak the reel because moisture can damage internal parts.
Focus on High-Friction Zones
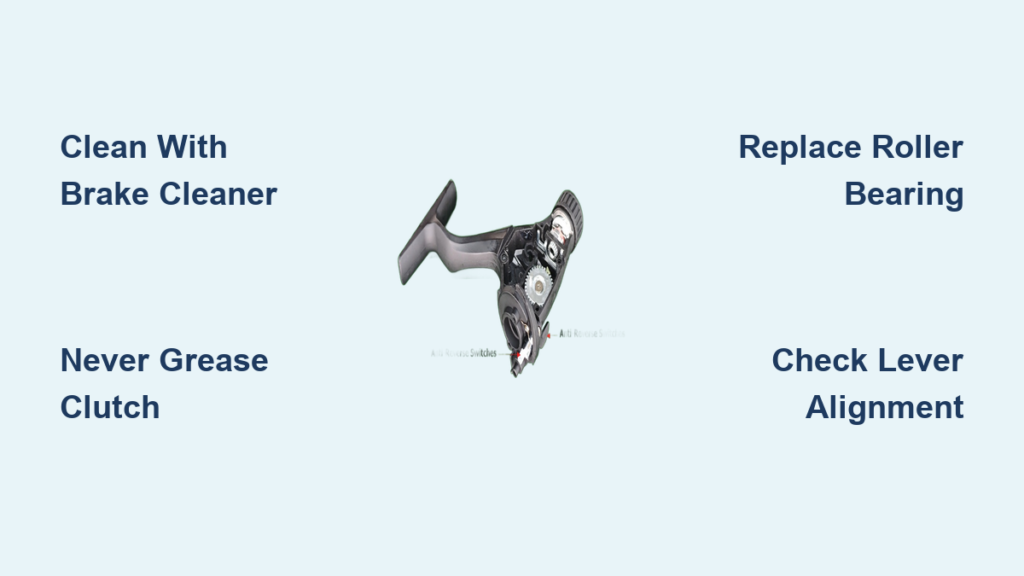
The guiding pin and channel are most prone to sticking. The lever pivot point can seize if dirty or dry. Gear teeth need cleaning with a soft brush to remove grit that causes grinding or skipping.
Avoid using WD-40 or household oils because they attract dirt and degrade rubber seals over time.
Lubricate Key Moving Parts
Proper lubrication prevents future jams and ensures smooth button action for months to come.
Apply Oil to Critical Points
Use this guide to lubricate each component correctly.
Guiding pin and channel require reel oil. Apply 1 to 2 drops and press the button to work it in. Lever pivot needs silicone-based oil applied sparingly to the pivot point. Spring needs a light oil coating to prevent sticking. Button contact points require reel oil applied to both sides where the button slides.
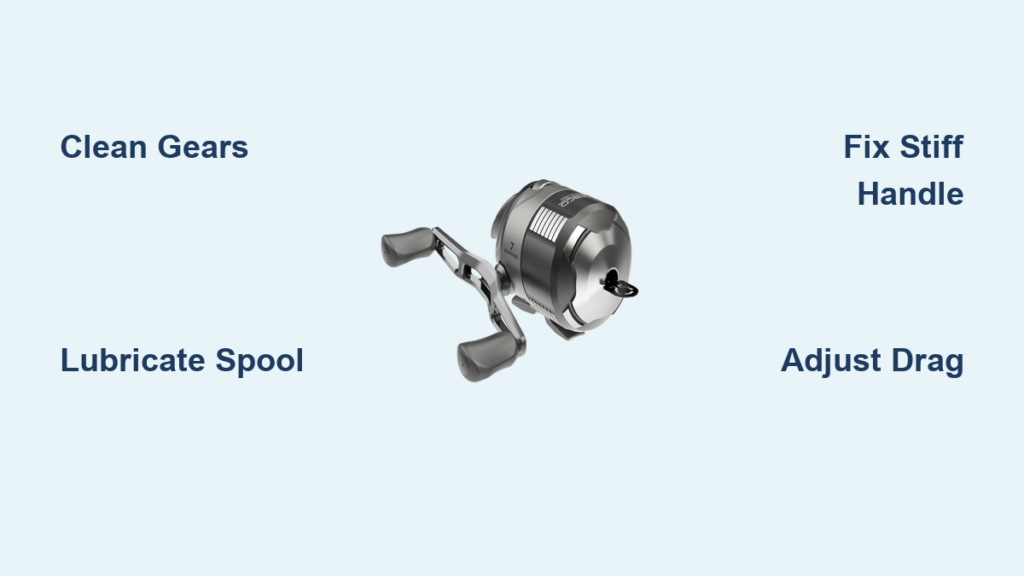
Grease the Gears
Use reel-specific grease like Abu Garcia Silicone Lube. Apply a pea-sized amount to gear teeth, then rotate the handle to distribute evenly. Never use motor oil or grease because they attract debris and gum up gears.
Store silicone lube pen-side up to prevent leakage from the rubber stopper.
Reassemble with Precision
Reassembly is where most mistakes happen. One wrong move and the reel jams again, requiring another disassembly.
Position Line Against the Drive Pin
Before replacing the hood, pull out 2 to 3 feet of line and lay it against the drive pin. Do not wrap it around the pin. Alternatively, thread the line through the white line guide eyelet on the hood.
Line should lean against the drive pin, not wrap around it. Wrapping prevents proper release during casting.
Screw Hood On Securely
Align the hood so it sits flush with the reel body. Turn clockwise until snug. Do not over-tighten because this can strip plastic threads or deform the housing.
Use the Reset Method for Stuck Buttons
If the button still won’t move after reassembly, use this advanced technique to reset alignment.
Hold Button While Reattaching the Hood
Remove the hood. Press and hold the button down. While holding it, screw the hood back on. Release the button.
This method resets the nub and lever alignment, ensuring the spring returns the nub to its extended position properly.
Test the Reel Function
After reassembly, verify every function works as expected before heading to the water.
Button Depresses and Clicks
Press the button and it should go down smoothly. Release it and it should snap back with a distinct click. The nub retracts when pressed and extends when released.
Handle Turns Smoothly
Rotate the handle forward in the retrieve direction. It should turn without resistance. The drive pin catches the line and winds it evenly. There should be no grinding or skipping.
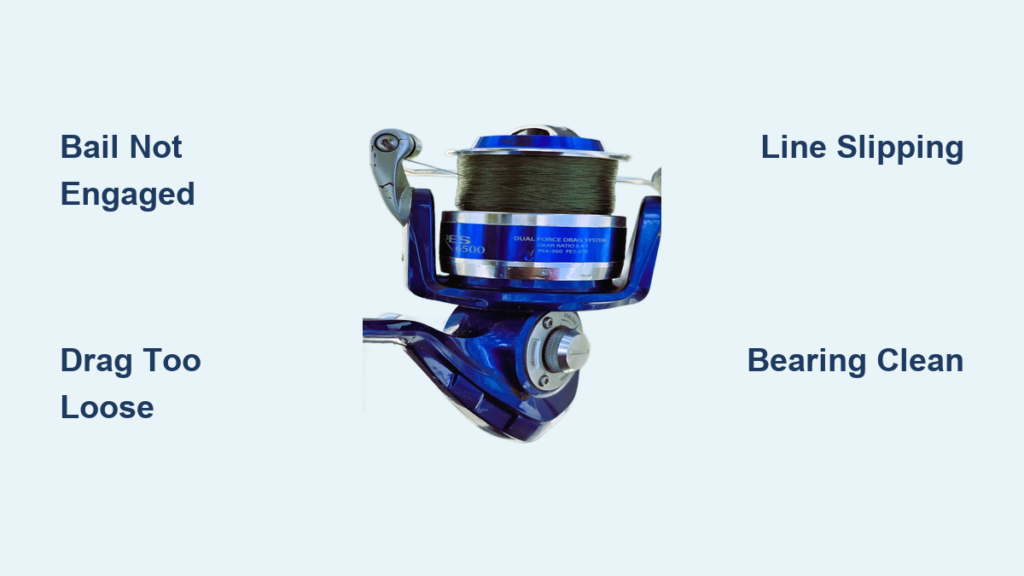
Line Releases and Locks
Press and hold the button and the line should pull freely. Release the button and the line should lock instantly. Test with gentle tension by pulling line while releasing the button. It should stop abruptly.
Troubleshoot Common Symptoms
Use this quick-reference guide to fix persistent issues.
Reel Spins But Won’t Retrieve Line
Cause: Line not on drive pin or hood loose. Fix by repositioning line against drive pin and tightening hood securely.
Button Stays Depressed
Cause: Spring failure, lever jam, or debris. Fix by clearing debris, checking spring tension, and realigning the guiding pin.
Jerky or Stiff Handle
Cause: Over-tightened drag or dry gears. Fix by loosening the drag knob and lubricating gears and bearings.
Skipping Noise During Retrieval
Cause: Worn, chipped, or misaligned gears. Inspect gear teeth and replace the reel if teeth are damaged.
Poor Casting Distance
Cause: Low line level or dirty mechanism. Rewind with fresh line and clean and lubricate internals.
Replace line when low because spincast reels don’t cast well with underfilled spools.
Prevent Future Problems
Most failures are preventable with simple maintenance habits that take just a few minutes after each fishing trip.
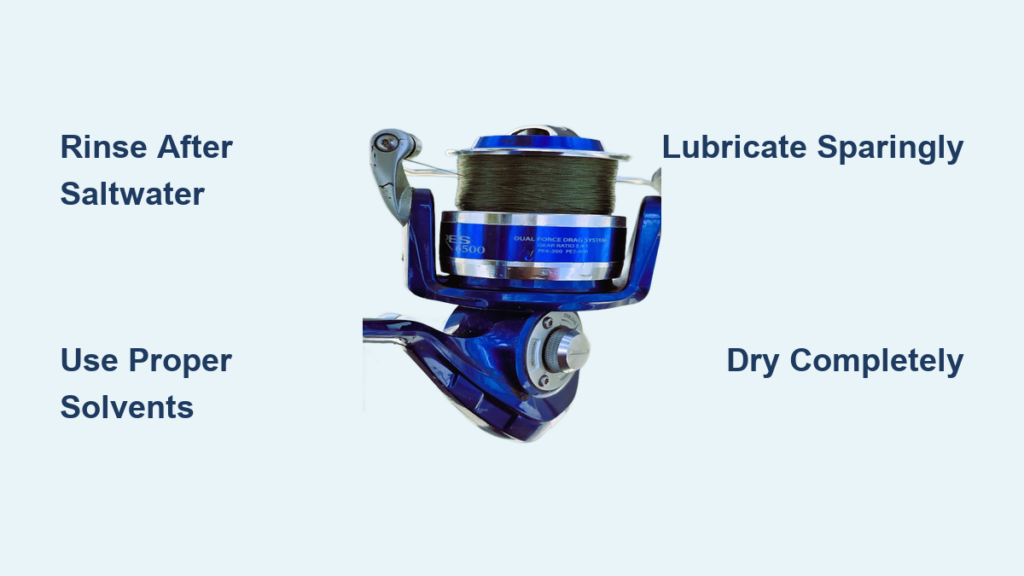
Clean After Every Use
Especially after saltwater fishing, remove the hood and wipe down internals. Clean the top after use to prevent dried gunk from building up.
Rinse and Dry Thoroughly
Rinse the reel with fresh water, avoiding submerging electronics. Air dry completely before storage.
Lubricate Every 6 to 12 Months
Lubricate more often if used heavily. Always use reel-specific lubricants only.
Replace Line Regularly
Spincast reels degrade line faster due to internal friction. Replace when spool level drops below one-quarter full.
Store with Button Released
This prevents spring fatigue. Keep line loose and store the reel in a dry place.
Know When to Replace the Reel
Some issues aren’t worth fixing. Here’s how to decide.
Repair If
Problem is due to dirt, tangles, or misassembly. The reel is relatively new and cleaning restores function. It only needs lubrication or realignment.
Replace If
Gears are chipped or stripped. The button mechanism is broken. Multiple failures occur on a brand new reel, which indicates a manufacturing defect.
Final Check: Is the Repair Successful?
Before heading out, confirm all functions work.
The button depresses smoothly and clicks when released. The nub retracts fully when pressed and extends when released. The handle turns freely and winds line properly. The hood is flush and secure with no wobble. The line releases when the button is pressed and locks instantly when released.
If all checks pass, the push button fishing reel is ready for action.
Frequently Asked Questions About Push Button Fishing Reels
Why won’t my push button reel cast even though the button moves?
The line may not be positioned against the drive pin correctly. Open the hood and ensure the line rests against the drive pin rather than wrapping around it. Also check that the guiding pin moves freely in its channel.
How do I fix a sticky push button that won’t return to position?
Clean the guiding pin and channel thoroughly with isopropyl alcohol, then apply reel oil to the pin and pivot point. If the pin is seized, gently bend the channel with needle-nose pliers to free it.
Can I use WD-40 on my fishing reel?
No. WD-40 attracts dirt and degrades rubber seals. Use reel-specific oil and grease instead.
Why does my reel spin freely but not retrieve line?
The line is likely not engaged with the drive pin. During reassembly, pull out 2 to 3 feet of line and position it against the drive pin before screwing the hood back on.
How often should I lubricate my spincast reel?
Lubricate every 6 to 12 months, or more frequently if used heavily or in saltwater conditions.
Is it worth repairing an old push button reel?
If the problem is dirt, tangles, or lack of lubrication, yes. If gears are worn, chipped, or the button mechanism is broken, replacement is more practical.
Key Takeaways for Fixing Your Push Button Fishing Reel
Most push button fishing reel problems are not mechanical failures. They are assembly, alignment, or maintenance issues that you can fix in minutes with basic tools and reel-specific lubricants. The key steps are removing the hood, clearing line tangles, cleaning and lubricating the guiding pin and gears, positioning line correctly against the drive pin, and testing all functions before your next trip. Regular maintenance including cleaning after each use, timely line replacement, and periodic lubrication will keep your spincast reel performing reliably for years to come.