If you’ve ever reeled in a catch only to hear a gritty grinding sound, you know how quickly neglect ruins a spinning reel. Salt, sand, dirt, and old lubricant silently destroy internal components until your reel fails mid fight. Learning how to clean a spinning fishing reel properly means the difference between a reel that lasts decades and one that quits after a season. This guide covers everything from quick post-trip rinses to full disassembly, the exact oils and greases to use, and common mistakes that cause more harm than good.
Quick Rinse After Every Saltwater Trip
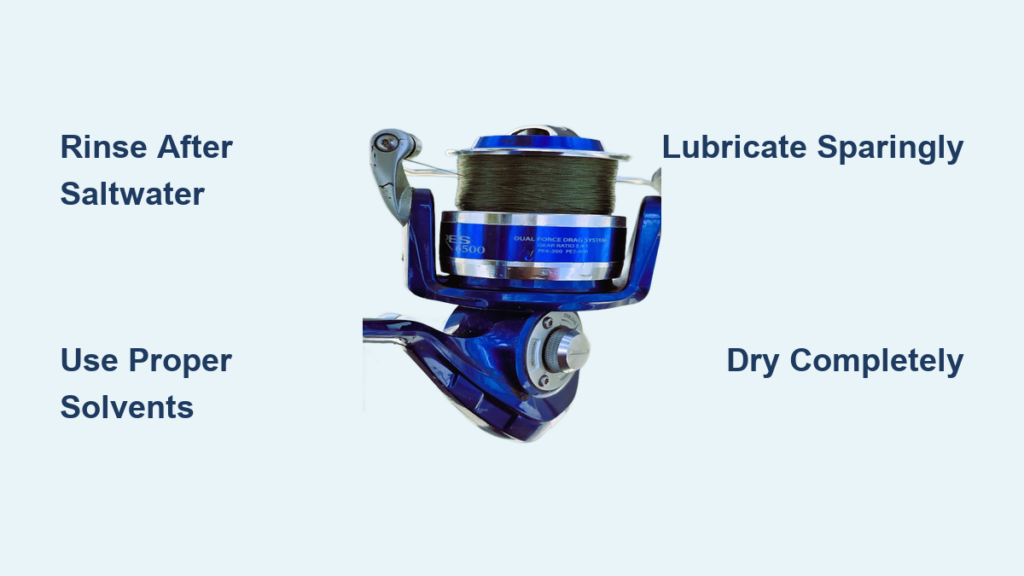
Saltwater is your reel’s biggest enemy. Even brief exposure causes corrosion that weakens metal, damages seals, and ruins drag performance. A quick rinse takes two minutes and prevents most serious damage.
Rinse Safely Without Damaging Seals
Hold the reel horizontally under gentle fresh water. Keeping it horizontal prevents water from flowing into the gearbox or handle shaft. Never use a high-pressure sprayer, which forces moisture past seals.
Focus your rinse on the line roller, bail arm, spool, and drag knob. Rotate the line roller with your finger while rinsing to flush salt from crevices. Braided line absorbs saltwater, so rinse the spool thoroughly.
For Daiwa Mag-Seal reels, remove the handle and opposite side cap. Flush freshwater through each opening to clean the mag-sealed bearings, then point each side downward to drain.
Dry Completely Before Storage
Shake off excess water and air-dry in a shaded, ventilated area. Never store a damp reel in a tackle bag or rod case. Use a hair dryer on cool setting to evaporate residual moisture from bearings and crevices, but never apply heat.
Wipe down with a microfiber cloth after drying to prevent water spots.
Tools Required for Reel Maintenance

Having the right tools makes cleaning faster, safer, and far less likely to cause damage. The wrong screwdriver strips screw heads, especially on older reels.
Essential Tool List
You need microfiber cloths for wiping and polishing, precision screwdrivers in both Phillips and flathead varieties, hex and Torx drivers in metric and SAE sizes, a soft-bristled toothbrush, toothpicks and cotton swabs, tweezers for small springs and washers, masking tape and labels to organize screws by location, and paper towels for absorbing oil.
PB Swiss tools are recommended for hex and Torx drivers. Always test both metric and SAE sizes before attempting to remove screws. A 0.1mm misfit can strip the head completely.
Safe Cleaning Agents to Use
Using the wrong solvent dissolves plastic gears, degrades rubber seals, and strips factory lubricants. Your choice of cleaner matters as much as your technique.
Approved Solvents and Proper Application
Ardent Reel Kleen is a high-performance option safe on most components. Isopropyl alcohol at 70% or higher evaporates quickly and removes light grease. Diluted Simple Green All Purpose Cleaner handles fish blood, salt crust, and stubborn grime. Mild dish soap works for light cleaning but requires thorough rinsing.
Apply solvent to a cloth or napkin, never directly on the reel. Use a toothbrush dampened with solvent for internal cleaning. After soap or Simple Green, rinse thoroughly with fresh water and dry completely.
Chemicals to Avoid
Never use gasoline, lighter fluid, or acetone. These dissolve plastic, rubber, and adhesives. WD-40 is a solvent that removes grease, never use it as a lubricant. Household degreasers containing ammonia corrode aluminum frames.
Disassembling Your Reel Safely
Full disassembly is needed for annual servicing or when performance noticeably declines. Only proceed if you’re confident in your ability to reassemble everything correctly.
Prepare Your Workspace
Cover a clean table with paper or cloth. Label each screw with masking tape strips indicating its location. Take photos or video during disassembly to guide reassembly. Keep small parts in a tray to prevent loss.
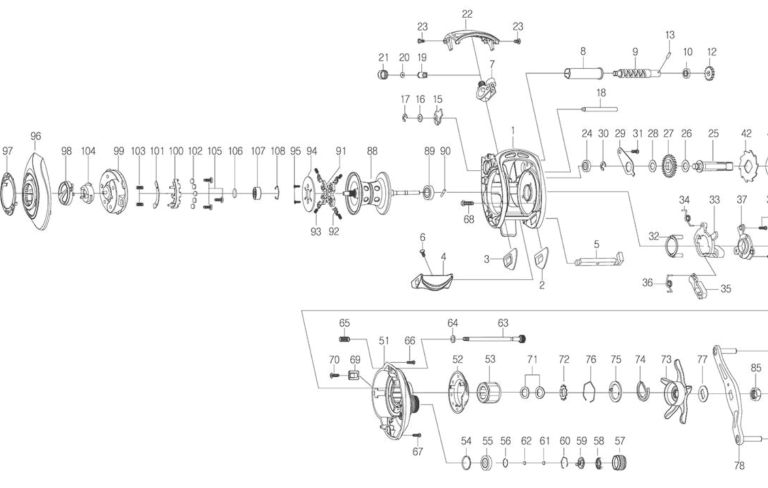
Step-by-Step Disassembly
Remove the handle by spinning it counter-clockwise until it unscrews, or remove the securing bolt with a hex driver. Turn the drag knob counter-clockwise to release tension, then pull the spool straight off the shaft. Note any washers or bushings and keep them in order.
Use a precision screwdriver to remove faceplate screws. Label each screw. Gently lift the plate to expose gears and main shaft. Do not force the plate. Some models have hidden locking tabs or alignment pins.
Cleaning Each Component Thoroughly
Once disassembled, clean each part individually. Never soak the entire reel. Solvents destroy internal lubricants and can warp plastic components.
Spool, Body, and Gears
Remove all fishing line from the spool. Wipe with a degreaser-dampened cloth. Use a toothpick or soft brush to clean the spool lip and crevices. Dry completely before reinstallation.
Wipe the reel body with a grease-cutting rag. Focus on the bail track, drag stack housing, and gear cover area. Use cotton swabs for tight corners.
For gears, do not remove factory grease unless it is dried or contaminated. Brush away sand and grit with a toothbrush. Use Q-tips between gear teeth. Apply one drop of oil only if gears feel stiff.
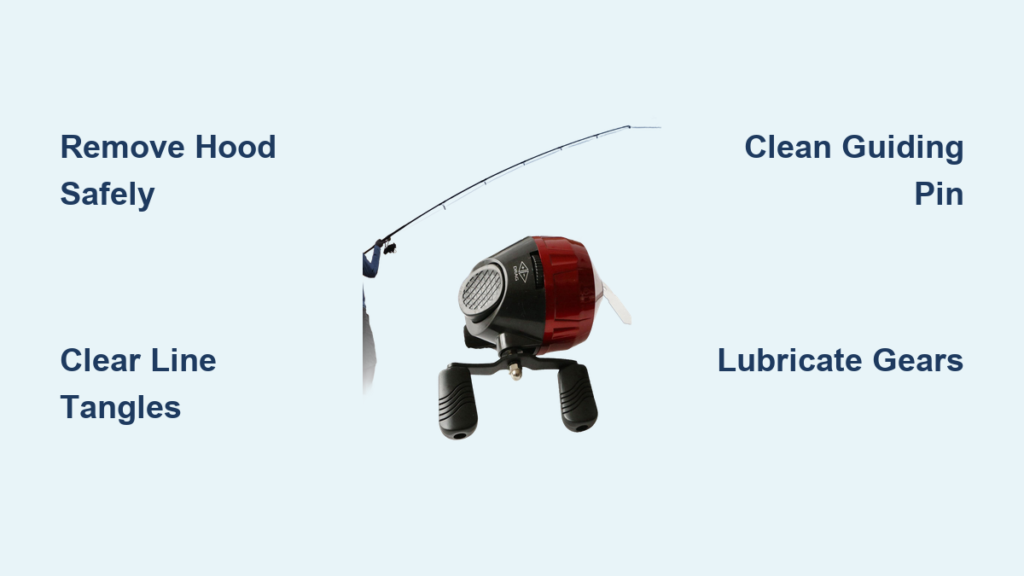
Bail and Roller Bearing Care
Do not remove bail screws unless rebuilding. Open the bail fully and apply one drop of oil to the pivot point and roller bearing. Move the bail back and forth ten times to work in the oil, then wipe off excess.
For the roller bearing, unscrew the side plate opposite the handle and remove the bearing carefully. Inspect for corrosion, grit, or smooth rotation. Clean with isopropyl alcohol and a cotton swab. Apply a tiny amount of oil around the bearing, then reinstall securely.
Never oil mag-sealed rollers. Oil breaks down the magnetic fluid seal.
Lubricating the Right Parts
Over-lubrication attracts dirt, hardens over time, and slows performance. A thin film is all you need. More is not better.
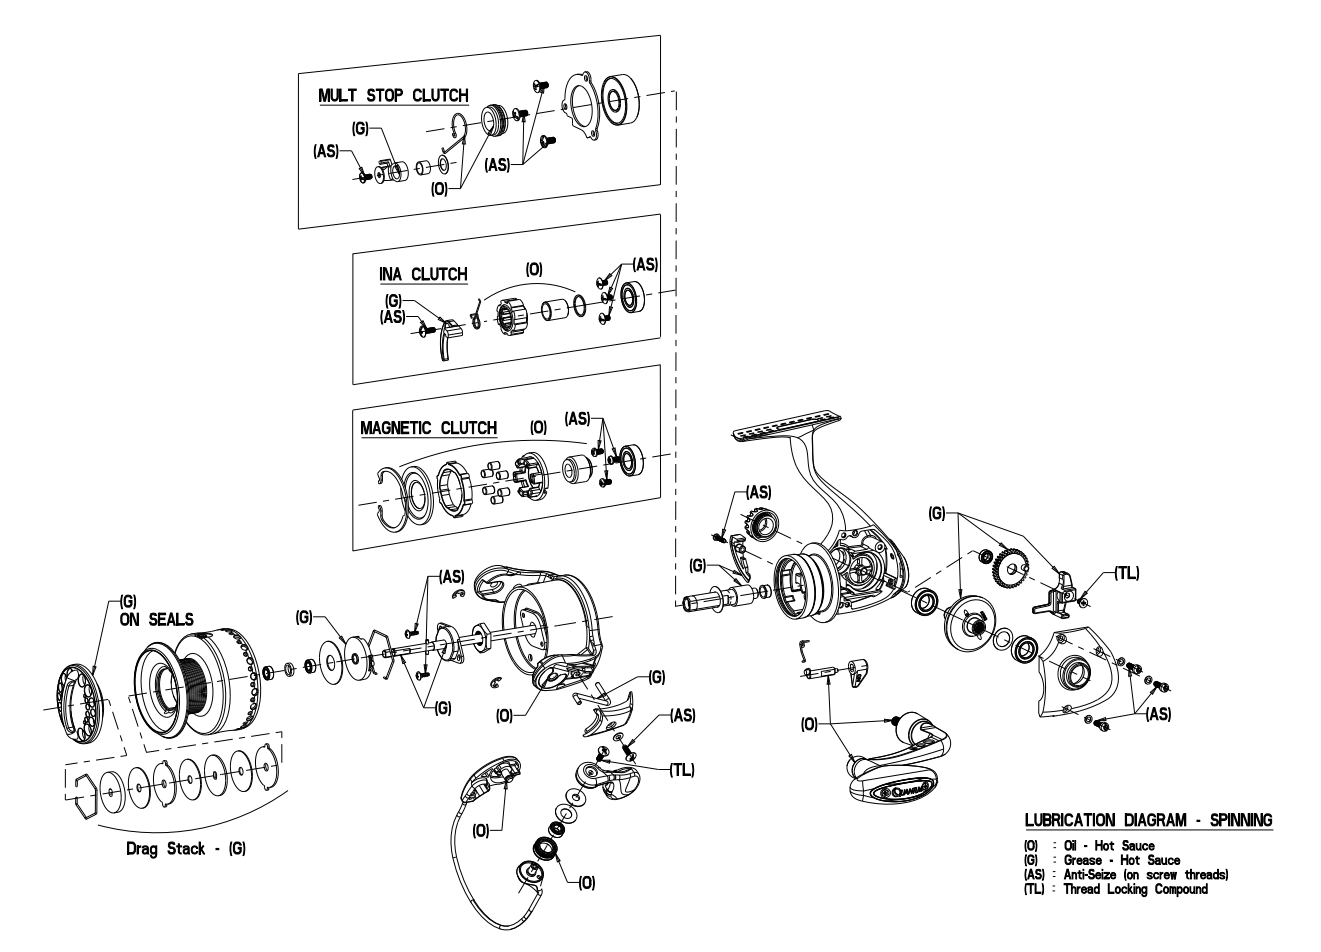
Where to Apply Oil and Grease
Apply one small drop of oil to handle bearings and the screw threads. Apply oil to the handle joint, then rotate the handle twenty times to distribute. Apply one drop of oil directly to the spool shaft, then reel in a few turns to spread it.
Apply reel grease to gear teeth, the bail pivot, bearings, and pin areas. Use oil in tight spots where grease cannot flow.
For the drag system, carbon fiber washers get drag grease. Felt washers get one drop of synthetic oil only, never grease. Dry drag systems need no lubrication.
For Daiwa Saltiga 2020+ models with ATD drag, use only original ATD drag grease. If contaminated, send to Daiwa service.
Reassembling Without Mistakes
Reassembly is where most errors occur. Take your time and follow your photos.
Final Reassembly Steps
Reinstall the faceplate by aligning it with the gear housing, inserting screws, and tightening evenly. Apply grease to gear teeth and the bail pivot, oil tight spots as needed.
Slide the spool onto the main shaft ensuring it sits flush. Lubricate any internal spring with one drop of oil. Thread on the drag knob and tighten, then test smooth rotation.
Apply oil to the handle shaft and screw on clockwise until snug. Tighten by hand, avoiding wrenches. Wipe away excess grease or oil with a dry rag.
Testing Function Before Your Next Trip
Never skip functional testing. A small misalignment causes major problems on the water.
Performance Checklist
Check that the bail opens and closes smoothly. The handle should rotate without resistance. The drag knob adjusts evenly with no stickiness. The spool spins freely when disengaged. All screws should be snug but not over-tightened.
Test the roller bearing by wrapping a cloth around it and securing with a rubber band. Reel slowly. The roller should spin silky smooth and quietly. Any grinding means re-clean or re-lubricate.
Special Care for Vintage Reels
Older reels like the Daiwa 2505 Regal-Z require extra patience. Expect dried grease, stiff parts, and brittle plastic.
Use diluted Simple Green with a soft brush. For stuck screws, apply a 50/50 mix of automatic transmission fluid and acetone via toothpick. Wait two hours, then try again. Soak overnight if needed.
Be gentle. Plastic parts are brittle and break easily.
Best Lubricants for Spinning Reels
Using quality lubricants directly impacts performance and lifespan.
Recommended Oils and Greases
Lou’s Real Oil and Cal’s Bearing Oil are precision oils trusted by professionals. Quantum Hot Sauce Oil and Shimano Reel Oil Spray work well for hard-to-reach spots.
For greases, Quantum Hot Sauce Grease and Ardent Reel Butter are excellent all-around choices. Cal’s Universal Grease works well for gears. Cal’s Drag Grease is proven for carbon fiber drag washers.
Krytox GPL 205 is for internal protected parts. Krytox GPL 225 is for exposed parts like the line roller and main shaft. These are expensive but extremely durable.
Proper Storage to Prevent Damage
A clean reel fails quickly if stored wrong. Proper storage prevents corrosion and preserves components.
Storage Best Practices
Loosen the drag completely to prevent drag washer deformation. Remove fishing line to prevent trapped moisture and line memory. Store in a dry, room-temperature place, never in garages or attics. Cover with a reel bag or cloth to block dust. Keep on a rod or in a case to prevent accidental drops.
Frequently Asked Questions About Cleaning Spinning Reels
How often should I clean my spinning reel?
Clean externally after every saltwater trip. Perform full disassembly and internal cleaning once per year or after heavy use. Lubricate bail, handle, and shaft every sixty to seventy hours of use.
Can I use WD-40 to lubricate my reel?
Never use WD-40 as a lubricant. It is a solvent that removes factory grease and can damage seals and plastic components. Use it only to free stuck parts.
What happens if I over-lubricate my reel?
Excess grease attracts dirt and debris, hardens over time, and actually slows performance. A thin film is sufficient. Too much lubricant creates gunk that interferes with moving parts.
Should I remove the line before cleaning?
Yes. Remove line during annual servicing or when deep cleaning. Braided line absorbs saltwater and traps moisture against the spool, causing corrosion.
Can I service my own high-end reel at home?
Yes, with proper tools, patience, and documentation. Take photos during disassembly. Use the correct lubricants. If uncertain about any step, consult the manufacturer or send to a certified service center.
Key Takeaways for Maintaining Your Spinning Reel
Proper spinning reel maintenance prevents costly failures and extends your reel’s life by decades. Rinse with fresh water after every saltwater trip, dry completely, and store with loosened drag and empty spool. Use only approved solvents and quality lubricants. A thin film of oil or grease is sufficient. Over-lubrication causes more problems than under-lubrication.
Start with external cleaning if you’re new to reel maintenance. Progress to full teardowns only when comfortable. Invest in quality lubricants and proper tools. When in doubt, consult the manufacturer or a certified service center. A well-maintained spinning reel can last generations.