If your line counter reads 93 feet when you have actually deployed 100 feet, you are not fishing accurately. You are guessing. Most line counter reels come factory-calibrated for 20-pound monofilament, but accuracy drops the moment you switch to a different line type, diameter, or spool fill level. Without calibration, your trolling depth, lead length, and lure placement become unreliable, undermining pattern replication and reducing catch rates for depth-sensitive species like walleye, salmon, and lake trout.
Calibrating your reel takes just 5 to 10 minutes and transforms your entire trolling game. Using a simple 100-foot test, you align the counter with your actual line output. The result is repeatable depths, consistent spreads, and confidence in your data. Whether you use monofilament, fluorocarbon, or braid, calibration bridges the gap between gear and performance.
Why Calibration Matters for Accurate Trolling
Fix Inaccurate Factory Settings
Line counter reels arrive pre-calibrated using 20-pound test monofilament under ideal factory conditions. But real-world fishing involves different lines, spool levels, and mechanical wear. Even switching from 10-pound to 12-pound test can throw off readings by 10 to 20 percent, causing lures to run shallower or deeper than intended.
Without calibration, your “200 feet out” might actually be 180 or 220 feet. That is enough to miss the strike zone entirely. Research from Precision Trolling Data, based on over 13,000 line-diameter tests, confirms that uncalibrated reels produce inconsistent depth control and unreliable lure placement.
Enable Reliable Trolling Patterns
Trolling success depends entirely on repeatability. When you find fish at 28 feet with 150 feet of line deployed, you need to replicate that exact setup every time. A calibrated reel ensures every rod deploys the same amount of line, keeping your spread symmetrical and your lures running at predictable depths.
This becomes critical when using digital tools like GPS depth trackers or the Precision Trolling Data app, which calculate depth based on line length, speed, and angle. If your counter is off, the entire dataset becomes flawed.
Step-by-Step Calibration Process

Gather Required Tools
Before starting, collect these items:
- Fishing reel spooled with your intended line
- 100-foot or longer contractor tape measure
- Two stakes or markers for the test zone
- Offshore fishing clip or snap
- Rubber band for securing the clip
- Notepad and pen for recording readings
- Bulk spool of the same line for adjustments
Pro Tip: Use a pre-measured 100-foot section of old line as a quick reference. Mark both ends with tape for easy setup.
Set Up a 100-Foot Test Zone
Choose a flat, open area such as a driveway or field. Drive two stakes into the ground exactly 100 feet apart. Use a high-quality tape measure to verify the distance accurately. Do not estimate.
Attach an offshore clip to the zero-foot stake. This holds the line during testing. Optionally, tie a rubber band and clip to the line at the 100-foot mark before starting for visual confirmation during the test.
Why 100 feet? It represents a common mid-range trolling lead length, making it a practical benchmark for calibration.
Zero the Line Counter Correctly
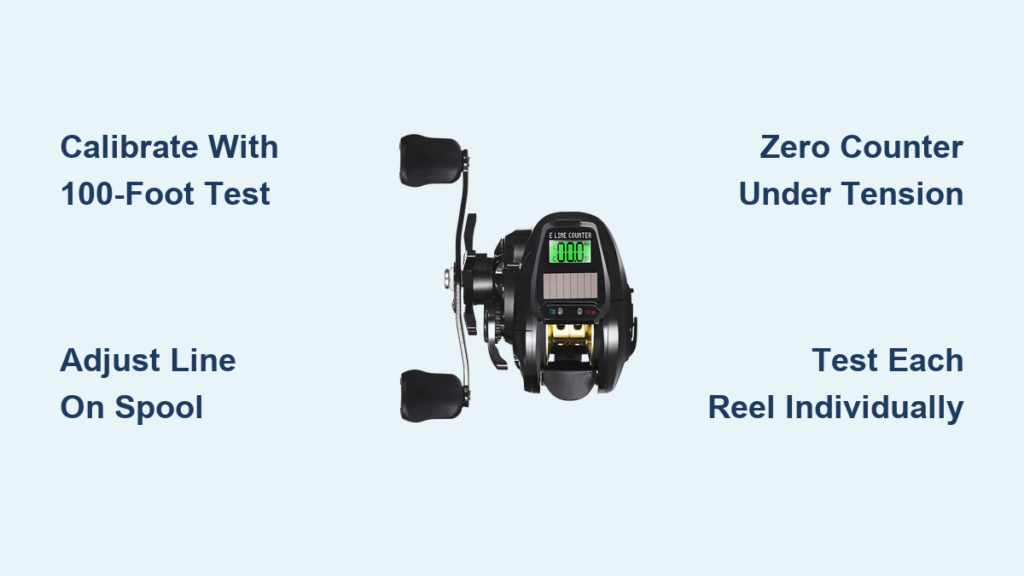
Secure the line’s free end to the zero-foot stake using the offshore clip. Extend your rod until the tip touches the 100-foot stake. Pull the line taut to simulate real trolling tension.
With the rod steady and line tight, reset the line counter to zero. Close the bail. Do not walk backward yet. This ensures the counter starts from a true zero under tension.
Warning: If you reset the counter before securing the line, slack will cause false readings and ruin your calibration.
Deploy Line and Check Reading
Open the bail and walk backward toward the 100-foot stake, letting line pay out freely. Keep your pace steady and your path straight. Do not drag the rod tip or let the line sag.
Stop when your rod tip reaches the 100-foot stake. Now check the counter:
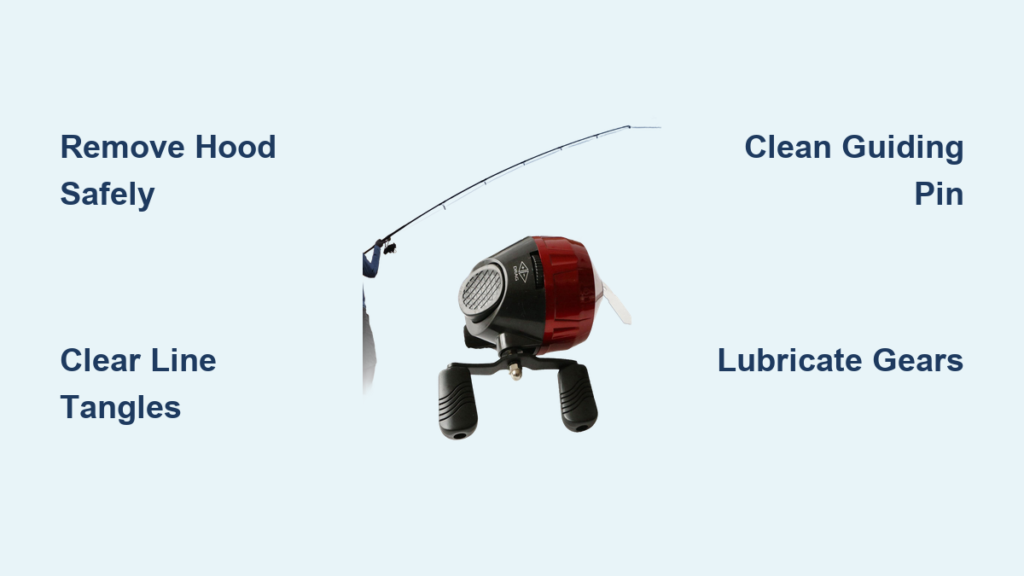
- Reading below 100 feet (such as 93 feet): Reel is over-spooled. Too much line releases per rotation. Remove line from the spool.
- Reading above 100 feet (such as 107 feet): Reel is under-spooled. Too little line releases per rotation. Add line to the spool.
This difference occurs because line counters measure rotations, not actual length. Changes in spool diameter directly affect output.
Adjust and Retest in Increments
Make changes in 20 to 40-foot increments to avoid overshooting. After each adjustment, complete these steps:
- Reattach the line to the zero-foot stake
- Re-zero the counter with the rod tip at the 100-foot mark
- Walk back and redeploy the line
Repeat until the counter shows exactly 100 feet when 100 feet of actual line is out.
Most anglers achieve accuracy in 2 to 3 iterations. Patience during this process pays off all season long.
Verify Final Calibration
Once the counter reads 100 at the 100-foot mark, run one or two verification tests. Consistency matters. Fluctuating readings suggest loose knots, uneven winding, or inconsistent tension.
Only after successful verification should you cut the line from the filler spool. Your reel is now ready for the water.
Expert Note: One angler calibrates all 16 trolling rods annually and has been using the same lines for three years. This proves long-term reliability.
Advanced Calibration Fixes for Existing Setups
Splice in Extra Line Without Full Respool
If your reel needs more line but the original spool is gone, try splicing:
- Cut the line near the reel
- Splice in additional line from a bulk spool
- Use a low-profile knot such as a blood knot for same diameter lines, uni-to-uni for different types, or Albright knot for mono to braid connections
These knots pass smoothly through rod guides. Re-zero and retest after splicing.
Pro Tip: Mark splice points with a dot of nail polish to track them during payout.
Respool Using Temporary Reel Method
For badly miscalibrated reels, follow this approach:
- Remove 250 to 300 feet of line
- Reel it onto an empty spare reel, counting as you go
- Re-spool back onto the original reel
- Fine-tune total length and retest
This resets line lay and tension, improving payout consistency.
Create a Dedicated Calibration Reel
Build a master setup for consistent results:
- Spool a spare reel with your target line such as 300 yards of Sufix Coastal Camo
- Calibrate it using the 100-foot method
- Note exact backing and mainline lengths
- Replicate this setup on all other reels
This ensures perfect consistency across your entire trolling spread.
Incremental Removal and Re-Spooling
For over-spooled reels, try this efficient method:
- Remove 300 feet of line
- Tie new line to old with a reliable knot
- Re-spool the 300 feet back onto the reel
- Reset counter and test at 100 feet
- Adjust further if needed
This takes about one hour for six rods and delivers dead nuts accuracy, according to experienced trollers.
Optimize Multi-Rod Trolling Spreads
Calibrate Each Reel Individually
No two reels are identical. Even the same model with the same line can vary. Every trolling rod must be calibrated separately.
Without individual calibration, one rod runs 10 feet shallower than intended, spread symmetry breaks down, and data from past successes becomes unreliable.
Aim for plus or minus 1 foot at 100 feet across all rods. Use your most accurate reel as a master reference.
Sync Reels for Pattern Replication
Once all reels are calibrated, you can mark productive zones with exact line lengths, replicate setups day after day, share depth data with fellow anglers, and build seasonal patterns with confidence.
This is how pros target fish seen on sonar with laser precision.
Maintain Accuracy Over Time
Recalibrate After Line Changes or Annually
Follow these best practices:
- Before each season, perform a full recalibration
- After line breakage exceeding 50 feet, check calibration
- Whenever switching line types, always recalibrate
- After adding fresh line as top dressing, verify the counter
Even a full spool can be miscalibrated due to line memory or winding tension changes.
Understand Line Loss Impact
Losing line affects calibration significantly. Approximately 20 feet of lost line equals about 1 foot of counter error. Minor breaks under 20 feet usually require no action. Major snags of 50 feet or more call for recalibration or adjustment.
Example: Lose 60 feet and the counter now reads 6 feet high at the 100-foot mark. Remove roughly 60 feet and retest.
Use Top Dressing to Save Time
Instead of full respooling, try this approach:
- Keep 150 to 200 yards of old line as backing
- Add 150 to 200 yards of fresh premium line on top
- This maintains near-full spool and calibration
- Saves money and time while preserving accuracy
This works best when backing is undamaged and evenly wound.
Add High-Visibility Backing
Use colored monofilament such as red under clear mainline. When the color appears, it signals time to re-spool. This allows top-dressing without full removal and helps maintain consistent line volume.
Example: 20-pound red mono backing plus 300 feet of .013 Sunline FC Sniper mainline.
Troubleshoot Common Problems
Counter Reads High at 100 Feet
Cause: Under-filled spool creates smaller diameter, releasing less line per rotation.
Fix: Add line in 20 to 40-foot increments and retest.
Counter Reads Low at 100 Feet
Cause: Over-filled spool creates larger diameter, releasing more line per rotation.
Fix: Remove line incrementally and retest.
Inconsistent Readings Between Tests
Causes include:
- Variable walking speed during payout
- Slack line during deployment
- Loose knot at the zero point
- Uneven spool winding
Fix: Maintain steady pace, secure line tightly, and rewind under moderate tension.
Multiple Rods Show Different Offsets
Cause: Lack of individual calibration across reels.
Solution: Calibrate each reel separately. Aim for plus or minus 1 foot at 100 feet. Use a master reel as reference.
Choose the Right Reel and Line
Best Reels for Calibration
- Daiwa Lexa 300: Affordable, smooth drag, reliable counter mechanism
- Daiwa SG27LC Sealine: Used by Precision Trolling Data for research, calibrated with 1,400 feet of Berkley 10-pound test XT
These models feature durable gears and consistent payout, key for long-term accuracy.
Match Line Type and Diameter
- Monofilament: Varies by brand. Even the same test strength differs in diameter between manufacturers.
- Fluorocarbon: Denser and stiffer, may require separate calibration.
- Braided line: Much thinner than mono or fluoro of the same test. Always calibrate separately.
Always calibrate with the exact line you plan to fish with.
Boost Real-World Performance
Test in the Water
After calibration, conduct a real-world test:
- Troll at normal speed between 1.8 and 2.8 miles per hour
- Monitor lure depth on sonar
- Compare readings with Precision Trolling Data app depth charts
- Adjust lead length slightly if needed
Anglers report lures holding in the strike zone longer, increased catch rates, and confidence in their depth data after proper calibration.
Leverage Digital Tools
With calibrated reels, GPS depth trackers become more accurate, underwater cameras confirm lure position, and precision trolling apps deliver reliable predictions.
One user reported 30 percent improvement in catch consistency after calibrating all reels in their spread.
Key Takeaways for Calibrating Your Line Counter Reel
Calibrating a line counter fishing reel is a simple, high-impact task that turns guesswork into precision. It takes 5 to 10 minutes per reel but pays dividends all season long. The process requires only a 100-foot test zone, basic tools, and patience through 2 to 3 adjustment iterations.
Whether you are a weekend angler or a serious troller targeting walleye, salmon, or lake trout, accurate depth starts with an accurate counter. Every reel in your spread must be calibrated individually using the exact line type and diameter you intend to fish. Recalibrate annually, after significant line loss, or when switching line types.
Follow this method, maintain your setup with top dressing and high-visibility backing, and you will fish with confidence, replicate patterns precisely, and catch more fish every time.
Frequently Asked Questions About Calibrating a Line Counter Fishing Reel
How long does calibration take per reel?
Most anglers complete calibration in 5 to 10 minutes per reel. This includes setting up the test zone, making adjustments in 20 to 40-foot increments, and running 2 to 3 verification tests.
Do I need to calibrate if I use the same line brand as before?
Yes. Even when using the same brand and test strength, different production batches can vary slightly in diameter. Additionally, spool fill level and line memory change over time. Annual recalibration ensures continued accuracy.
Can I calibrate with braided line?
Yes. Braided line is much thinner than monofilament or fluorocarbon of the same test rating, so it requires its own calibration. The 100-foot test method works identically, but expect different adjustment amounts compared to mono.
What if my counter reads 93 feet when I have 100 feet out?
This indicates the reel is over-spooled. The larger diameter causes more line to release per rotation. Remove line in 20 to 40-foot increments and retest until the counter reads exactly 100 feet.
How often should I recalibrate during the fishing season?
Recalibrate before each season start, after any line break exceeding 50 feet, and whenever you add new line through top dressing or splicing. Minor line loss under 20 feet typically does not require recalibration.
Does every rod in my trolling spread need individual calibration?
Yes. Even identical reel models with the same line can output slightly different amounts per rotation. Calibrating each reel separately ensures your spread runs at consistent depths and maintains symmetry.