Putting fishing line on a closed face reel—also known as a spincast reel—is a straightforward process that ensures smooth casting, prevents tangles, and extends the life of your gear. Whether you’re replacing worn line or setting up a fresh rod for your next trip, doing it right makes all the difference between a frustrating snarl and a perfect cast. This guide walks you through every step using proven techniques from expert angling resources.
You’ll learn how to select the right line type, secure it properly to the spool, wind it evenly to the correct level, and avoid common mistakes that lead to tangles. By the end, your closed face reel will be spooled and ready for trouble-free fishing.
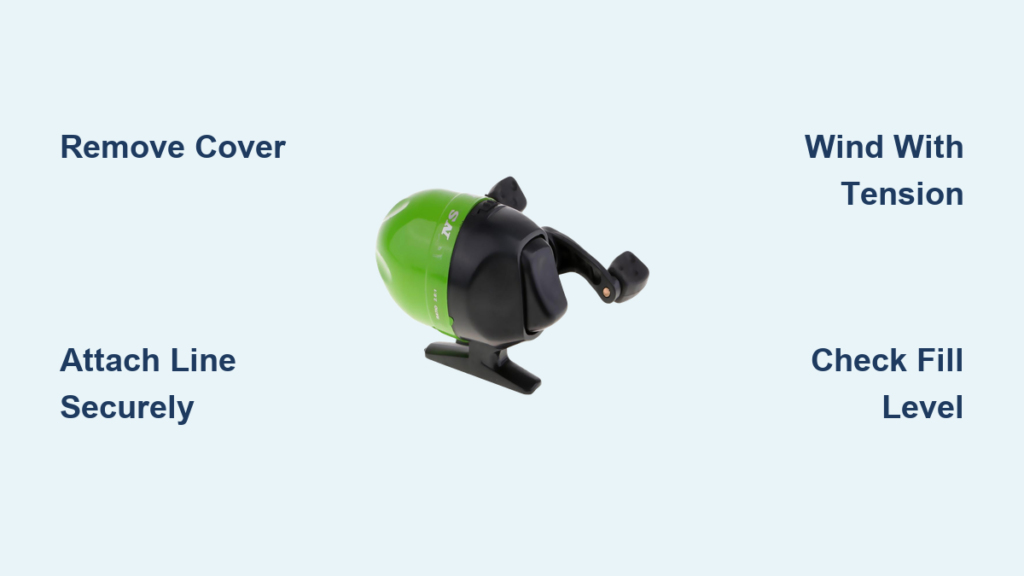
Remove the Reel Cover
Before adding new line, expose the internal drum by removing the front cover. This step gives you access to the spool where the line attaches.
Unscrew the Cover by Hand
Hold the reel handle steady to prevent the drum from spinning, then turn the cover counterclockwise to unscrew it. Some models use a pin or notch system instead of threads, so check for alignment marks before proceeding. Use finger pressure only, as tools can crack plastic housings.
Warning: Forcing a stuck cover can strip threads or damage the housing. If it won’t budge, inspect for debris or misalignment first.
Once removed, the spool is exposed and ready for line installation.
Clear Old Line and Clean the Spool
A clean spool ensures proper line adhesion and smooth operation during casting and retrieval.
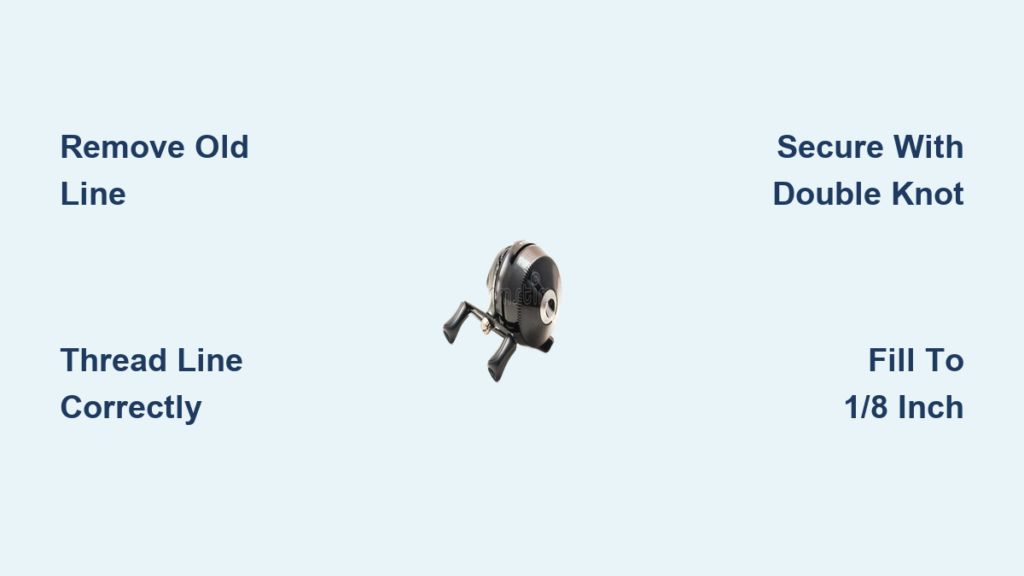
Discard or Reuse Existing Line
If you’re replacing old line, unwind it completely and discard it. If the current line is in good condition, leave it as backing to save on new line costs. Never spool over frayed or kinked sections, as these create weak points that fail under pressure.
Wipe Down the Drum
Use a dry or slightly damp paper towel to remove dirt, sand, or salt residue from the drum surface. Check inside the reel cavity for corrosion, especially after saltwater use. Let all parts dry fully before reassembly to prevent moisture damage.
Clean components reduce friction and prevent premature wear on both the line and reel mechanism.
Attach New Line to the Spool
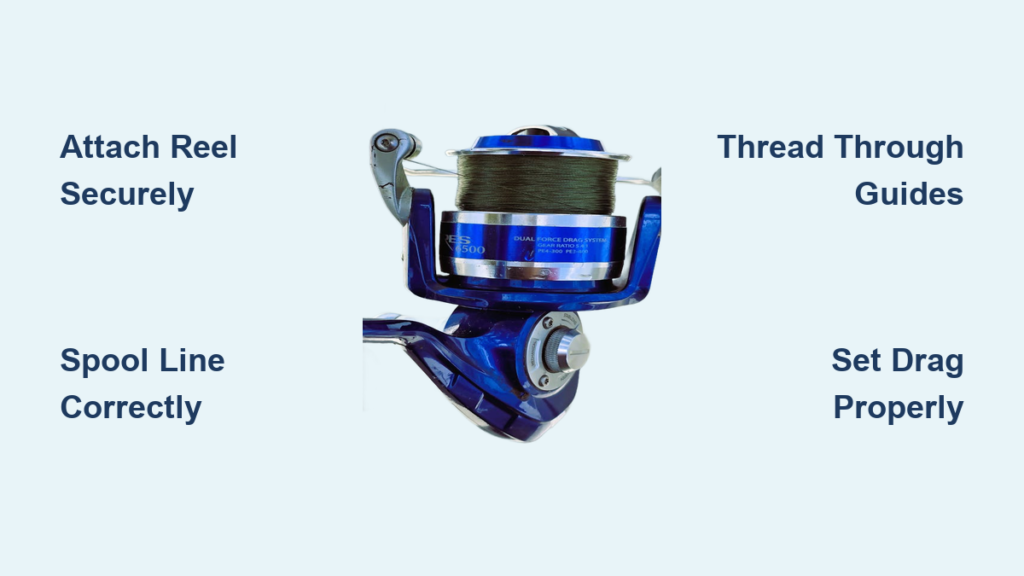
Securing the line correctly prevents slippage during casting and retrieval, which is one of the most common frustrations with closed face reels.
Position the Filler Spool Correctly
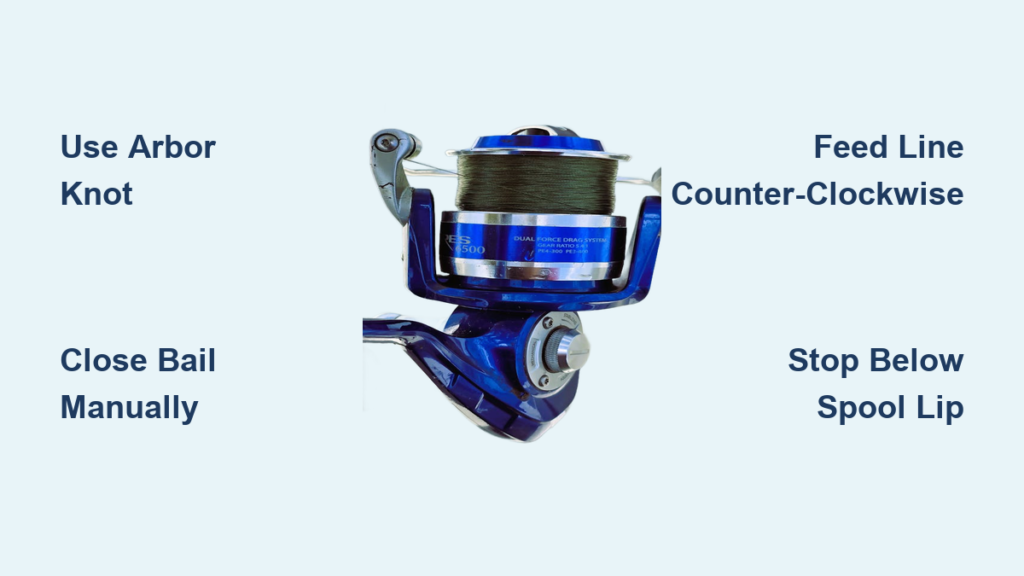
Place the source spool on a flat surface or in a cup so it can spin freely. Orient it so the line unrolls from the bottom, matching the reel’s winding direction. For most setups, this means the label should face up as the line feeds onto the reel.
This alignment reduces twist and ensures even layering on the spool.
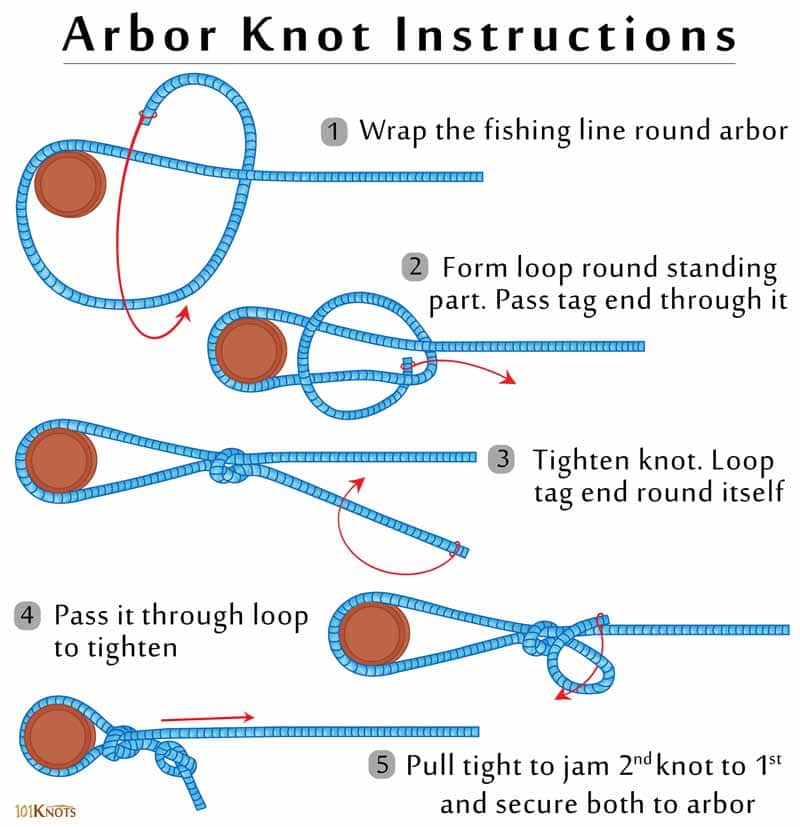
Tie the Arbor Knot
Wrap the line around the drum 2-3 times to create friction. Tie an overhand knot in the tag end, forming a loop around the standing line. Pass the tag end through the loop again to create a double overhand knot, which is the standard arbor knot. Moisten the knot with saliva, then tighten slowly. Trim the excess tag end close to the knot.
Pro Tip: Add a drop of super glue or nail polish to the knot for extra security, especially with slippery fluorocarbon line.
For backing connections, use a double clinch knot or nail knot to join old and new lines securely.
Wind Line Onto the Drum
Proper winding technique is what separates a tangle-free setup from a frustrating mess on the water.
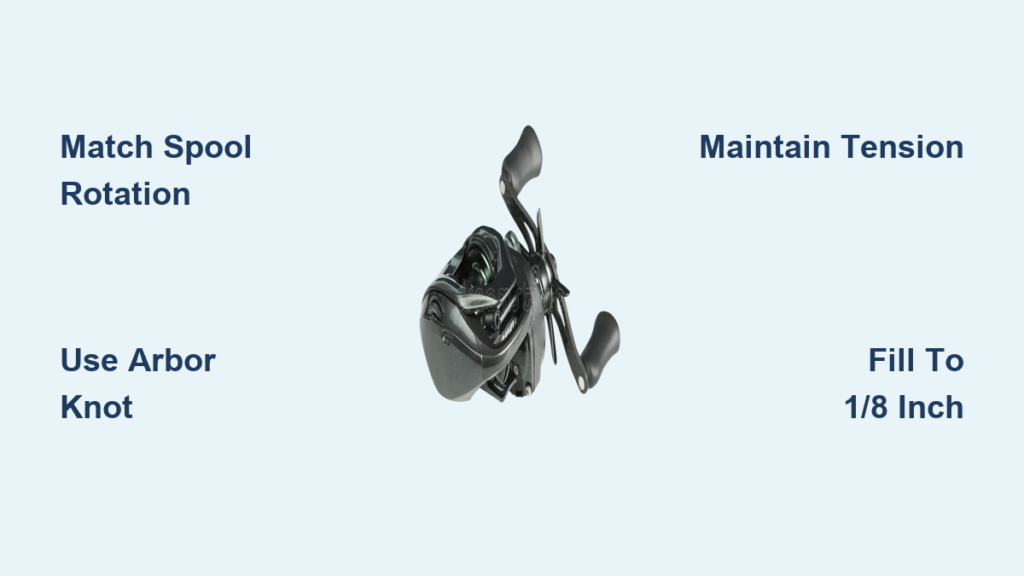
Maintain Light, Consistent Tension
Use your non-dominant hand to apply gentle pressure on the line between your thumb and forefinger. Crank the handle clockwise with your dominant hand. Do not squeeze too hard, as over-tightening compresses the line and creates memory coils that tangle later.
Fill to the Right Level
Wind until the line is 1/8 to 1/4 inch (3-6 mm) below the drum’s outer rim. Correct fill allows smooth casting and full line capacity. Overfilled line jumps off during a cast, while underfilled line reduces distance and control.
Expert Note: Mark the maximum fill line on a new spool with a permanent marker for future reference.
Stop when you reach the desired amount, typically 50-100 yards depending on your target species.
Thread Line Through Rod Guides
Getting the line to the rod tip is essential for smooth casting performance.
Run Line from Reel to Tip
If you didn’t pre-thread the line, feed the tag end through each rod guide starting at the reel and working toward the rod tip. Check for snags or resistance at each guide. Use a small loop or threading tool if needed to guide the line through tight spots.
Proper routing prevents friction and improves casting accuracy dramatically.
Tie On a Lure and Test Cast
Finalize your setup with a secure knot and a functional test before heading to the water.
Use an Improved Clinch Knot
Pass the line through the lure’s eye, then wrap 5-7 times around the standing line. Thread the tag end back through the first loop near the eye. Pull tight and trim excess. This knot offers high strength and reliability for monofilament and fluorocarbon.
Perform Practice Casts
Press the thumb button to release the spool, then make 2-3 short casts to check line flow. Release the button mid-cast to stop the spool. Verify that the line exits smoothly without loops or hesitation, and that the button locks the spool immediately when pressed.
Remove Line Twists After Spooling
Twists can cause poor casts and tangles if not addressed before fishing.
Eliminate Twists with One of These Methods
Let the line trail behind a boat. Attach a light lure or sinker and let it trail in the water behind a slow-moving boat for 5-10 minutes. Reel in slowly, and the natural water motion removes twists.
Walk out the line on land. Find a flat, smooth surface like a driveway or basketball court. Walk the full length of line in a straight line, then pick up the end and reel it back in without tension. Repeat if necessary until the line lies straight on the spool.
Choose the Right Fishing Line Type

Not all fishing lines work well on closed face reels, and using the wrong type causes problems.
Monofilament: Best Overall Choice
Monofilament is the most common choice for spincast reels. It offers stretch that absorbs shock, is affordable, and is easy to tie. It works best for panfish, bass, and trout at 4-10 lb test. The downside is that it absorbs water over time and develops memory coils.
Fluorocarbon: Nearly Invisible Underwater
Fluorocarbon is nearly invisible underwater and offers excellent abrasion resistance. It sinks faster than mono, making it ideal for clear water and jigging. It can handle up to 12 lb test but is stiffer and harder to knot than monofilament.
Braided Line: Avoid in Most Cases
Braided line is too thin and slippery for most closed face reels. It slides on the spool and causes tangles. Only use braid if your reel is specifically rated for it, which is rare in spincast models. Braided line is better suited for spinning or baitcasting reels.
Fix Common Spooling Problems
Even careful setups can go wrong. Here’s how to fix the most frequent issues.
Line Tangles During Casting
Line tangles usually stem from uneven tension, overfilling, or line twist. Stop casting immediately when you notice a tangle. Unspool to the tangled section, cut out the damaged portion, and re-spool with steady tension and the correct fill level.
Line Slipping on Spool
Line slippage happens when the knot is loose or when using incompatible line like braid. Retie the arbor knot securely. Add an overhand knot on the standing line to lock it down. Never use braid unless your reel is designed for it.
Cover Won’t Screw On
A cover that won’t screw on usually means pinched line or cross-threading. Remove the cover and inspect for trapped line. Align threads carefully and turn slowly by hand. Do not force it, as this can strip the housing permanently.
Maintain Your Reel for Long Life
Good maintenance habits keep your spincast reel running smoothly for years.
Rinse After Every Use
Rinse your reel with fresh water after every trip, especially after saltwater use. Use fresh water to flush dirt and salt from the cover, handle, and spool area. Dry with a soft cloth before storage to prevent corrosion.
Lubricate Moving Parts Occasionally
Apply light reel oil to gears and the crank mechanism every few months or after heavy use. Follow manufacturer instructions, as over-lubing attracts dirt and debris. Use only reel-specific lubricant, not household oils.
Inspect Line Regularly
Check your line every few outings for nicks, frays, or coiling. Replace line at least once per season, or more often if you fish frequently or in rough conditions. Worn line breaks easily when a fish is on.
Store Properly
Keep your rod and reel in a cool, dry place away from direct sunlight. UV rays degrade fishing line quickly. Hang vertically or lay flat, but never lean on the reel, as this can misalign internal components.
Final Checks Before Fishing
Run through this checklist before hitting the water to ensure everything is ready.
Verify that the line is firmly tied and doesn’t slip under pull. Check that the spool is filled to 1/8-1/4 inch from the rim. Confirm the cover is secure and not pinching the line. Ensure the line runs freely through all rod guides with no snags. Test that the drag setting matches your target species. Press the thumb button to verify it releases and locks the spool smoothly. Make a few practice casts to confirm there are no visible twists.
If all boxes are checked, you’re ready to fish with confidence.
Frequently Asked Questions About Putting Line on a Closed Reel
What type of line is best for a closed face reel?
Monofilament is the best overall choice for closed face reels. It’s affordable, easy to tie, and has built-in stretch that absorbs shock. Fluorocarbon works well for clear water fishing but is harder to knot. Avoid braided line unless your specific reel model is rated for it.
How much line should I put on a closed face reel?
Fill the spool to 1/8 to 1/4 inch (3-6 mm) below the outer rim. This provides enough capacity for good casting distance while preventing the line from jumping off during a cast. Most anglers spool 50-100 yards depending on their target species.
Why does my line keep tangling on a closed face reel?
Tangles usually result from overfilling the spool, inconsistent tension while winding, or line twist. Make sure you wind with light, steady tension and stop at the correct fill level. Remove any twists by letting the line trail behind a boat or walking it out on flat ground before fishing.
Can I use braided line on a spincast reel?
You should avoid braided line on most spincast reels. Braided line is too thin and slippery, which causes it to slide on the spool and create tangles. Only use braid if your reel manufacturer specifically states it’s compatible.
How do I prevent line slippage on my closed face reel?
Tie a secure arbor knot with a double overhand knot to prevent slippage. Add an overhand knot on the standing line as a backup lock. Make sure you’re using monofilament or fluorocarbon, as braid slips more easily on spincast spools.
Key Takeaways for Spooling Your Closed Face Reel
Proper spooling technique transforms your fishing experience from frustrating tangles to smooth, reliable casts. Always clean the reel before spooling to ensure proper line adhesion and smooth operation. Use monofilament or fluorocarbon line and avoid braided line unless your specific model is rated for it. Tie a secure arbor knot with a locking overhand to prevent slippage during casting. Apply light, even tension while winding and never overfill the spool beyond 1/4 inch from the rim. Replace the cover carefully to avoid pinching the line, and eliminate any twists before fishing by walking the line out or trailing it behind a boat. Match your line strength to your target fish, with 4-6 lb for panfish and trout, 8-10 lb for bass and walleye, and heavier test for larger species.
With these steps, your closed face reel will deliver smooth, tangle-free performance every time you hit the water. Now grab your rod and get ready to fish with confidence.