Putting fishing line on a spinning reel might seem simple, but doing it wrong can ruin your day on the water. A poorly spooled reel leads to wind knots, tangles, reduced casting distance, and even line slippage during a fight. The good news is that with the right technique, you can avoid these issues and set yourself up for smooth retrieves and longer casts. This guide walks you through every critical step, from choosing the right line and preventing twist to securing braided line and finishing strong.
Whether you are using monofilament, fluorocarbon, or braid, this process ensures your reel performs at its peak. You will learn how to match spool direction to reel rotation, why threading through rod guides matters, and how to stop at the perfect fill level. Let us get your reel loaded right the first time.
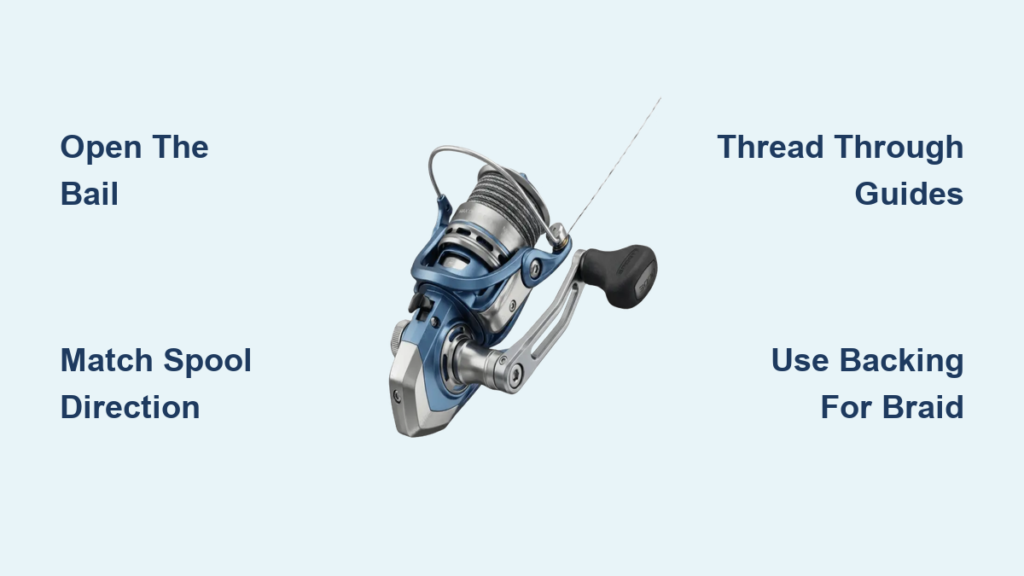
Open the Bail First
Before attaching any line, you must open the bail, which is the wire arm that guides line onto the spool. This step is non-negotiable. Cranking with the bail closed during spooling causes uneven winding, line digging, and tangles. It also risks damaging the bail mechanism.
Flip the bail open with your finger and keep it open until after you have tied the line and started reeling. Never begin winding with the bail closed. This small step prevents big problems down the line.
Choose the Right Fishing Line

Your line type affects casting, sensitivity, and durability. Pick based on water clarity, target species, and your experience level.
Monofilament: Best for Beginners
Monofilament offers moderate stretch that cushions hooksets, and it is affordable and easy to handle. This line is ideal for general freshwater fishing. Avoid cheap brands because they have high memory and poor knot strength.
Fluorocarbon: Low Visibility and Abrasion Resistant
Fluorocarbon is nearly invisible underwater and is stiff and abrasion resistant, making it great for fishing around rocks and weeds. This line sinks faster than monofilament. While often used as a leader, it can be spooled directly on the reel.
Braided Line: Maximum Sensitivity and Strength
Braided line has zero stretch, which means instant feedback and powerful hooksets. The thinner diameter allows more line capacity on your spool, making it perfect for long casts, deep water, or fishing in heavy cover. Braided line is highly visible underwater, so many anglers use a fluorocarbon leader. This line requires special techniques to prevent slippage on the spool.
Pro Tip: Never cut corners with line quality. Cheap line causes nothing but grief.
Match Line to Reel Capacity
Overloading or underfilling your spool hurts performance. Check your reel is line capacity, which is printed on the spool or housing. For monofilament or fluorocarbon, do not exceed eight-pound test unless your reel is rated for heavier line. Braided line is thinner, so 30-pound braid equals roughly eight-pound monofilament in diameter. Use 100 to 150 yards depending on your reel size and target fish.
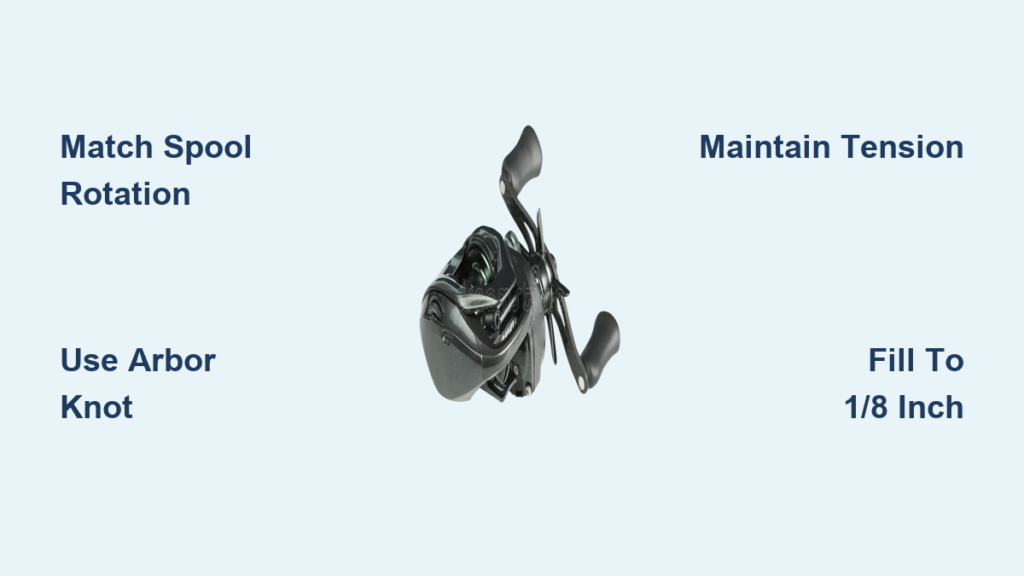
Never overfill the spool. Stop when the line is one-eighth inch below the spool is outer edge. Too much line balloons off during casting and causes dreaded bird is nests.
Prevent Line Twist: Spool Direction Matters
This is where most anglers fail. Line twist ruins casting and causes wind knots. The fix is to match the filler spool is unwind direction to your reel is rotation. Most spinning reels turn counter-clockwise when reeling in, so the line must unwind counter-clockwise from the filler spool.
Use the Upright Spool Method
Place the filler spool upright with the label facing up. Pull line from the top of the spool. Use a spool holder, Strike King Sidewinder, or have a friend hold it steady. This lets the line come off in natural coils that match your reel is lay.
Test for Twist
After about 15 cranks, release the line from your fingers. If the line coils up on itself, it is twisted and you need to reverse the spool orientation. Never let the filler spool spin freely on a table because that is the number one cause of line twist.
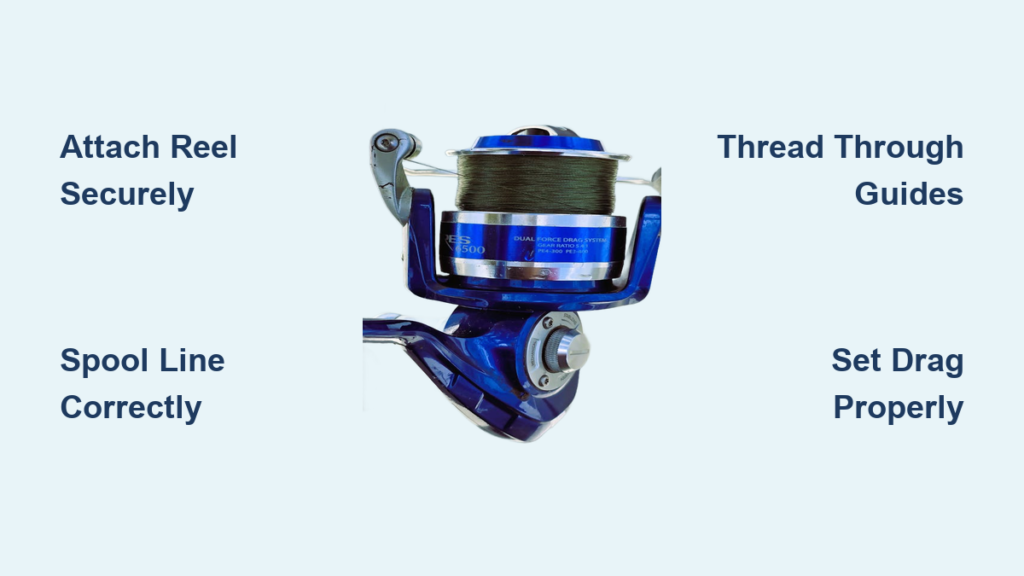
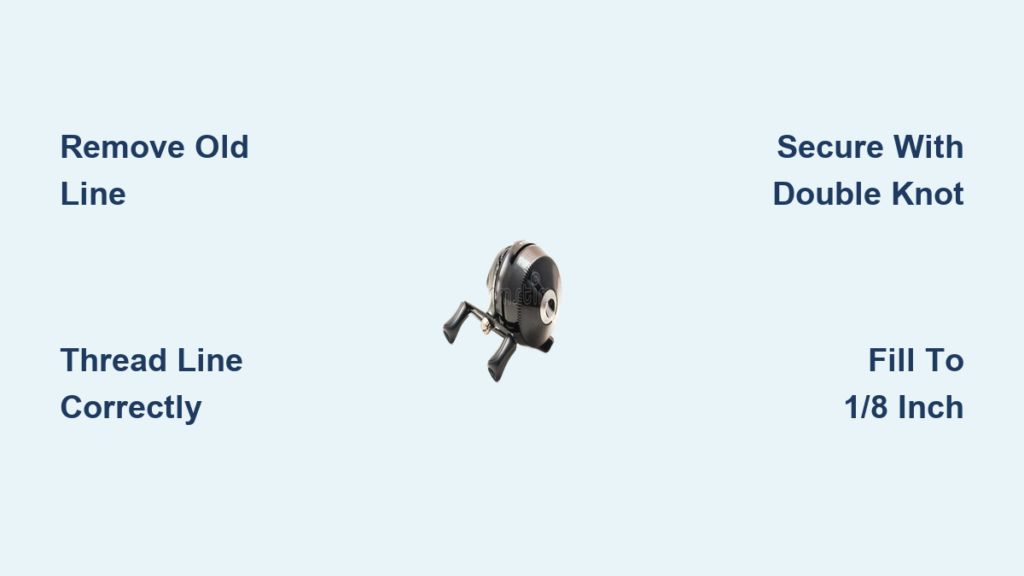
Thread Line Through All Rod Guides
Skip this step and you will pay the price. Run the line from the tip guide down through every single guide before tying to the reel. This ensures the line enters the reel straight and lets the bail is side-to-side motion distribute line evenly. Skipping this causes mounding, digging, and drag stutter. Do not tie directly from the filler spool to the reel. Thread it through first.
Tie the Line to the Spool Securely
Now it is time to attach the line to your spool. The knot depends on your line type.
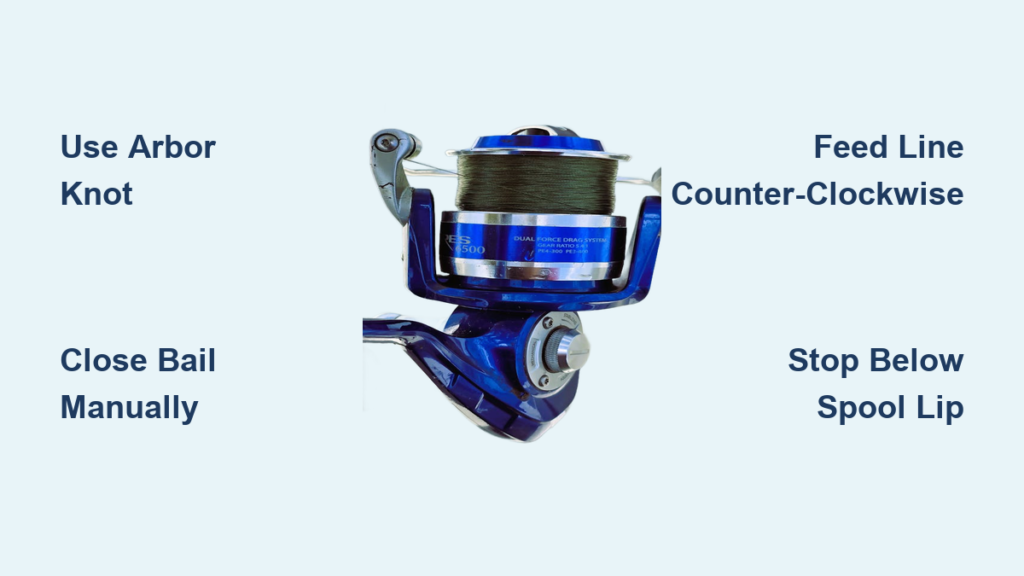
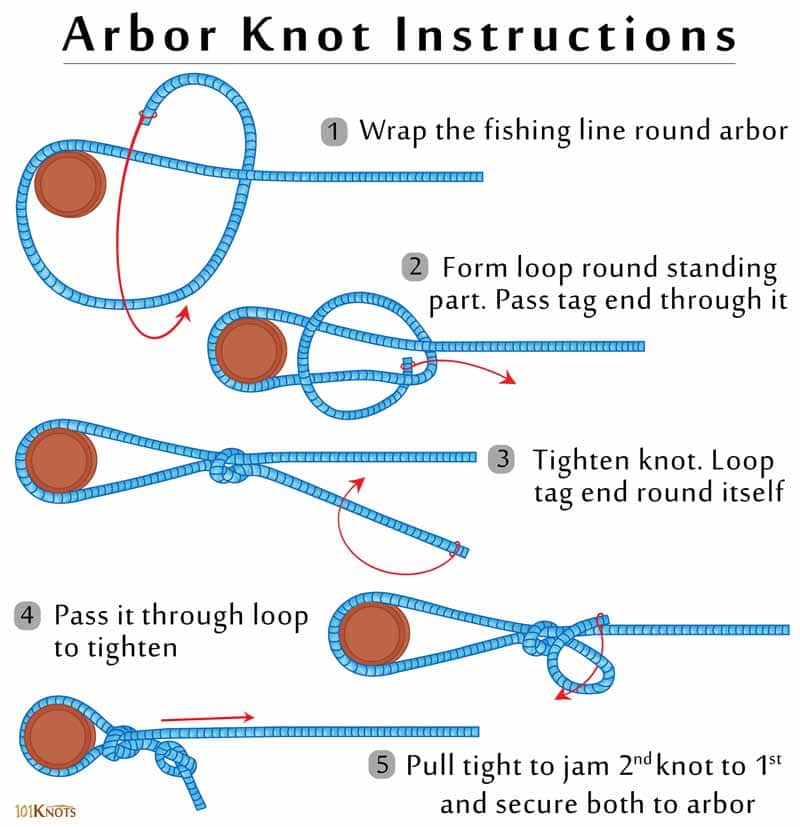
For Monofilament or Fluorocarbon: Use an Arbor Knot
Run the line through the spool center. Tie an arbor knot around the spool hub. Pull tight and trim the tag end. The arbor knot is strong, reliable, and will not slip under tension. An improved clinch knot or double overhand knot works as alternatives if you forget the arbor knot.
For Braided Line: Prevent Slippage
Braided line is slick and will slip even with a tight knot. You have two proven solutions.
Option 1: Use Mono Backing
Spool three to ten feet of monofilament first using an arbor knot. Then tie the braid to the mono with a strong knot like a double uni knot, albright knot, or triple surgeon is knot. Continue spooling braid over the backing. This saves expensive braid, prevents slippage, and adds grip. Many pros use half to two-thirds mono backing before braid.
Option 2: Use Friction Tape
Wrap medical tape, gaffer tape, or specialized reel tape around the spool. Never use electrical tape because the glue melts in heat and attracts sand. Tie an arbor knot over the tape and reel tightly. This method works well and is widely used among experienced anglers.
Wind the Line with Consistent Tension
Now close the bail by hand, not by cranking the handle, and start reeling slowly. Pinch the line between your thumb and forefinger about one foot above the spool to apply manual tension. Alternatively, use a damp microfiber cloth wrapped around the line. This prevents loose, fluffy layers that compact and tangle. Never rely on drag tension alone because you need direct control over the pressure.
Make sure the bail arm moves side-to-side as you reel because this spreads the line evenly across the spool. If the bail is stuck, fix it before continuing.
Stop at the Right Fill Level
Fill the spool until the line is one-eighth inch below the spool is outer rim. Too full causes line to balloon off during casting, leading to wind knots and bird is nests. Too empty reduces casting distance and usable line. Braided line is thinness tempts overfilling, so resist the urge.
Finish and Secure the Line
Once filled, cut the line from the filler spool with scissors. Never cut with your teeth because that damages the fibers. Secure the tag end by wrapping it around the line keeper, which is the small hook on the reel foot or spool. Alternatively, tie a hook or lure to the end to prevent unwinding. This keeps your spool neat and ready for action.
Set the Line with Initial Casts
Before hitting the water, make three to five long casts and retrieve fully each time. This seats the line, removes slack, and compacts the first layers. This simple step improves performance from cast one.
Relax Line Memory
New line has factory coil memory. To fix this, remove the spool from the reel by loosening the drag and popping it out. Keep the washers in place. Soak the spool in warm, not hot, water for about 10 minutes. Dry thoroughly before reinstalling. This relaxes the coils and improves casting smoothness.
Use Line Conditioners for Better Performance
Wipe the line with a microfiber cloth lightly coated in line conditioner. This reduces memory, minimizes twisting, increases casting distance, and extends line life. Do this after spooling or during routine maintenance.
Prevent Line Twist After Spooling
Even a perfectly spooled reel can develop twists from bad habits. Every time you close the bail by cranking the handle, you add one twist to the line. Reeling while a fish pulls line also causes twist because the rotor does not spin but line still comes off. Pulling line off the spool without turning the handle creates the same problem.
Always close the bail by hand. After a fish fight, re-spool or re-tension at least as deep as the line was pulled. Lift the rod tip to remove slack before reeling. When casting, stop the line with your finger just as the lure hits the water to prevent overrun.
Use the Right Tools for Easy Spooling
Save time and avoid mistakes with these tools. A spool holder or Sidewinder keeps the filler spool upright and stable, preventing wobble and twist. Line winding devices like the American Premier Ultimate Line Winder sync with the bail for twist-free spooling. A damp cloth or microfiber towel applies perfect tension during winding. A knot-tying tool ensures consistent, secure knots, especially for braid-to-backing connections.
Beginner Tips for Success
New to spinning reels? Start with monofilament because it is more forgiving than braid. Learn proper casting and retrieval before upgrading to braided line. Braid increases wind knot risk if your technique is off. Watch YouTube tutorials for visual guidance and bookmark knot resources for reference.
Avoid These Common Mistakes
Filler spool spinning freely on a table causes severe twist. Skipping rod guides leads to uneven winding. Overfilling the spool creates tangles and poor casting. Direct braid ties cause slippage. Electrical tape creates a sticky mess because the glue melts. Loose winding causes compaction and tangles.
Always use a holder or hand-control the spool. Thread through all guides. Leave a one-eighth inch gap from the spool edge. Use backing or tape for braid. Use medical or gaffer tape instead of electrical tape. Apply finger or cloth pressure while winding.
Frequently Asked Questions About Spooling a Spinning Reel
What happens if I spool line in the wrong direction?
Spooling line in the wrong direction causes severe line twist. The line will coil up on itself during use, leading to wind knots, tangles, and poor casting performance. Always match the filler spool is unwind direction to your reel is rotation, which is typically counter-clockwise.
Can I use electrical tape for braided line backing?
No, you should never use electrical tape. The glue melts in heat and attracts sand, creating a sticky mess that ruins your spool. Use medical tape, gaffer tape, or specialized reel tape instead.
How full should I fill my spinning reel?
Fill the spool until the line is one-eighth inch below the outer rim. Overfilling causes line to balloon off during casting and creates bird is nests. Underfilling reduces your casting distance and usable line capacity.
Do I need backing for braided line?
Yes, braided line is slick and will slip on the spool even with a tight knot. Use mono backing or friction tape to prevent slippage. Most pros use three to ten feet of monofilament as backing before spooling braid.
Why does my line keep tangling after spooling?
Tangling usually comes from incorrect spool orientation, closing the bail by cranking instead of hand, or applying inconsistent tension during winding. Make sure the filler spool unwinds in the correct direction, always close the bail by hand, and apply manual tension while reeling.
How often should I replace fishing line on my spinning reel?
Replace your line when you notice fraying, discoloration, memory issues, or after catching many fish. Heavy use warrants more frequent changes. Inspect your line regularly and re-spool when performance declines.
Key Takeaways for Spooling Your Spinning Reel
Proper spooling is the foundation of reliable fishing performance. Match your filler spool is unwind direction to your reel is rotation to prevent twist. Always thread line through all rod guides before tying to ensure even winding. Use mono backing or friction tape for braided line to prevent slippage. Apply manual tension while winding and never overfill the spool. Close the bail by hand, not by cranking the handle. Do it right, and you will enjoy smoother casts, fewer tangles, and stronger connections to every fish.