
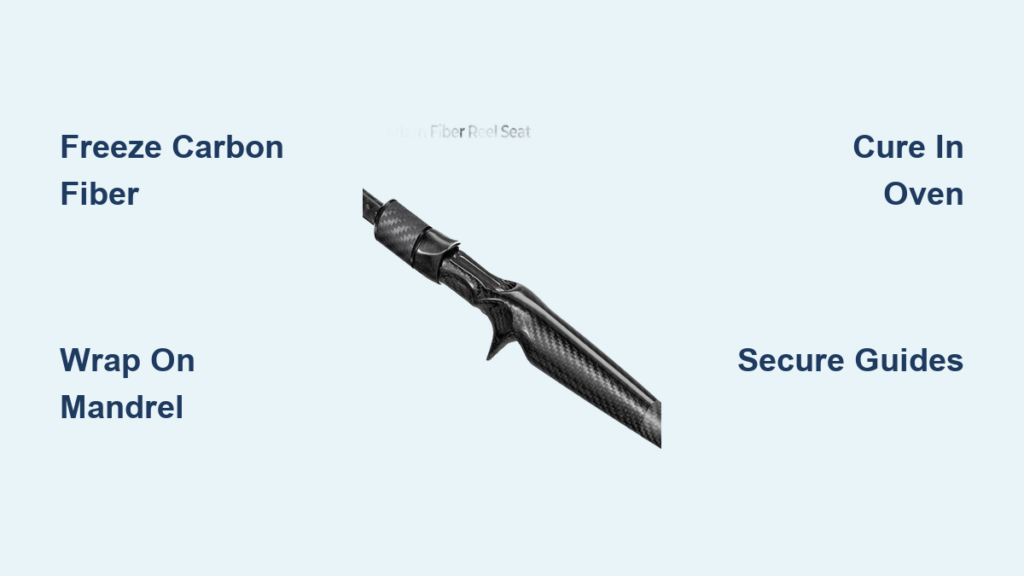
Building a carbon fiber fishing rod is a precise blend of material science, craftsmanship, and mechanical engineering. Whether you’re a custom rod builder or a passionate angler looking to create a personalized tool, understanding how to make a carbon fiber fishing rod unlocks performance, sensitivity, and durability unmatched by mass-produced alternatives. The process transforms raw carbon fiber sheets into a high-performance blank, then integrates custom components like handles, guides, and reel seats.
Unlike factory rods, a handcrafted carbon fiber rod gives you full control over taper, weight distribution, grip size, and aesthetics. From freezing raw materials to prevent premature curing, to wrapping fiber around precision mandrels and sealing thread whippings with flawless epoxy, each step demands attention to detail. This guide walks you through the entire build process.
Select and Store Carbon Fiber Properly
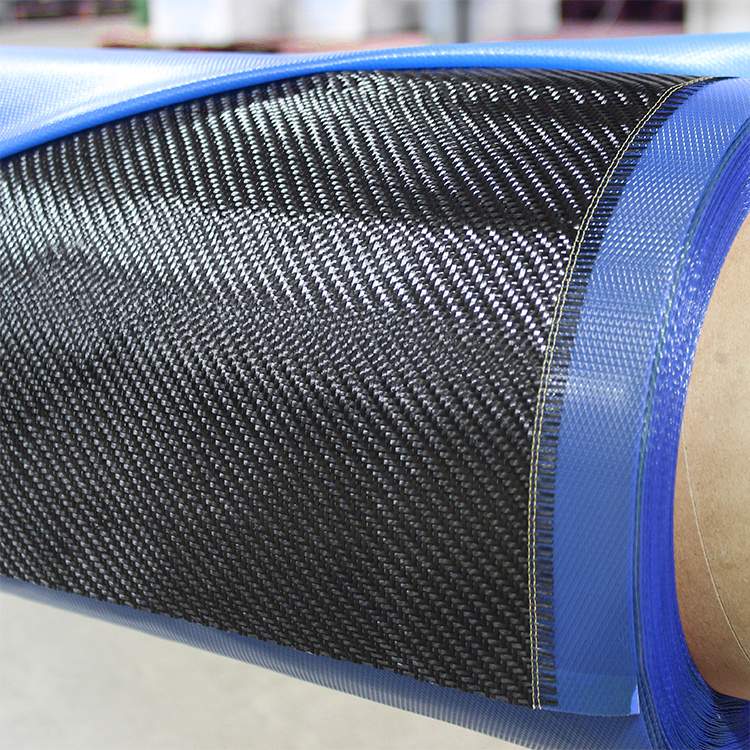
Carbon fiber is the backbone of a high-performance fishing rod, chosen for its exceptional strength-to-weight ratio and stiffness. To preserve its workability, proper storage is critical throughout your build.
Freeze Raw Carbon Fiber Sheets
Raw carbon fiber comes pre-impregnated with epoxy resin, which begins curing at room temperature. To extend shelf life and prevent premature hardening, store sheets in a walk-in freezer at -18°C. Once removed, the clock starts. You typically have just a few hours to cut and wrap before the resin sets. Plan your build schedule accordingly, thawing only what you need for immediate use.
Cut Carbon Fabric to Precision
Accurate cutting determines the rod’s final action and taper. Use a sharp utility knife or fine scissors on a cutting mat. For complex patterns, trace templates directly onto the fabric. Always align fibers parallel to the mandrel’s axis for maximum strength. Even a 1–2 mm deviation can alter performance. For small batches, manual cutting is cost-effective and precise enough for custom builds.
Wrap and Cure the Rod Blank
The rod blank is the core structure, lightweight and engineered for specific flex and recovery. Its shape and performance are defined during the wrapping and curing process.
Mount on a Precision Mandrel
Choose a steel or aluminum mandrel designed for your target rod type. The mandrel’s taper dictates the blank’s final action. Slide the cut carbon sheet onto the mandrel, starting from the butt end. Ensure smooth, wrinkle-free contact. Any folds create weak points that compromise strength.
Compress Layers with a Wrapping Machine
After wrapping, pass the mandrel through a high-pressure wrapping machine. This step compresses layers, removes air pockets, and aligns fibers to resist torsion during casting. Apply consistent tension to avoid slippage. For added strength, layer multiple sheets with staggered joints. Secure the ends with PP tape to hold everything in place before curing.
Cure in a High-Temperature Oven
Place the wrapped mandrel in a high-temperature oven or electric furnace. Heat activates the epoxy resin, hardening it into a rigid composite. Follow manufacturer specs for time and temperature. Typically this means 120–180°C for 1–2 hours. For tip sections, some builders use overnight low-temperature curing to reduce internal stress and ensure straightness.
Remove and Finish the Blank
Once cooled, strip off the tape and slide the blank off the mandrel. Trim excess material at both ends using a fine-toothed band saw or Dremel tool. Sand the surface with 500-grit sandpaper to remove resin buildup and smooth transitions. For a polished look, apply paint or clear coat in a dust-free environment, followed by a UV-resistant topcoat.
Customize Handle and Reel Seat
The handle affects balance, comfort, and control. Customization lets you tailor grip length, material, and weight to your fishing style.
Choose Cork or Carbon Fiber Grip
Most builders use natural cork for its lightweight feel and warmth. Cut to desired length. A 42 cm grip instead of 45 cm provides quicker hand movement for active fishing styles. Sand flush with the blank and secure with expanding epoxy glue, which bonds tightly as it cures.
For an ultra-light modern alternative, build a carbon fiber grip using a 1″ carbon sleeve over a foam form. Dry-fit on a 3/4″ PVC pipe to shape. Twist fiber ends into tight ponytails and tuck into center holes. Cure for 24 hours, then apply epoxy coats.
Install Reel Seat with Proper Fit
Reel seats come in standard or ceramic models. Ceramic seats save weight, which contributes to overall balance when combined with other lightweight components. Use masking tape as arbers to build up diameter for a snug fit. Slide onto the blank, align correctly, and secure with epoxy. Let cure fully before handling.
Position and Secure Guides Accurately

Guides direct line flow and affect casting efficiency. Poor placement leads to stress points or reduced sensitivity.
Space Guides for Optimal Performance
Use the fewest guides possible while maintaining even bend. Too few causes sharp kinks. Too many adds weight and friction, reducing casting distance. For lure rods, place guides one by one based on action testing. Start with the stripper guide near the reel, then space others in decreasing intervals toward the tip.
Apply Epoxy and Whip with Thread
Set each guide with a small drop of fast-setting epoxy. Push into position and wipe excess immediately. Then secure with whipping thread. Start with an overhand knot. Use a rhythm of over, under, over. Pull tight, loop, and lock. Trim flush with a razor blade.
Seal Whippings with Epoxy Resin
A durable finish protects thread from moisture and abrasion. Wet the thread first, then mount the rod on a rotator or whipping machine. Spin while applying the first coat as a thin layer with a trimmed chip brush. Apply a final thick coat to fill texture. Remove bubbles with a heat gun or torch. Cure for 24 hours between coats.
For decorative flair, use gold-wrapped thread or add graphite black mica powder to tinted epoxy for sparkle.
Build Custom Carbon Fiber Butt Caps
A custom butt cap finishes the rod and can be personalized for weight, look, and function.
Shape with Foam Core and Sleeve
Use a cured foam form shaped to your design. Slide a 1″ carbon fiber sleeve over it after dry-fitting on PVC pipe. Twist ends into tight bundles and push into center holes with a pencil eraser. This eliminates loose strands and visible pigtails.
Cure, Drill, and Seal the Core
After initial 24-hour cure, drill out the foam core using a 3/8″ brad point bit. Follow with a reamer for smooth walls. Apply black hot melt glue inside the hole, leaving a small gap at the top for expansion.
Fill and Polish with Tinted Epoxy
Mix epoxy with black tint and mica powder for depth and shine. Fill the hole flush with the surface. Cure fully. Then mount on a rotator and apply a heavy gloss coat. Torch to remove bubbles. Shave bumps with a double-edge blade. Lightly sand with 500-grit paper. Wipe clean and apply final thin coat.
Inspect and Test the Finished Rod
Final quality control ensures durability, performance, and safety.
Check for Visual and Structural Flaws
Inspect every inch of the rod. Look for misaligned guides, gaps in epoxy, or loose whippings. Roll the rod on a flat surface to test straightness. Flex gently to confirm smooth taper and recovery.
Verify Balance and Function
Attach your reel and check the balance point. It should sit comfortably in hand. Test line routing through all guides. Confirm the reel seat locks securely.
Correct Issues Before Final Use
If defects are found, address them immediately. Re-whip loose guides. Re-coat thin epoxy layers. Re-sand rough areas. Re-cure as needed. Once approved, store in a protective rod case.
Frequently Asked Questions About Making Carbon Fiber Fishing Rods
How long does it take to build a custom carbon fiber fishing rod?
Building a carbon fiber fishing rod takes approximately 20–30 hours of total work spread across multiple sessions. This includes material preparation, blank wrapping and curing time, component installation, and final finishing. The epoxy curing process alone requires 24 hours between coats.
What temperature should carbon fiber be stored at?
Carbon fiber pre-impregnated with epoxy resin must be stored in a walk-in freezer at -18°C. This prevents premature curing. When you’re ready to build, thaw only the amount you can use within a few hours before the resin begins setting.
Can I build a carbon fiber rod without expensive equipment?
Some manual processes can be adapted with basic tools. You can cut fabric by hand, wrap mandrels manually, and cure in a standard oven. However, a high-pressure wrapping machine and whipping machine significantly improve professional results. For beginners, component kits are available to eliminate sourcing dozens of individual parts.
What makes carbon fiber better than fiberglass for fishing rods?
Carbon fiber offers a superior strength-to-weight ratio compared to fiberglass. Carbon fiber rods can weigh as little as one-third of a comparable fiberglass rod while maintaining or exceeding strength characteristics. The material also provides better sensitivity and faster recovery during casting.
How do I choose the right mandrel for my rod type?
Mandrel selection depends on your target rod type and desired action. Trout rods require different tapers than sea bass or lure casting rods. The mandrel’s taper directly dictates the blank’s final action. Many builders use custom-designed mandrels for specific rod types to achieve precise performance characteristics.
Key Takeaways for Building Carbon Fiber Fishing Rods
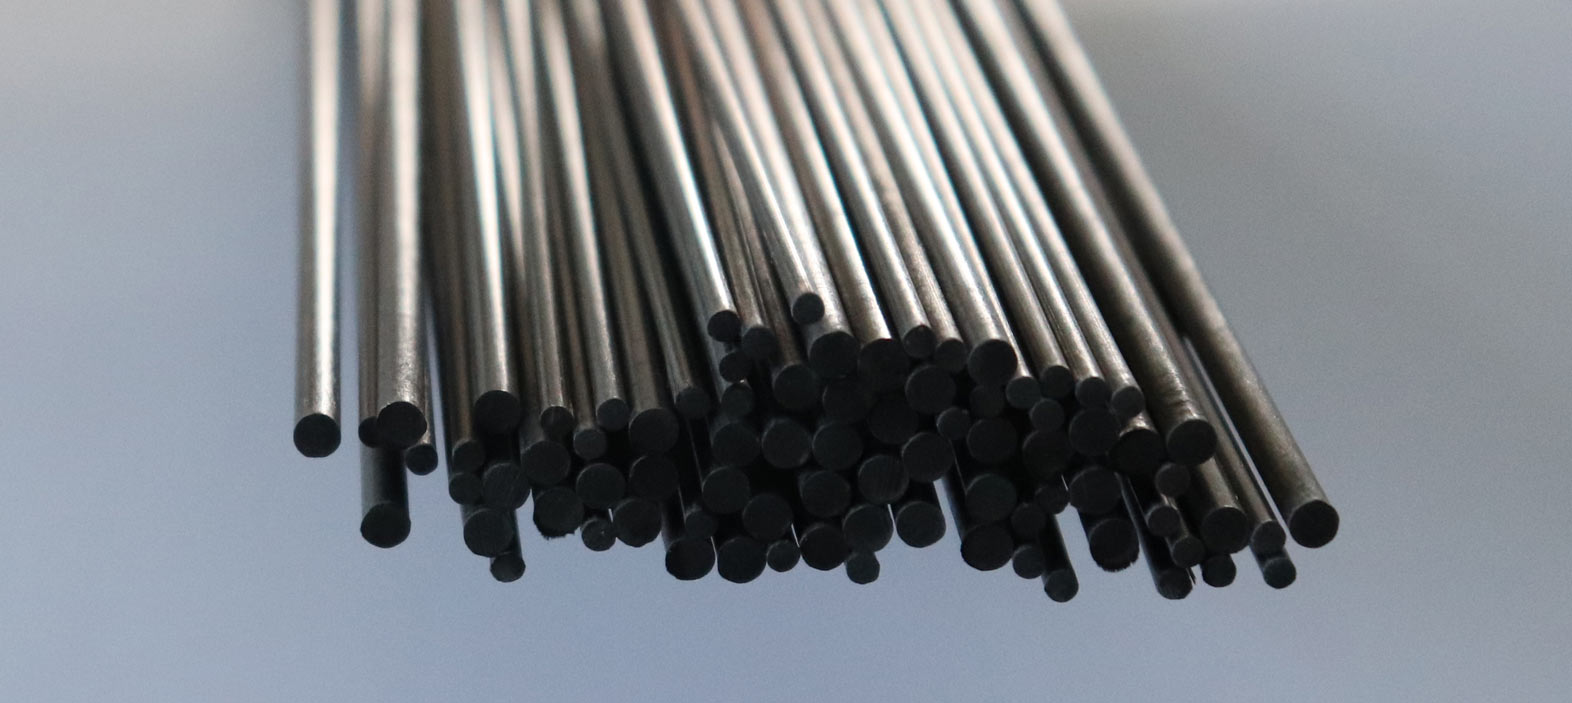
Making a carbon fiber fishing rod is a rewarding process that blends art and engineering. From freezing raw materials to applying mirror-like epoxy finishes, each step shapes the final performance. The key is attention to mandrel design, fiber alignment, guide placement, and finish quality.
Whether building one custom rod or small batches, focus on these critical elements. First, store carbon fiber properly at -18°C and work quickly once thawed. Second, ensure consistent compression during wrapping to eliminate air pockets. Third, apply epoxy finishes in dust-free environments with proper bubble removal.
With the right tools and patience, you’re not just assembling a rod. You’re crafting an extension of your angling instinct, engineered to be lightweight, sensitive, and built to last.





