

You’ve landed your catch and need a way to carry it home. A handwoven fishing creel offers both function and heritage, keeping fish fresh in damp moss while allowing airflow. These traditional baskets, crafted from reed, willow, or split oak, connect modern anglers to generations of craftsmanship. Learning how to weave a fishing creel is a rewarding project that produces a durable, ergonomic piece lasting years.
This guide walks you through every step using time-tested methods and natural materials. From preparing reed and building the base to shaping corners, installing the rim, and attaching functional hardware, you will gain the skills to create a complete creel. Plan for about 8 to 12 hours of work over two days, including drying time.
Gather Materials and Prepare Reed
Success begins with proper material selection and preparation. Using the right reed ensures pliability and durability throughout the weaving process.
Select and Soak Your Reed
You will need 1/4″ flat oval reed for the main weave and 3/8″ reed for bottom reinforcement. Soak all reed in warm water for 1 to 2 hours until fully pliable. Test by bending a strand. If it snaps, it needs more soaking time.
Always orient the hairy side inward when weaving. This rougher surface traps moisture and protects fish, while the smooth outer side creates a clean, polished finish.
Prepare Essential Tools
Gather these tools before starting your project. A spoke weight ruler ensures symmetrical base layout. A doll knife trims and tapers reed cleanly. Waterproof exterior-grade glue bonds joints without staining. Clothespins provide temporary tension control, though thumb packing works better for consistent results.
You will also need snap closures, a leather strap, and belt keeper strips for the final assembly.
Build a Symmetrical Base Structure
The base determines your creel’s balance and stability. A warped foundation throws off the entire shape, so take time to get this right.
Mark Center and Set Dimensions
Fold your base material in half to find the center. Press a dimple on both ends to mark the front and back centers clearly. Standard dimensions are 11 inches long by 5 inches wide. For pattern-based builds like the Nortz design, use 11.5″ × 6″.
Use a spoke weight ruler to measure 5.5 inches from center in both directions. This ensures perfect symmetry across the entire base.
Shape and Align Stakes
Remove any inward curves in the base stakes. Push bends outward so the base lies completely flat. Misaligned stakes cause wobbling that becomes more noticeable as you weave upward.
Let the base dry slightly after shaping. This helps maintain form during the upsetting phase when you turn the stakes upright to begin the body.
Master the Under-Under Weave Technique
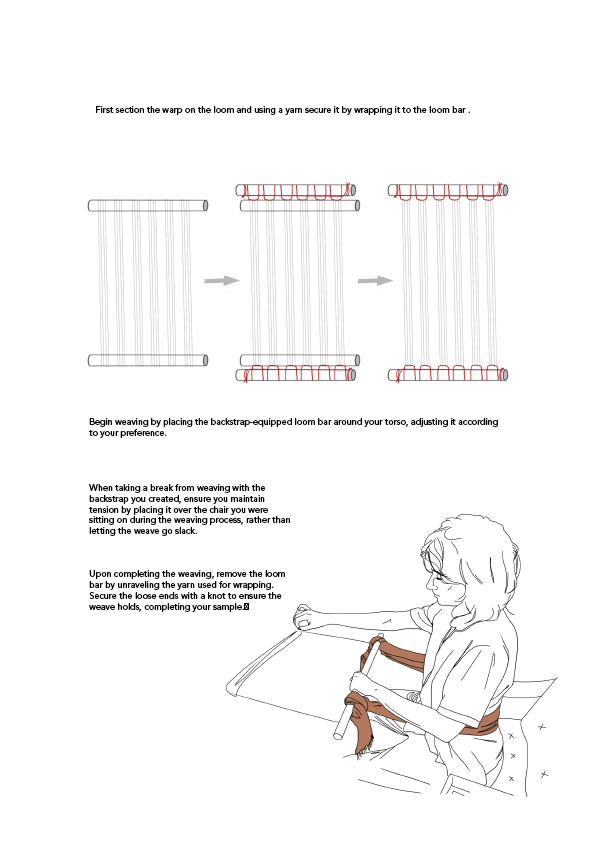
The right-handed under-under method is the core technique for creating a tight, durable creel body. This pattern creates the signature density that holds fish securely.
Begin Weaving from the Right Side
Start weaving from the right side of the center. This gives your dominant hand better control and reduces strain throughout the process. Pass the weaver under two adjacent spokes, then repeat on the opposite side. Continue alternating sides, always going under two spokes at a time.
Work on a flat surface or in your lap to maintain consistent tension throughout each pass.
Pack Rows Tightly for Even Density
After each pass, use your thumb to pack down the row firmly. This ensures even density and prevents gaps from forming. Aim for four to five full rows before moving to corner shaping. This builds the structural integrity your creel needs.
Avoid overusing clothespins. Hand pressure gives better feedback and control over the weave tension.
Shape Soft Square Corners
Unlike round baskets, fishing creels feature soft square corners. This hybrid shape adds visual interest and structural stability to the finished piece.
Bend Stakes for the Square Form
At each corner, gently bend the stakes outward to form a slight angle. This creates a squared-off profile while maintaining a rounded transition. The result is a distinctive creel shape that stands out from standard baskets.
Switch Weave Patterns at Corners
As you approach a corner, shift from the under-under pattern to over-then-under. This technique, borrowed from heart-shaped basket weaving, smooths the turn and prevents gapping at critical stress points.
After the third round, remove all pins. Rely on hand pressure and thumb packing alone. If the sides look straight and even, you are on track. If the shape drifts, stop immediately and realign. Small errors magnify as you weave upward.
Add Color and Visual Contrast
A pop of color personalizes your creel and showcases your craftsmanship. Strategic use of contrasting reed makes your piece unique.
Weave Colored Strips Dry
Use a narrow blue or contrasting reed, typically 1/8″ to 1/4″, to represent water or fish motifs. Weave it completely dry without soaking. Wet colored reed bleeds when glue is applied, ruining the visual effect.
Weave one row of color, then return to natural reed. For contrast, reverse the pattern so the colored side faces outward.
Place Color Strategically
Insert color near the top or middle of the creel for visual balance. A single accent row often makes enough of a statement without overwhelming the natural reed aesthetic.
Install the Rim and Lace Securely
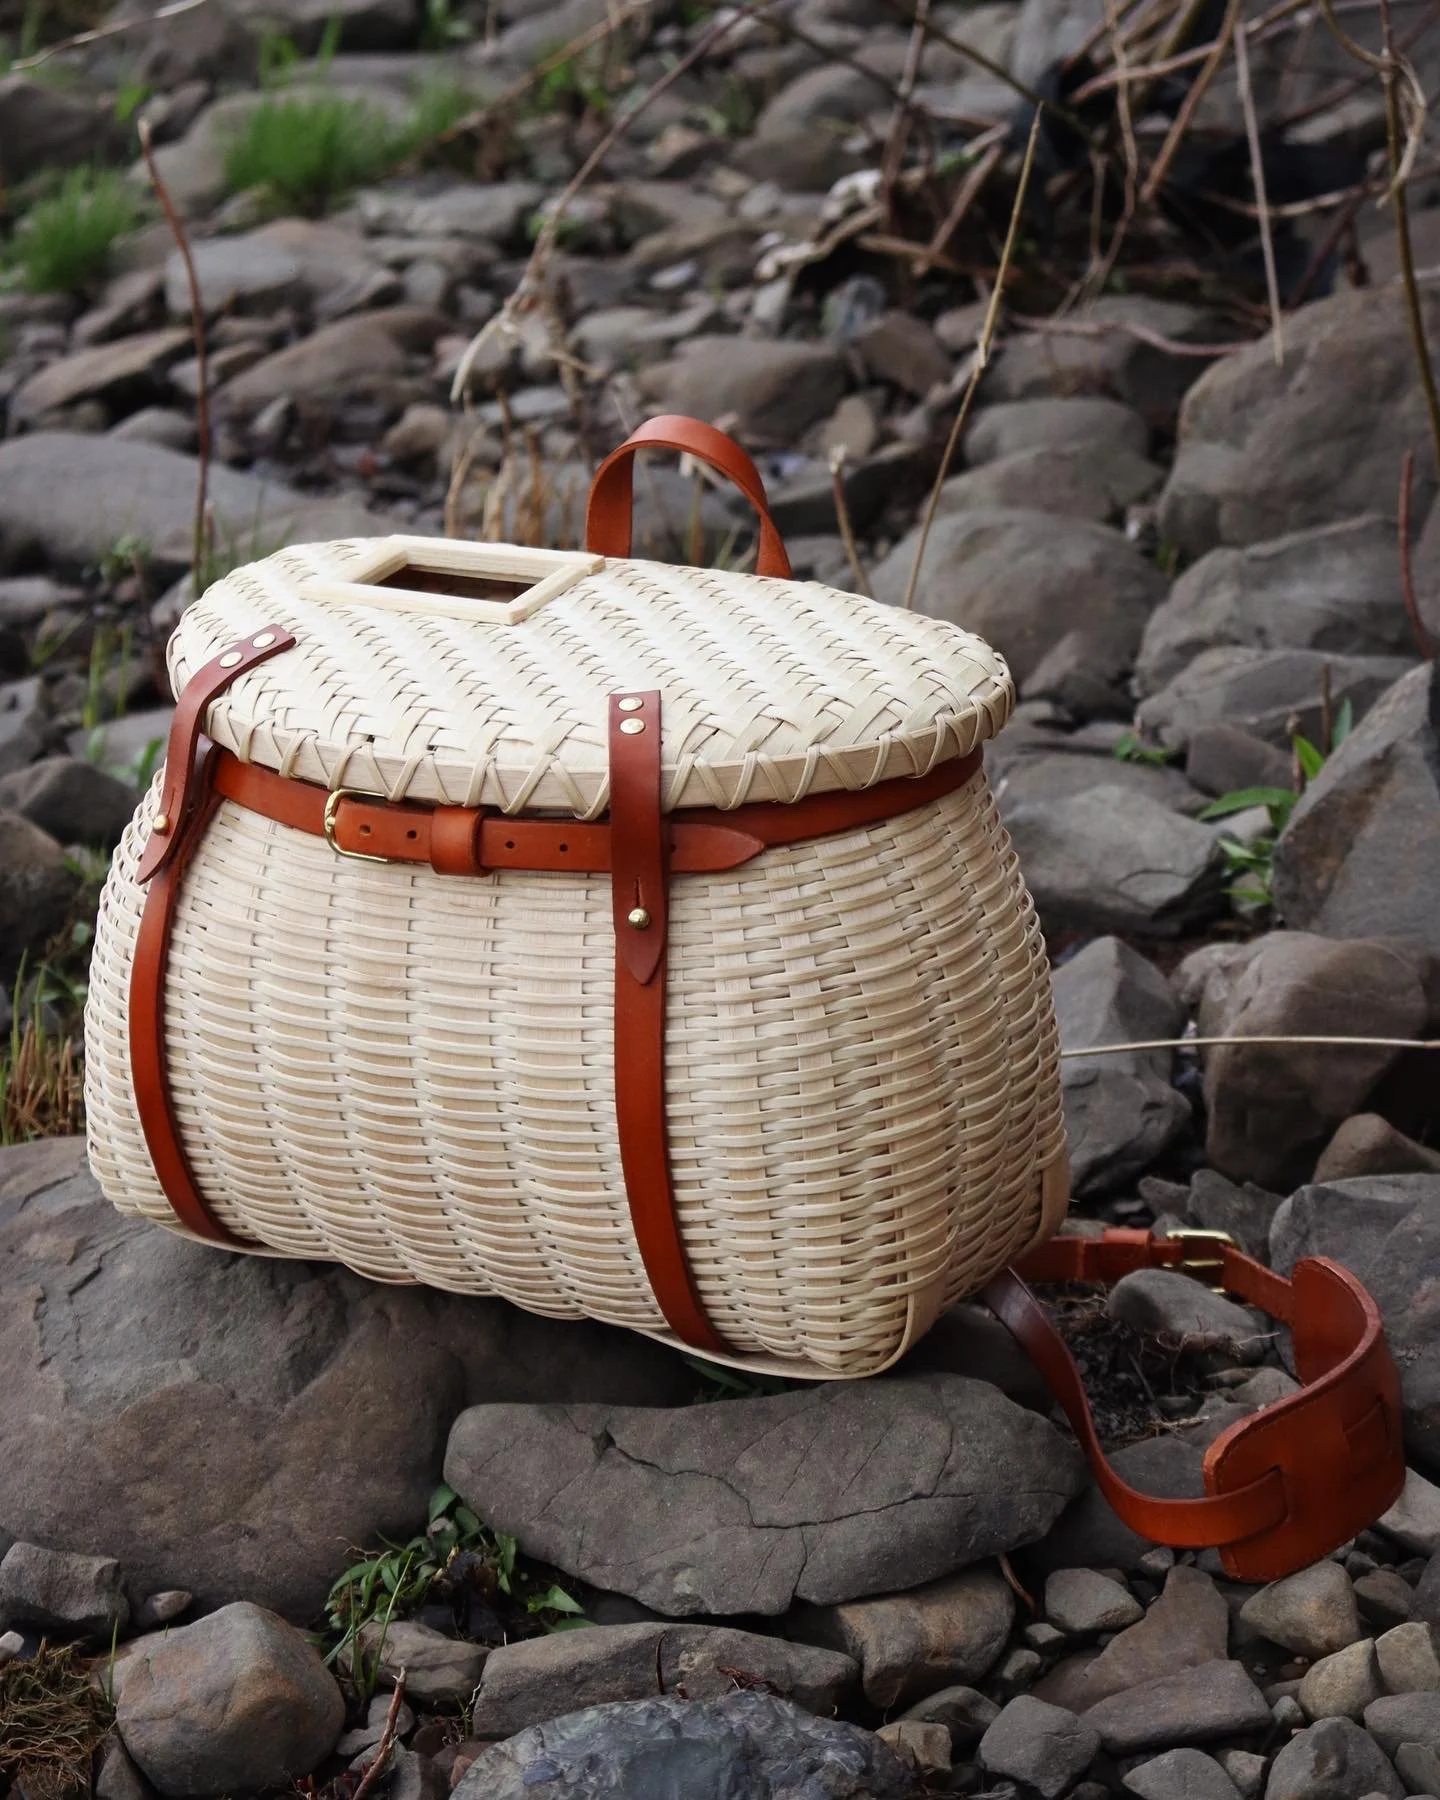
The rim gives your creel rigidity and a polished, finished edge. Proper installation ensures the rim stays secure through years of use.
Trim the Top Edge Smoothly
Use a doll knife to trim the stake ends evenly across the top. Create a slight taper for a seamless transition into the rim. Clean trimming prevents snagging and ensures the rim sits flush.
Position the Rim at Front Center
Start the 3/4″ wide rim strip at the front center. This placement hides the overlap inside the basket where it remains invisible. Pin the rim all the way around. It should be snug but not stretched.
At corners, if the rim pulls too tight, ease back slightly to create slack and match the curve perfectly.
Use the X-Pattern Lacing Method
Use 1/4″ weaver for lacing. Follow an X pattern and wrap the lacing around the basket twice. This double wrap ensures security if one wrap fails under stress. Make 25 to 30 total wraps around the entire rim.
Tuck the end under the last wrap and cut close to prevent fraying. Apply waterproof glue along the rim base before lacing. Let it cure fully before removing any pins.
Reinforce the Bottom
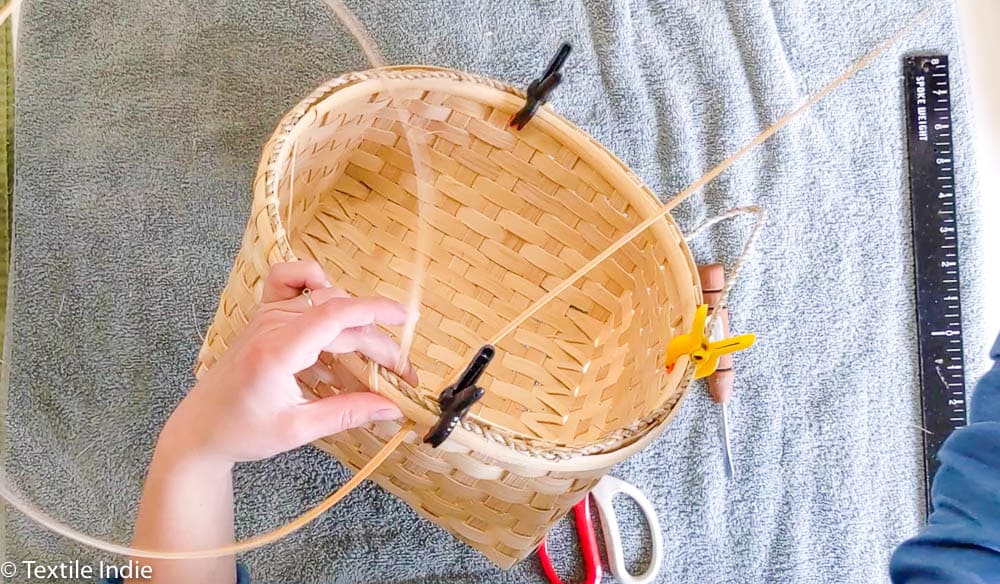
A solid, hole-free base prevents leaks and adds years to your creel’s lifespan. Two methods work well for bottom reinforcement.
Slide-In Reinforcement Method
Cut a piece of 3/8″ flat oval reed to fit the perimeter exactly. Slide it along the inside edge, pushing it sideways into place. No weaving is required with this method.
Secure with a tiny dab of glue at each end. Too much glue weakens the bond or stains the reed.
Anchored Over-Under Weave Method
For tighter tension, use a short piece of reed and weave it in with an over-under pattern at each corner. Use tiny drops of glue, called ants, to anchor the ends firmly.
This method requires trial and error for a perfect fit but offers superior hold once mastered.
Attach Functional Hardware
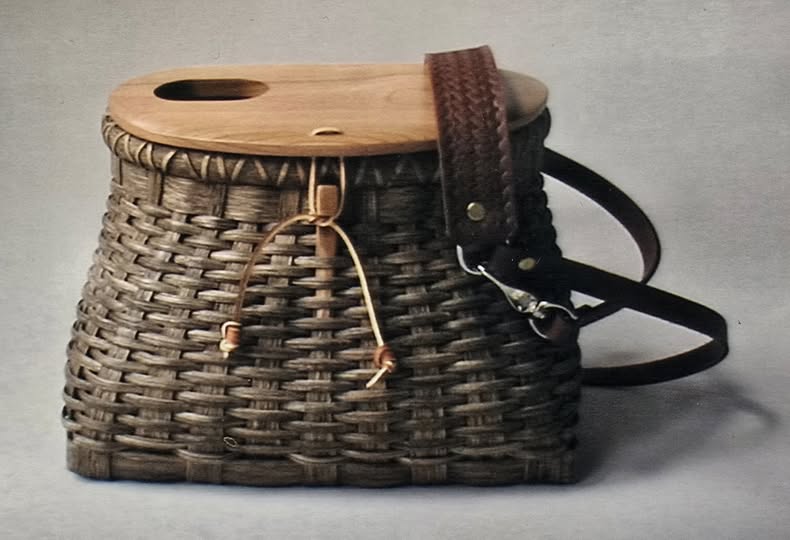
Transform your woven form into a working fishing tool with proper hardware installation.
Build the Belt Keeper
Cut two 1/4″ reed strips, each about 4 inches long. Bend them into U-shapes and position them on the back panel. Allow one inch of clearance for a standard belt to slide through comfortably.
Secure with a dab of waterproof glue. Avoid puddles that could warp the reed or weaken the bond.
Install Snap and Loop Closure
Attach a snap closure at the front for easy opening and closing. Add a leather loop on the lid or opposite side for secure fastening. No sewing is required. Glue and pressure hold the hardware firmly in place.
Craft and Fit a Custom Lid
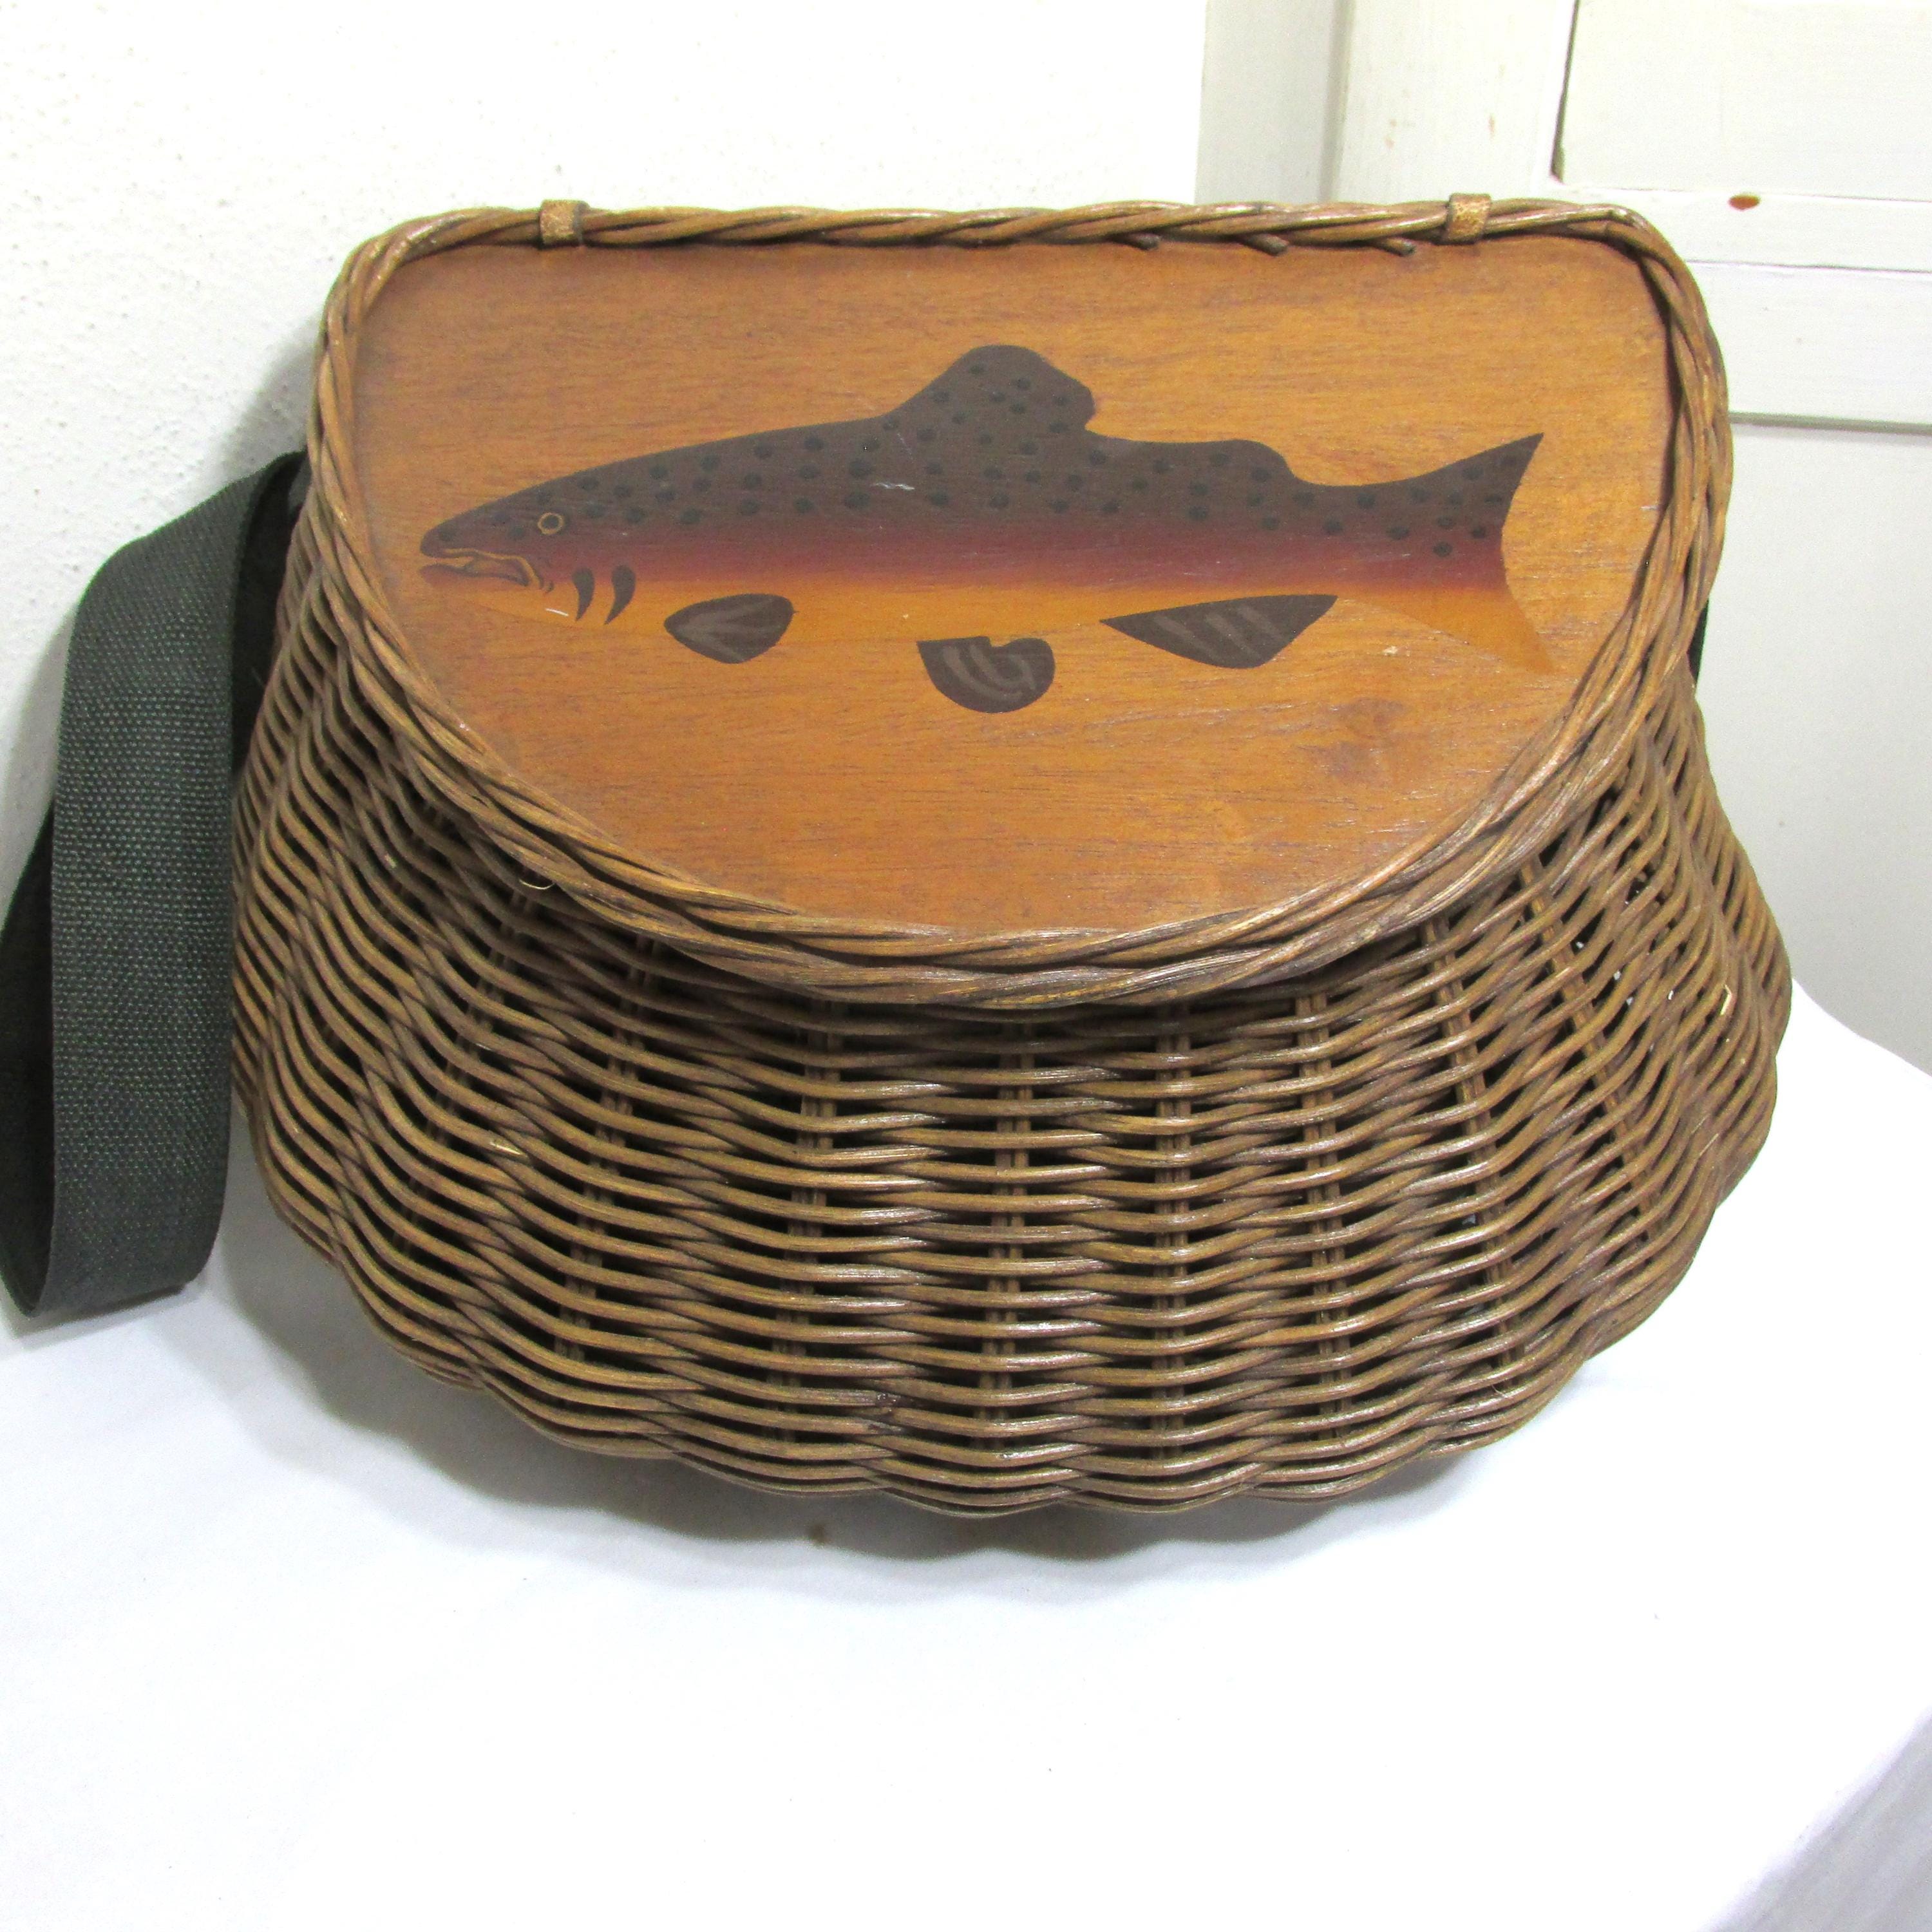
Every handwoven basket varies slightly, so pre-made lids never fit properly. Create a custom lid for a snug, gap-free seal.
Trace the Opening Precisely
Once the body is complete, turn the creel upside down. Place a thin wood panel, such as 1/8″ birch, on top and trace the opening carefully. This trace becomes your template for the perfect fit.
Shape and Finish the Lid
Cut the wood to match your traced shape exactly. Sand edges smooth and round any sharp corners. Optionally, add a fish slot near the front, allowing fish to be stored without opening the main lid.
Attach the lid with leather hinges and a latch. The natural wood finish complements the reed beautifully.
Final Assembly and Finishing Touches
Bring all components together for a complete, functional creel.
Apply Glue and Allow Drying
Reinforce all joints including the rim, belt keeper, and closure points. Use glue sparingly, just enough to bond without pooling. Let the entire creel dry for 24 hours before handling or use.
Test Fit and Make Adjustments
Slip the strap over your shoulder. The curved back should rest comfortably against your body without pulling or tilting. Open and close the lid. The snap should engage smoothly without resistance.
If anything feels off, address it immediately while the creel is still adjustable.
Maintain Your Creel for Years of Use
Proper care keeps your handwoven creel functional and beautiful for generations.
Clean After Each Use
Rinse the interior with fresh water if used with fish. Line the interior with damp moss or seaweed to keep catches fresh. Never store the creel wet for extended periods.
Store in a Dry Location
Always store the creel in a dry, ventilated space. Moisture trapped in reed leads to mold, especially when combined with organic moss linings.
Repair Damage Promptly
If a stake breaks, remove it carefully and weave in a replacement. The modular nature of reed allows for easy fixes without disturbing the surrounding structure.
Troubleshoot Common Weaving Problems
Even experienced weavers face challenges. Here is how to address the most frequent issues.
Fix Loose Weave or Gaps
Inconsistent tension or inadequate thumb packing causes loose weave. Pack each row firmly after weaving. Stop immediately if gaps appear and re-tighten the previous rows.
Correct Rim Alignment Issues
An over-tightened corner or uneven stake trimming causes the rim to sit improperly. Ease tension at corners before pinning. Trim stakes to a uniform height across the entire top edge.
Prevent Color Bleeding
Soaking colored reed before weaving causes bleeding when glue is applied. Always weave colored strips completely dry. Apply glue or finish only after the weave is complete.
Address Corner Bulging
Base curves bent inward during layout cause bulging corners. Push all curves outward during base preparation. Recheck symmetry before starting the body weave.
Why This Traditional Craft Matters
Weaving a fishing creel connects you to angling heritage spanning centuries. Each creel tells a story of patience, precision, and craftsmanship passed down through generations.
Modern synthetic gear offers convenience, but a handwoven creel stands apart. It is ergonomic, durable, and uniquely yours. With proper technique, anyone at an intermediate skill level can master this traditional craft.
Whether you fish for sport, sustenance, or solitude, your creel becomes more than a basket. It becomes a companion on countless fishing trips.
Key Takeaways for Weaving Your Fishing Creel
Building a fishing creel requires patience, proper materials, and attention to symmetry. Start with 1/4″ flat oval reed soaked for 1 to 2 hours, always orienting the hairy side inward. The under-under weave technique creates the tight, durable body essential for holding fish securely.
Shape soft square corners by bending stakes outward and switching to the over-then-under pattern at turns. Install the rim using double-wrap X-pattern lacing for security. Complete your creel with a custom-fitted wooden lid and functional hardware.
With 8 to 12 hours of work spread over two days, you will create a functional piece rooted in angling history. Proper care ensures your creel serves you and possibly future generations on countless fishing adventures.
Frequently Asked Questions About Weaving a Fishing Creel
How long does it take to weave a fishing creel?
Expect to spend 8 to 12 hours on your first creel. This time includes material preparation, weaving, drying cycles, and final assembly. Spreading the work over two days accommodates the necessary overnight drying period.
What materials do I need to weave a fishing creel?
You need 1/4″ flat oval reed for the main weave, 3/8″ reed for bottom reinforcement, and 3/4″ reed for the rim. Waterproof exterior-grade glue, a doll knife, spoke weight ruler, and clothespins complete the essential supplies.
Is weaving a fishing creel difficult for beginners?
This project is rated as intermediate difficulty. The upsetting phase, where you turn flat woven stakes upright to form the sides, challenges beginners most. Having an instructor or detailed guide helps troubleshoot common tension issues.
How do I keep my creel from smelling like fish?
Rinse the interior with fresh water after each use. Line the creel with damp moss or seaweed while fishing, but always store it completely dry. Proper ventilation prevents odor buildup.
Can I add color to my fishing creel?
Yes, weave narrow colored strips dry, without soaking, to prevent color bleeding. Blue represents water and fish motifs nicely. Place color strategically near the top or middle for visual interest.





