

If you’re a shallow-water angler, knowing how to make a push pole for fishing can save you hundreds of dollars while giving you a custom tool tailored to your kayak or skiff. Commercial push poles often cost $200–$500, but a well-built DIY version performs just as well, offering the same stealth, reach, and durability at a fraction of the price. Whether you’re poling through backcountry flats, navigating mangrove tunnels, or positioning silently over a redfish, a homemade push pole gives you precise control without spooking fish.
This guide walks you through proven designs using wood, fiberglass, and PVC, with step-by-step instructions, material lists, and expert tips to ensure your pole is lightweight, waterproof, and strong enough to handle real-world conditions.
Choose Your Push Pole Material: Wood, Fiberglass, or PVC
Each DIY push pole type offers unique advantages based on cost, portability, and performance. Your choice depends on how you fish, where you fish, and how much you want to spend.
Wood Dowel Pole: Budget-Friendly and Stealthy
Ideal for kayak anglers who want a quiet, affordable pole that performs like a commercial model.
Why Wood Works:
– Low cost under $50 in materials
– Natural feel with balanced weight and rigidity
– Quiet operation when sealed properly
– Easy to field repair with epoxy or tape
Best Materials:
– Plastic-wrapped closet rods: 8-foot sections, 1¼” diameter
– PVC coupler: 2-foot length, fits snugly over dowels
– Stainless steel screws for joints and handle
– Epoxy and end caps to seal all openings
Use factory-wrapped rods because they already have a moisture barrier, reducing prep work.
Fiberglass Pole: Premium Performance
For serious anglers in saltwater environments who need maximum durability and corrosion resistance.
Advantages of Fiberglass:
– Lighter than wood for the same length
– Saltwater-proof with proper sealing
– Long lifespan if maintained
– Smooth pull from mud or sand
Key Components:
– Fiberglass tube: 1.5″ OD, 1.25″ ID
– Stainless couplers: male/female sets for modular builds
– Ferrules for fixed-length splices
– Spike or foot for attachable bottom ends
Fiberglass tubes are not fully waterproof out of the box. Microscopic pinholes can let in water under pressure, so sealing is essential.
PVC Modular Pole: Ultra-Portable
Perfect for backpackers, ultralight kayakers, or anyone with tight storage.
Why PVC Shines:
– Breaks down into compact pieces
– Weighs less than 5 lbs
– Costs under $30
– Easy to assemble and disassemble
Ideal Use Cases:
– Paddling into remote lily pad flats
– Travel fishing
– Temporary setup for rental kayaks
PVC is less rigid than wood or fiberglass, making it best for soft bottoms and light use.
Build a 16-Foot Wooden Push Pole (Step-by-Step)

This proven design uses closet rods and PVC to create a stealthy, durable pole that rivals $300 models.
Cut and Prepare the Shaft
Use two 8-foot plastic-wrapped closet rods with 1¼” diameter. The factory coating acts as a moisture barrier, so do not sand it off.
Preparation steps:
– Check straightness by rolling each rod on a flat surface
– Mark joint zone 6 inches from each end for coupler overlap
– Deburr ends by lightly sanding cut edges to prevent splintering
Look for warping or soft spots. Reject any rods with dents or bubbles.
Shape and Seal the Tip
Create a sharp, durable point that will not split in hard bottoms.
Follow these steps:
1. Drive a 3-inch stainless screw into one end of a dowel with the head flush with the wood
2. Shape the tip with a buck knife, tapering the screw and surrounding wood
3. Grind to sharpness on concrete for a clean, fish-safe point
4. Seal with thick epoxy, building a ¼” cap over the tip to prevent water entry and splintering
5. Let cure overnight
Epoxy not only seals but adds abrasion resistance, which is critical when pushing off oyster beds.
Join Sections with PVC Coupler
A 2-foot PVC pipe with 1/8″ wall connects the two dowels into a 16-foot pole.
Assembly steps:
1. Insert 3-inch screw halfway into first dowel, cutting the head at 90° for alignment
2. Drill a pilot hole in the second dowel and thread onto the screw to align
3. Slide PVC coupler over the joint, centered with 6″ on each side
4. Drive 8 wood screws through PVC into both dowels, 4 per side, staggered
Eight screws distribute stress and prevent rotation under torque.
Attach the T-Handle
A PVC tee fitting gives superior control versus a straight grip.
Installation steps:
1. Slide tee onto top end of second dowel
2. Secure with 4 wood screws, no glue needed because the plastic wrap ensures a tight fit
3. Add spacers between arms if you need wider grip or kayak rail clearance
4. Cap open ends with PVC end caps to block water, stop gurgling, and improve appearance
Wrap the handle with grip tape or foam for comfort during long sessions.
Final Waterproofing
Even pre-wrapped rods need extra sealing at joints.
Apply these coatings:
– Coat tip and coupler joints with 2–3 layers of marine epoxy
– Optionally seal the entire shaft with spar urethane or marine varnish for UV and salt protection
– Let dry 24 hours before first use
Test for leaks by submerging joints in water and looking for bubbles when pulled under pressure.
Assemble a Fiberglass Push Pole (Fixed or Modular)
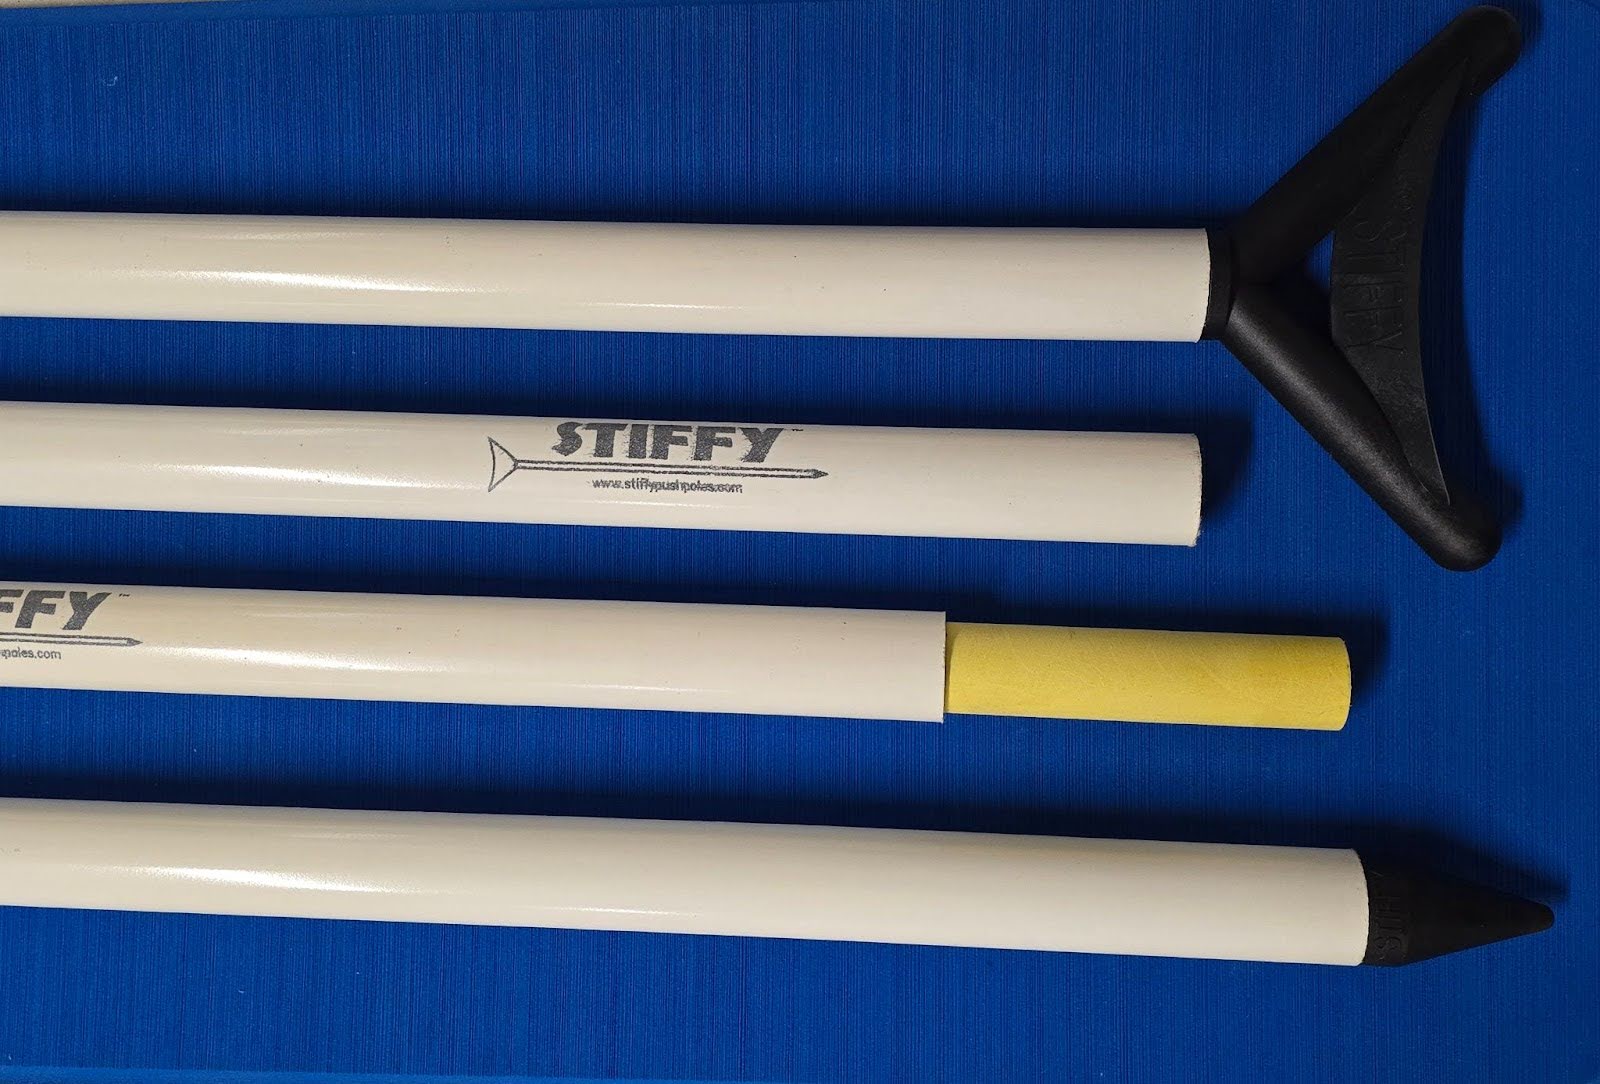
For anglers who want pro-level performance without paying retail prices.
Select Your Configuration
| Type | Lengths | Joint | Best For |
|---|---|---|---|
| Fixed | 16–20 ft | Epoxy + ferrule | Max strength, permanent use |
| Modular | 16–20 ft | Stainless couplers | Breakdown for storage |
Eighteen-foot poles are ideal for skiffs. Sixteen-foot suits most kayaks.
Seal the Tube Before Assembly
Fiberglass is porous, so seal it to prevent waterlogging.
Proven waterproofing methods:
– Internal coating: pour liquid polyurethane inside, rotate to coat, drain excess
– POR-15 bed liner: spray or brush inside and out for a rock-hard barrier
– Epoxy paint: marine-grade, two-part formula for long-term protection
Seal each section before joining. Once assembled, internal access is impossible.
Join with Ferrule for Fixed Pole
For permanent, high-strength connection.
Assembly steps:
1. Cut two 8-foot tubes for 16 ft total
2. Insert 1¼” OD ferrule into end of first tube and secure with marine epoxy
3. Slide second tube into other end of ferrule
4. Clamp and cure 24 hours
5. Attach spike or foot to bottom
6. Add T-grip or foam handle to top
Do not overtighten. Fiberglass can crack under excessive clamp pressure.
Use Stainless Couplers for Modular Pole
For breakdown capability and easier transport.
Assembly steps:
1. Epoxy male coupler into end of first tube and cure
2. Epoxy female coupler into second tube
3. Join during use by pushing together firmly
4. Store in padded sleeve to protect threads
Apply marine grease to couplers occasionally to prevent seizing.
Build a Modular PVC Push Pole (Compact and Lightweight)
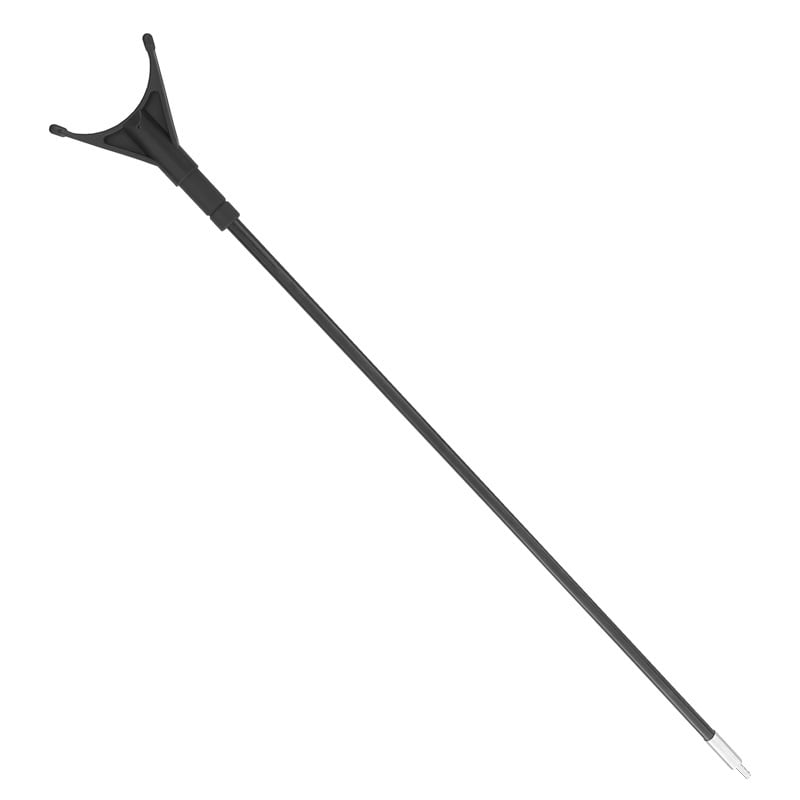
When portability is king, this design breaks down into nestable pieces.
Gather Materials
| Item | Quantity | Purpose |
|---|---|---|
| PVC pipe (¾” or 1″) | 2 × 3.5″, 3 × 2″ | Shaft and arms |
| Cross fitting (4-way) | 1 | Central hub |
| Coupling (sleeve) | 1 | Extend main shaft |
| End cap | 1 | Seal bottom |
| 45° elbows | 2 | Angle side arms down |
| ¼” locking pins | 3 | Secure joints |
No glue is needed. Friction plus pins is secure enough for shallow use.
Assemble the Shaft
Follow these steps:
1. Attach cross fitting to top of vertical pipe
2. Slide coupling below cross
3. Insert 2″ pipe into coupling
4. Cap the end
This creates approximately 14 feet total, ideal for kayak decks.
Add the Duck’s Foot Base
This creates broad contact area for soft bottoms.
Construction steps:
1. Attach 45° elbow to each side arm of cross
2. Add 3.5″ pipe to each elbow, pointing down
3. Connect 2″ pipe to bottom of each elbow, forming a wide foot
The result looks like a T at the top with a duck’s foot at the bottom.
Install Locking Pins
Prevent accidental disassembly mid-push.
Installation steps:
1. Dry-fit all joints
2. Drill ¼” hole through pipe and fitting at each joint
3. Insert pins, using wooden dowels or metal rods
4. Store pins in holes when disassembled
Never rely on friction alone. Pins are essential for safety.
Choose the Right Tip for Your Fishing Environment

Match your bottom type to the tip for optimal performance.
| Bottom Type | Best Tip | Why |
|---|---|---|
| Hard (rock, shell) | Steel spike | Penetrates without bending |
| Soft (mud, sand) | Duck’s foot | Prevents sinking |
| Mixed | Epoxy-reinforced screw | DIY solution for wood poles |
For a DIY foot option, attach a plastic cutting board piece to the bottom with stainless bolts.
Reduce Noise for Stealth Fishing
Silence is critical in clear, shallow water where fish are easily spooked.
Essential noise reduction steps:
– Seal all ends with epoxy or caps
– Avoid hollow sections with open tops
– Use solid-core rods if possible
– Check for gurgling after first use
Field test by shaking the pole near your ear. If you hear sloshing, reseal immediately.
Store and Transport Your Push Pole Safely
A lost pole ruins your trip. Secure it properly.
Use Holding Clips
- Spring-loaded snap clips in 1½” size work best
- Mount on kayak gunwales or skiff rails
- Allow one-handed stow and retrieval
Foam-lined PVC cradles reduce vibration during transit as an alternative.
Never Store Point-Forward
A wave caught the T-handle and ejected a pole 4 miles offshore during one real incident.
Storage rules:
– Always store horizontally or vertically with point down
– Secure with bungee or clips
– Never rely on friction alone
Maintain Your Push Pole for Years of Use
Extend its life with simple care.
After Every Use
- Rinse with freshwater, especially after saltwater use
- Inspect joints for cracks or loose screws
- Check for water inside by shaking and listening
Monthly Maintenance
- Tighten screws on wood and PVC poles
- Reapply sealant if wear shows
- Grease stainless couplers on fiberglass models
Off-Season Storage
- Store indoors, out of UV light
- Keep horizontal or vertical, never leaning at an angle
- Avoid freezing temps if water remains inside
Cost Comparison: DIY vs. Commercial Push Poles

| Option | Cost | Performance | Best For |
|---|---|---|---|
| DIY Wood Pole | $50 | Excellent | Kayak anglers, budget builds |
| DIY Fiberglass | $120–$180 | Pro-level | Saltwater, frequent use |
| DIY PVC | Under $30 | Good | Portability, temporary use |
| Commercial Pole | $200–$500 | High | Convenience, modularity |
DIY saves 60–80% with comparable results when built well.
Frequently Asked Questions About Making a Push Pole for Fishing
How long should my DIY push pole be?
Sixteen feet is ideal for kayaks. Eighteen to 20 feet works better for skiffs where higher deck height increases leverage needs. Shorter poles under 12 feet require excessive repositioning and are inefficient.
What is the best material for a DIY push pole?
Wood dowels offer the best balance of cost and performance for most kayak anglers. Fiberglass is superior for saltwater environments where corrosion resistance matters. PVC is best when portability is the priority.
How do I waterproof a push pole?
Seal all openings with epoxy or end caps. For wood, apply marine varnish or spar urethane. For fiberglass, use internal polyurethane coating or POR-15 bed liner. Test by submerging joints and watching for bubbles.
Can I use a push pole on any boat?
Push poles work best on flat-bottomed vessels like kayaks, skiffs, and flats boats. They require relatively shallow water, typically 1–4 feet deep, where you can reach the bottom with the pole.
How do I prevent my push pole from getting lost?
Use spring-loaded holding clips mounted on gunwales or rails. Never store the pole point-forward where waves can catch the handle and eject it. Always secure with bungee cords or clips during transport.
Key Takeaways for Building Your Own Push Pole
Building your own push pole is not just about saving money. It is about creating a tool that fits your body, boat, and fishing style perfectly. The 16-foot wooden design costs under $50 and performs like commercial poles costing three times as much. Choose your material based on where you fish: wood for versatility, fiberglass for saltwater durability, and PVC for maximum portability.
Regardless of material, focus on three critical factors. First, seal every joint and opening to eliminate noise and water weight. Second, use multiple fasteners and epoxy to create strong joints that withstand torque. Third, secure the pole during transport with clips or bungee cords to prevent loss.
With the right materials and attention to detail, your DIY push pole will become a trusted companion on every shallow-water adventure. Start with the wood design if you want a balance of cost and performance, or choose PVC if storage space is limited. Either way, fish with confidence knowing you built it yourself.





