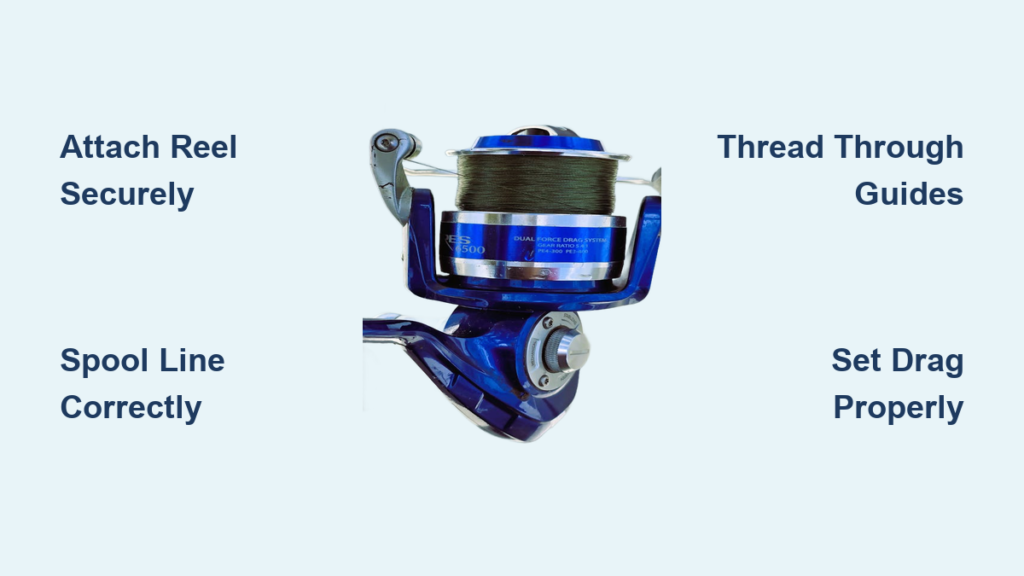
Nothing ruins a promising day on the water faster than a snapped line during a hard-fought battle with a trophy fish. More often than not, the culprit isn’t poor technique—it is degraded or improperly spooled fishing line. This guide teaches you exactly how to replace fishing line on a reel like a professional angler, ensuring maximum casting distance, knot strength, and reliability when it matters most.
Replacing your line is one of the most essential maintenance skills for any angler. Whether you run monofilament, fluorocarbon, or braided line, each type demands specific handling and spooling techniques. Done right, a fresh spool transforms your rod is performance. Done wrong, and you will face tangles, slippage, or lost fish. Let us walk through every step.
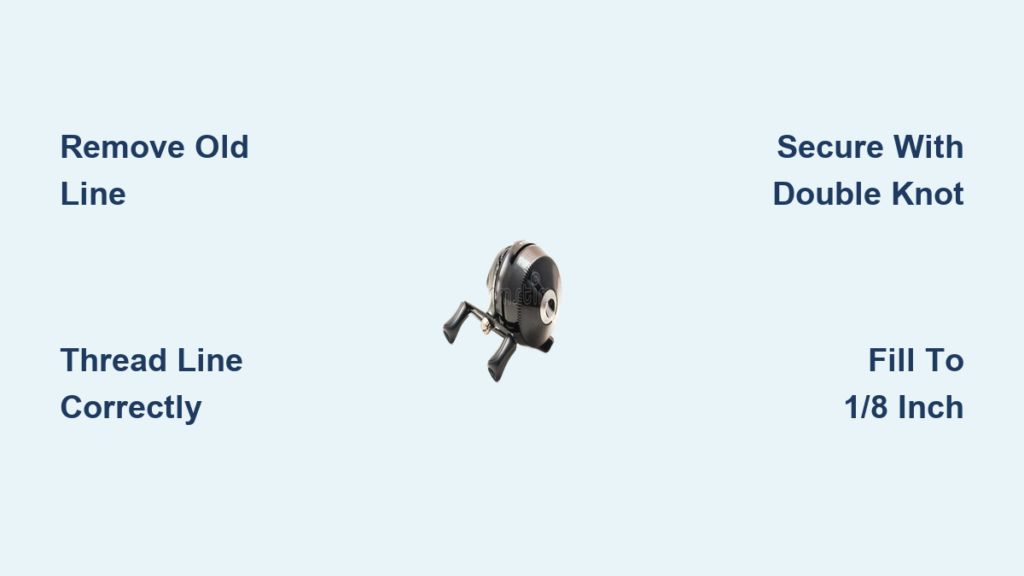
Remove Old Line Completely
Before new line goes on, the old line must come off fully and cleanly. Leftover coils or buried tangles interfere with smooth spooling and cause casting issues down the line.
Manual Removal Method
For light to moderate use, hand removal works well. Open the bail on a spinning reel or press the release button on a spincast model. Slowly unwind the line by turning the handle in reverse. As the line comes free, gather it into loose loops or wrap it around a cardboard spool to avoid creating a bird is nest. Once most is removed, cut the line near the knot and discard responsibly.
Drill-Powered Line Removal
When dealing with thick braid or heavily used reels, a power drill speeds up the process significantly. Thread the line through the reel is bail and tie the end securely to a Phillips screwdriver. Insert the screwdriver into the drill chuck. Hold the reel firmly and run the drill in reverse at low speed. The line will wind tightly onto the screwdriver. Stop when about 10 yards remain and finish manually to avoid damaging the spool.
Use a DIY Spooling Tool
For frequent line changes, build a reusable removal system. Mount an old reel spool on a bolt with washers and a nut to prevent wobble. Attach it to the drill chuck. Feed the old line onto this spool as it rotates. This keeps everything organized and prevents tangles. Some anglers add rubber washers for smoother rotation and reduced vibration.
Clean the Spool After Removal
Once the line is gone, wipe down the spool, spool cap, and internal gears with a dry or slightly damp cloth. Remove salt crust, sand, or grime, especially after saltwater use. Inspect the spool lip for nicks or cracks that could fray new line. A quick clean extends reel life and ensures the new line beds down smoothly.
Choose the Right Line Type and Weight

Using the correct fishing line is as important as tying a good knot. The wrong choice can damage your reel, reduce casting efficiency, or snap under pressure when a fish is on.
Match Line to Reel and Rod Specs
Check the manufacturer is label on your reel and rod for recommended line weight and type. Exceeding these ratings risks mechanical failure. For example, a spinning reel rated for 6 to 10 pound test should not be loaded with 15 pound braid unless explicitly designed for it. Similarly, light rods cannot handle heavy line without risking breakage.
Monofilament: Best for Beginners
Monofilament stretches slightly, absorbs shock well, and is easy to tie. It is ideal for topwater lures and situations where forgiveness matters. Soak it in warm water for 1 to 2 hours before spooling to reduce memory and help it lay flat on the spool.
Fluorocarbon: Invisible and Abrasion-Resistant
Fluorocarbon sinks faster and is nearly invisible underwater, perfect for clear lakes or picky fish. It does not stretch as much as mono, offering better sensitivity. No soaking is required. Use it as a leader or full spool depending on application.
Braided Line: Maximum Strength and Sensitivity
Braided line has a thin diameter for its strength, casts farther, and transmits vibrations better. However, it is slick and can slip on the spool. Always use electrical tape or a mono backing when spooling braid. Never skip this step.
Know the Pound-Test Conversion
Braid is stronger than mono of the same pound test. A 10 pound braid performs more like a 15 to 20 pound mono. Adjust your drag settings accordingly to avoid breaking off fish.
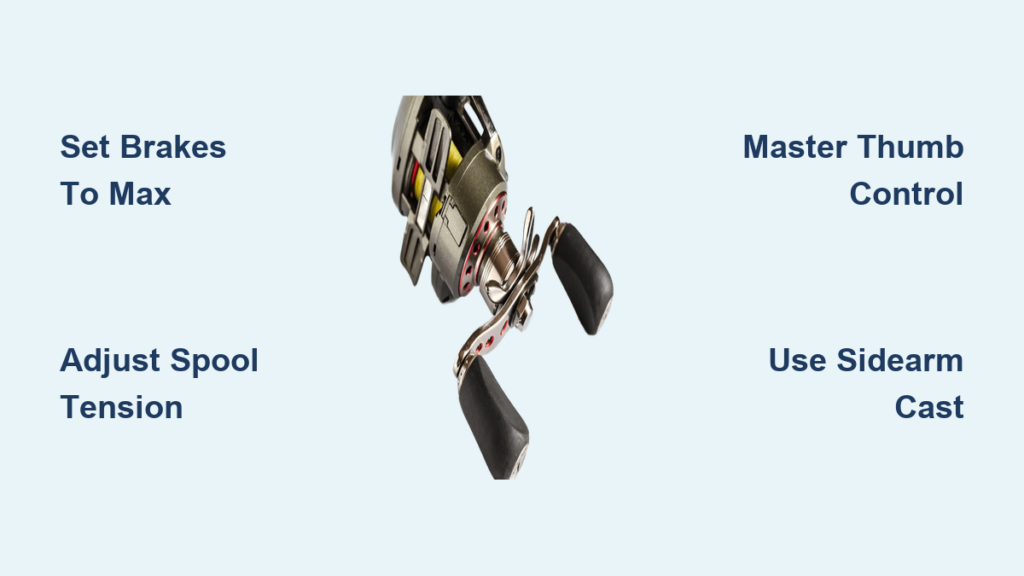
Secure the Line with the Right Knot
A weak knot means your line could slip off the spool during a cast or fight. Use the right knot for your line type and reel.
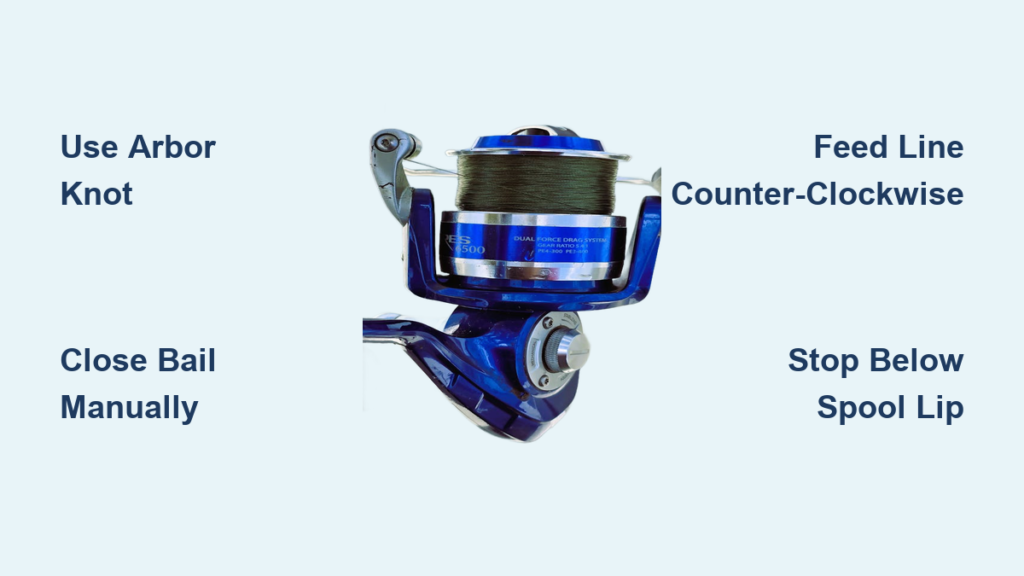
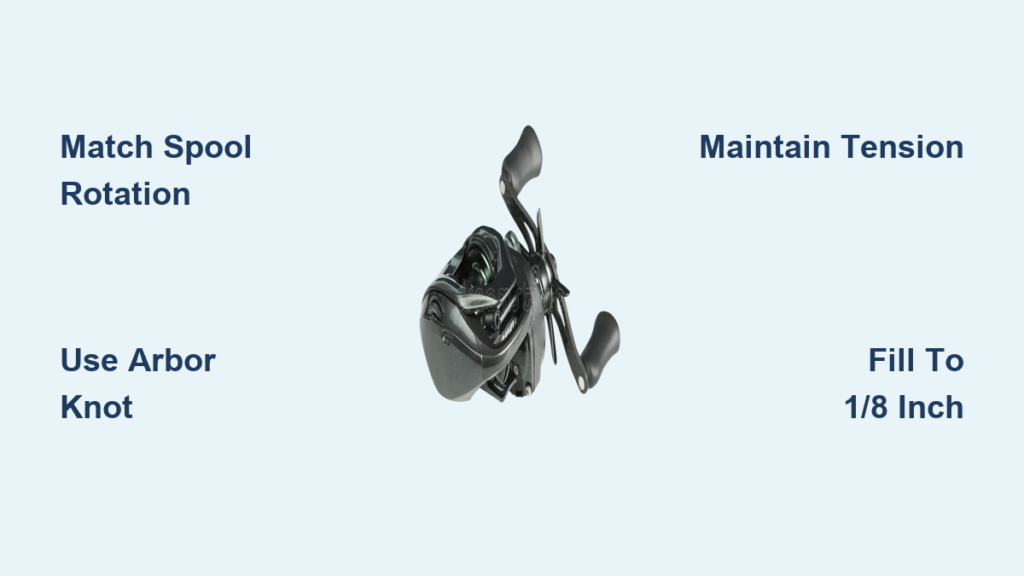
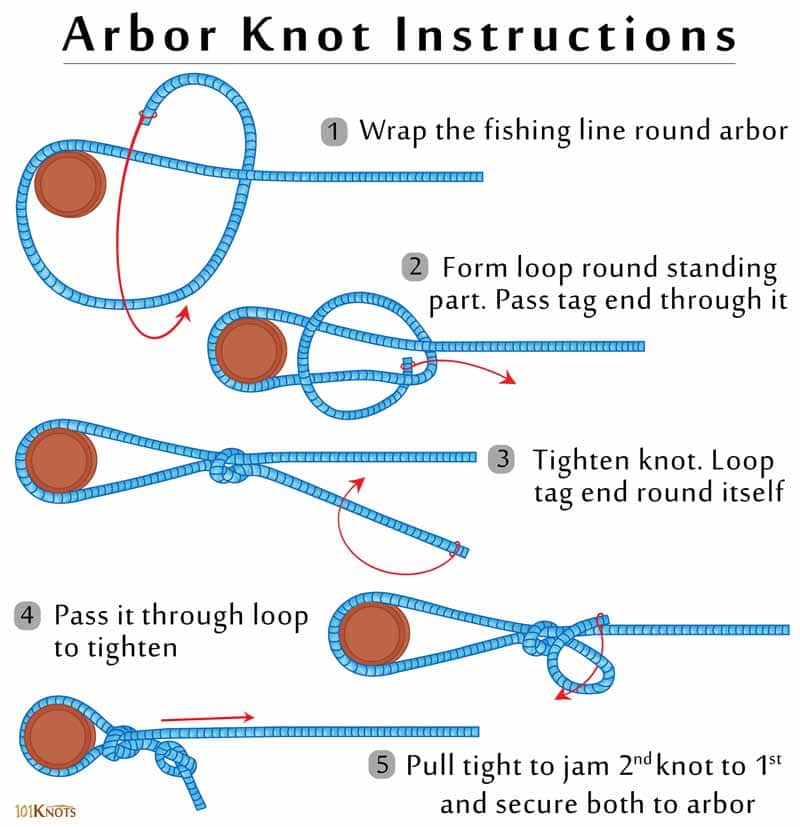
Tie an Arbor Knot for Maximum Security
The arbor knot is the gold standard for attaching line to the spool. It jams tight under tension and will not slip.
Steps:
- Pass the tag end through the spool is center hole or around the rim.
- Tie an overhand knot around the standing line.
- Create a loop in the main line and pass the tag end through it.
- Tie a second overhand knot with the tag end.
- Pull both ends to cinch the knot against the spool.
- Leave 6 to 8 inches of tag end until after spooling, then trim.
This knot works on all line types and is especially reliable for monofilament and fluorocarbon.
Use Electrical Tape for Braided Line
Braided line is slick texture makes it prone to spinning loose. Before tying, wrap 3 to 5 layers of electrical tape around the empty spool. This gives the knot something to grip. Then tie the arbor knot over the tape.
Splice Braid to Mono Backing (Optional)
For even more security, tie 10 to 30 yards of 20 pound mono to the spool first using an arbor knot. Then connect the braid to the mono with a double uni knot or albright knot. This method is common in saltwater fishing and ensures the braid stays put.
Avoid Slip Knots on Spinning Reels
While half-hitch slip knots work on spincast reels, they are not recommended for spinning reels under heavy load. Stick with the arbor knot for reliability.
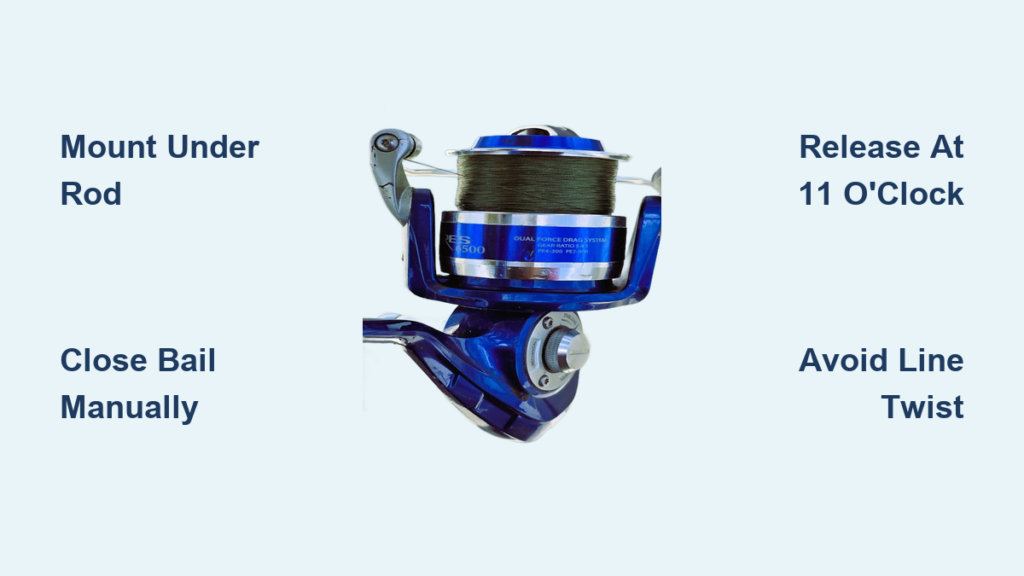
Align Line Direction to Prevent Twist
One of the most overlooked causes of poor casting and tangles is line twist, and it starts during spooling.
Wind Counter-Clockwise on Spinning Reels
Spinning reels require the line to wind onto the spool counter-clockwise. That means the filler spool must unwind counter-clockwise too. Place the filler spool flat on the ground with the label facing up. As you reel, the line should come off the bottom of the spool. If it comes off the top, flip the spool over. This simple step prevents line twist that leads to coiling and backlash.
Feed Baitcaster Spools on Their Side
Baitcasting reels spool clockwise, so the filler spool should rotate accordingly. Place it on its side with a pencil or dowel through the center. Let it spin freely as you reel. Never let the line come over the top of the spool, as this causes reverse twist.
Check for Twist Early
After 8 to 10 turns, open the bail and pull out a foot of line. If it forms loops or coils, you are spooling in the wrong direction. Flip the filler spool so the label faces down and restart.
Maintain Consistent Spooling Tension
Uneven tension leads to loose coils, gaps, and tangles. Keep the line tight as it winds onto the spool.
Apply Pressure with a Cloth
Hold the line between your thumb and forefinger about a foot above the reel. Use a microfiber cloth or damp paper towel to prevent friction burns, especially with braid. Apply light, steady pressure to keep the line snug without stretching monofilament.
Use a Helper or Spooling Tool
Have a friend hold the filler spool with a pencil through the center. They apply slight resistance to maintain tension. Or use a spring-loaded spool holder like the Berkeley Line Spooler for consistent feed.
Try the Water Bowl Method
Place the filler spool in a bowl of water. The water is resistance slows rotation and prevents over-spinning. This works especially well for braid and high-speed spooling.
Walk the Line for Natural Tension
Tie the line to a tree or post. Walk backward while reeling in. The distance creates natural tension and seats the line tightly. This requires open space but delivers pro-level results.
Fill to the Correct Spool Level
Overfilling is a top cause of casting disasters, especially on spinning reels.
Stop 1/16 to 1/8 Inch from the Rim
Fill the spool until the line is just below the outer edge. This is often marked by a change in spool color or a beveled lip. Overfilling causes the line to balloon off the spool during casting, leading to tangles and backlash.
Reel-Specific Fill Depths
Spinning reels should be filled to 1/8 inch from the rim. Baitcasters need 1/16 inch from the rim. Spincast reels take 1/8 to 3/16 inch from the rim. Check your reel is manual or manufacturer specs for exact capacity.
Avoid Underfilling Too
Too little line reduces casting distance and can cause the remaining line to jump off in coils. Aim for full, even coverage without exceeding the rim.
Finish and Test the Setup
Once spooled, finalize the setup and confirm it works before your first cast.
Trim Excess and Close the Bail
Cut the line, leaving 2 to 3 feet past the rod tip. Loosen the drag slightly to relieve pressure on the knot. Close the bail arm by hand. Do not force it.
Reel to Condition the Line
Reel in the entire length 5 to 10 times. This seats the coils and removes slack. For monofilament, this reduces memory. For braid, it ensures even layering.
Thread Through Rod Guides
Pass the line through each guide from reel to tip. Pull out about 5 feet beyond the tip. Use a swivel or old lure to help feed it through tight guides.
Make Test Casts
Tie on a lure with a Palomar knot. Make 3 to 5 practice casts. Watch for line twist in the air, backlash on baitcasters, bail not closing properly, or drag engaging too early. If issues arise, troubleshoot before heading out.
Prevent Slippage and Tangles
Even a perfectly spooled reel can fail if setup flaws go unnoticed.
Check for Line Slippage
After spooling, pull the line hard near the spool. If it slips, the knot failed or braid lacked grip. Re-tie with tape or backing.
Inspect Drag Performance
Set the drag to 25 percent of line strength. For example, 5 pounds for 20 pound test. Pull the line and drag should engage smoothly without stuttering.
Label Your Rods
Use a waterproof marker or tape to note line type, pound test, and spool date on the rod blank. This helps track usage and plan replacements.
Store Reels Properly
Keep rods in a cool, dark place. UV light degrades line over time. Hang vertically or lay flat. Never leave line under pressure.
Frequently Asked Questions About Replacing Fishing Line on a Reel
How often should I replace the fishing line on my reel?
Replace fishing line every 6 to 12 months, depending on how often you fish and the conditions. Heavy use, saltwater exposure, and UV damage accelerate degradation. Even if the line looks fine, internal damage can cause it to snap during a fight.
Can I spool braid directly onto a spinning reel without backing?
No. Braided line is extremely slick and has no stretch, so it will slip on the spool. Always use electrical tape or monofilament backing to create grip. Apply 3 to 5 wraps of electrical tape before tying your arbor knot.
What happens if I overfill my spool with fishing line?
Overfilling causes the line to balloon off the spool during casting, leading to tangles, bird is nests, and reduced casting distance. Stop filling when the line reaches 1/16 to 1/8 inch from the spool rim, depending on your reel type.
Why does my line twist when spooling?
Line twist occurs when the filler spool unwinds in the opposite direction the reel spools. For spinning reels, always unwind counter-clockwise. Place the filler spool flat with the label facing up and let the line come off the bottom.
What is the best knot for attaching line to a spool?
The arbor knot is the most secure option for all line types. It jams tight under tension and will not slip. For braided line, combine it with electrical tape or mono backing for maximum grip.
Should I soak monofilament before spooling?
Yes. Soak monofilament in warm water for 1 to 2 hours before spooling. This reduces line memory and helps it lay flat on the spool, resulting in better casting performance and fewer tangles.
Key Takeaways for Replacing Fishing Line on Your Reel
Replacing fishing line on a reel is a quick, low-cost task that pays huge dividends in performance and reliability. Start by removing all old line and cleaning the spool thoroughly. Choose the correct line type and weight based on your reel and rod specifications, and always use an arbor knot with electrical tape or backing for braided line.
Maintain consistent tension during spooling and ensure the filler spool unwinds in the correct direction. Fill to within 1/16 to 1/8 inch of the rim, then test with a few practice casts before your outing. By following these steps, your gear will be battle-ready whenever a trophy fish strikes.