You’re reeling in a hard-fighting bass, the line’s tight, and you go to crank, only to feel the handle spin backward with zero resistance. Your heart drops. The anti-reverse mechanism has failed. This common but frustrating issue can turn a successful fishing trip into a lost fish and a broken reel. When your fishing reel anti reverse not working, it undermines every critical moment, from hook sets to drag control to line retrieval.
The anti-reverse system locks the handle during retrieval to prevent backward rotation. When it fails, the root cause is usually mechanical wear, contamination, over-lubrication, or incorrect reassembly. Spinning reels with Instant Anti-Reverse (IAR) systems are most prone to this problem. This guide breaks down every cause, diagnostic step, and solution to get your reel back in fighting shape.
Identify Anti-Reverse Failure Symptoms
Before disassembling your reel, confirm the issue with a simple function test. Knowing the exact symptoms helps pinpoint the cause and avoid unnecessary repairs.
Handle Spins Backward with No Resistance
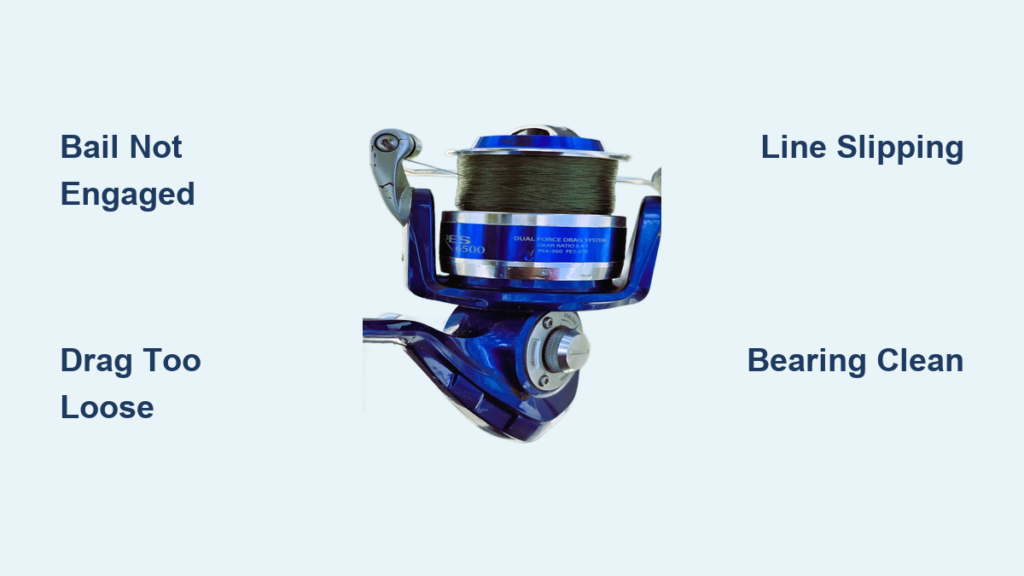
If the handle rotates freely in both directions, even with the anti-reverse switch engaged, you’re dealing with a complete failure. This typically points to a failed or seized roller clutch bearing, a missing or broken spring in the lever mechanism, incorrect reassembly after cleaning, or a detached bushing on the latching gear.
Test with the spool removed. Less drag means clearer feedback when you turn the handle backward.
Intermittent Slipping Under Load
Sometimes the handle locks at first, then slips when pressure increases, like during a fish fight. This partial engagement often means contamination from line fragments, sand, or salt, excess lubrication causing hydraulic lock, worn pawl or ratchet teeth, or a bent cam in Daiwa models.
Delayed or Soft Engagement
You turn the handle and feel a slight delay before the anti-reverse kicks in. This sloppy response signals worn internal rollers in the clutch, a loose or cracked switch lever, or a weak tension spring.
Look for a hairline crack near the lever’s pivot point. This is common in plastic switches and often goes unnoticed.
Understand the Anti-Reverse Mechanism

Knowing how the system works is key to diagnosing and fixing it. Most modern spinning reels use one of two designs: roller clutch bearing or pawl-and-ratchet.
Roller Clutch Bearing (Instant Anti-Reverse)
This is the standard in quality reels. It uses cylindrical rollers inside a raceway that lock when reverse torque is applied.
The bearing is located behind the main gear or on the spool shaft. It has a stamped arrow indicating free-spin direction that must face forward. Never lubricate heavily because grease causes slippage. Replacements follow RC numbering, for example RC061008.
The RC number breaks down as first two digits representing inner diameter in 1/16-inch increments, next two digits showing outer diameter, and last two digits indicating width.
Pawl and Ratchet System
Found in older or budget reels. A spring-loaded pawl clicks into gear teeth to block reverse motion. This system is simpler but noisier and less reliable, prone to tooth stripping or spring fatigue.
Anti-Reverse Switch and Lever
The external toggle connects to an internal cam or pawl. It moves a spring-loaded arm to engage the lock. Some include a bushing pressed into the gear that can detach. Common failures include a cracked lever or bent cam.
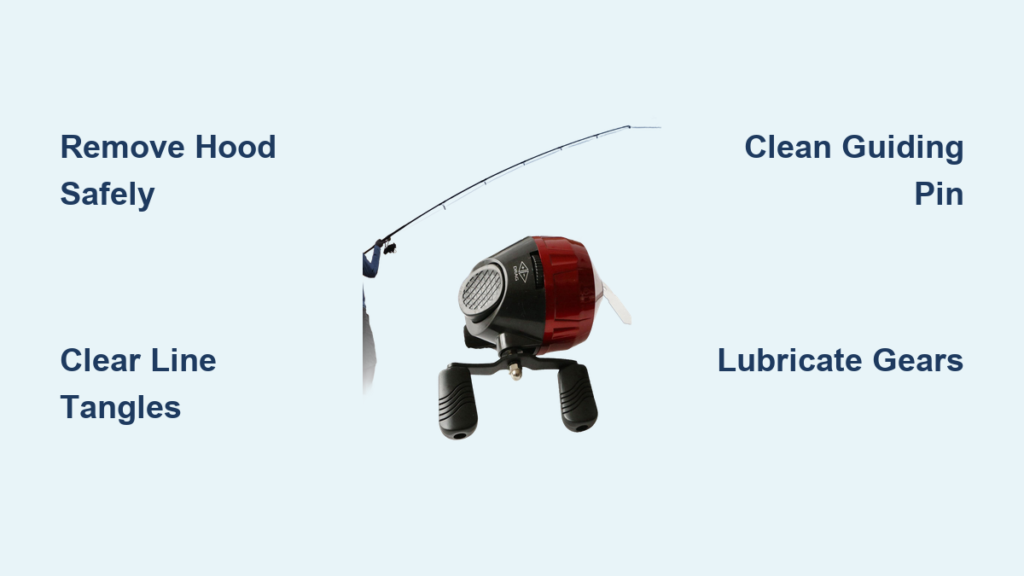
Clean a Contaminated One-Way Clutch
Debris is the number one cause of anti-reverse failure, especially in saltwater or high-use conditions.
Remove String and Sand Buildup
Line fragments wrapped around gears or sand in the clutch can prevent engagement.
Follow these steps. Remove the spool, drag knob, and rotor. Unscrew the hex nut holding the rotor base. Lift off the C-shaped bearing plate, noting its orientation. Extract the sleeve, carousel, and roller clutch bearing. Inspect for trapped line, grit, or rust.
Rollers may fall out during this process. This is normal. Don’t lose the plastic whiskers that hold them in place.
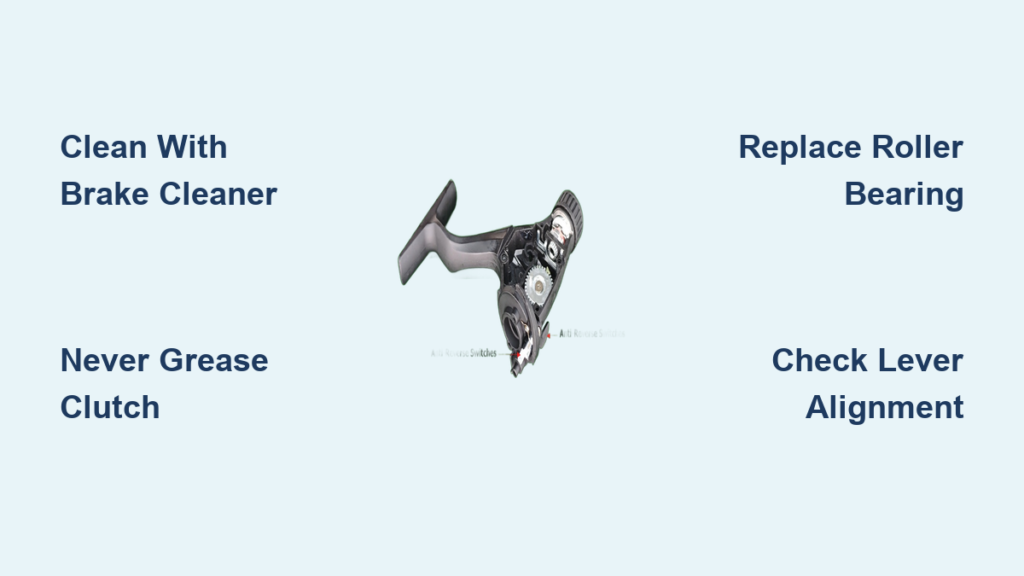
Flush with Brake Cleaner
Use brake cleaner or reel-specific solvent to dissolve gunk.
Spray all components, avoiding soaking the bearing directly. Wipe with a lint-free cloth, never cotton swabs because fibers jam mechanisms. Blow dry with compressed air or let air-dry completely. Reassemble dry without grease.
Too much lubrication will make the anti-reverse quit working. This is a common mistake even experienced anglers make.
Fix Over-Lubrication Issues
Grease is the silent killer of anti-reverse performance. Many users and even factory assemblers over-grease the clutch, causing hydraulic lock.
Why Grease Ruins the Clutch
Excess grease creates fluid resistance, preventing rollers from seating in the raceway. Even light oil can migrate from adjacent gears over time.
Daiwa AR bearings are extremely sensitive to lube. Generic reels are often over-greased at the factory. Shakespeare reels are prone to sludge buildup.
Clean and Reassemble Dry
Remove clutch components. Wipe rollers and raceway with a dry cloth. Use a toothpick to clear grease from crevices. Reinstall with zero grease.
A microscopic film of light oil is optional, but many experts recommend dry operation. Leave all anti-reverse components clean and dry for best results.
Replace a Failed Roller Clutch Bearing
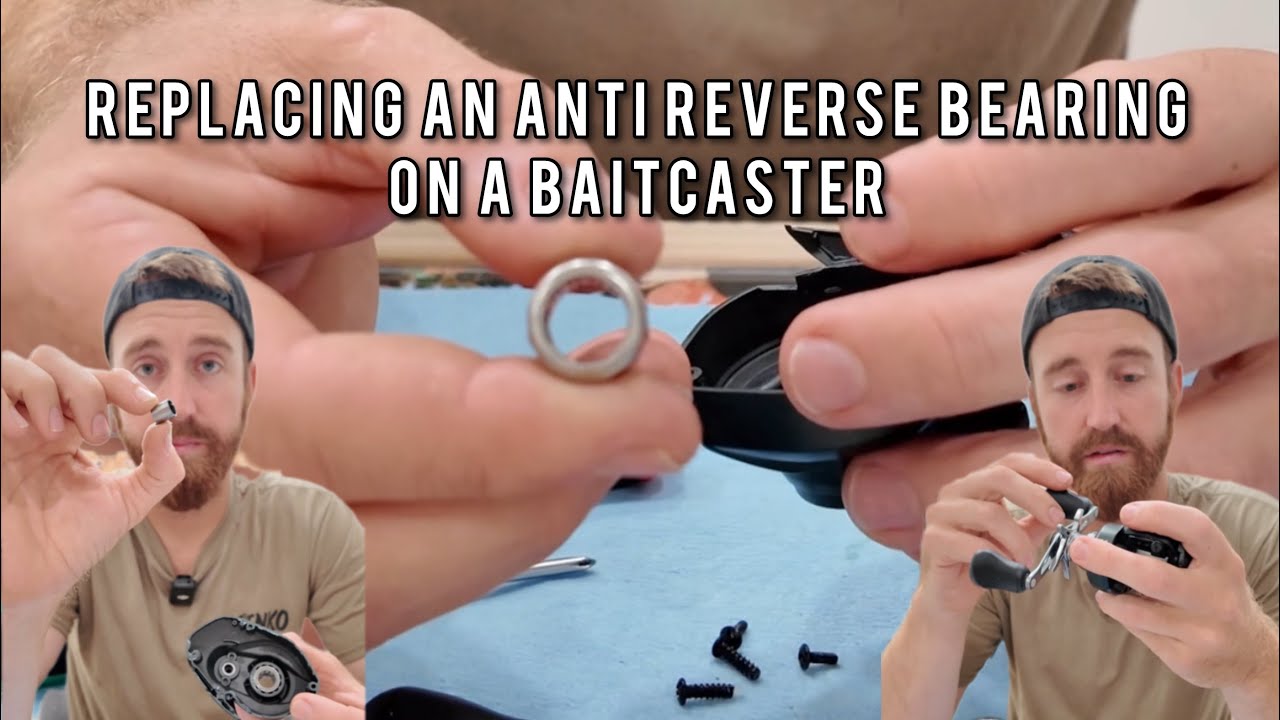
If cleaning doesn’t restore function, the bearing is likely worn or seized.
Diagnose Bearing Failure
No resistance when turning the handle backward indicates bearing failure. Rollers don’t engage or spin freely in reverse. Visible pitting, rust, or discoloration are telltale signs.
Source the Correct Replacement
Use the RC number to find the right bearing. Order OEM from the manufacturer, buy off-the-shelf from industrial suppliers, or harvest from a donor reel.
You can just replace it with an off-the-shelf roller clutch bearing. This is often cheaper than professional repair.
Install with Correct Orientation
The arrow on the bearing must point forward, in the direction of free spin. Reversed installation means no anti-reverse function. Secure with the nut, beveled edge out, and stopper screw.
Take photos during disassembly to avoid orientation errors. This simple step saves hours of frustration.
Repair Mechanical Lever and Switch Failures
The external switch may move, but if internal parts are broken, the system won’t engage.
Fix a Cracked or Loose Switch Lever
Hairline cracks in plastic levers prevent full engagement.
For a temporary fix, use pliers to manually push the lever into lock position. Finish your fishing trip, then replace the lever permanently. Order OEM replacement lever or replace the entire side plate if unavailable.
I’ve turned the anti-reverse back on with a pair of pliers so I can fish today. This works as a temporary solution.
Reattach a Slipping Bushing
A silver bushing pressed into the latching gear can come loose, causing slippage.
Remove the gear assembly. Extract the loose bushing. Clean the hole and bushing with solvent. Apply a tiny drop of JB Weld or high-strength epoxy. Reinsert the bushing, aligning it perfectly. Cure for 24 hours before reassembling.
Too much epoxy can seep into gears and cause binding. Use sparingly.
Adjust a Bent Cam (Daiwa Models)
Daiwa reels like the Luvias 2000 DA Custom often suffer from cam misalignment.
Diagnose Cam Issues
The switch engages, but the handle still slips. The cam doesn’t fully push the gear into lock. A slight bend prevents full contact.
Bend Back with Pliers
Remove the rotor and bearing plate. Locate the cam arm connected to the switch. Grip the tip with needle-nose pliers. Gently bend toward the engagement point. Test incrementally. Do not over-bend.
Holding the end with pliers and twisting the other end is the best way to adjust the cam.
Prevent Future Anti-Reverse Failures
A little maintenance goes a long way in extending your reel’s life.
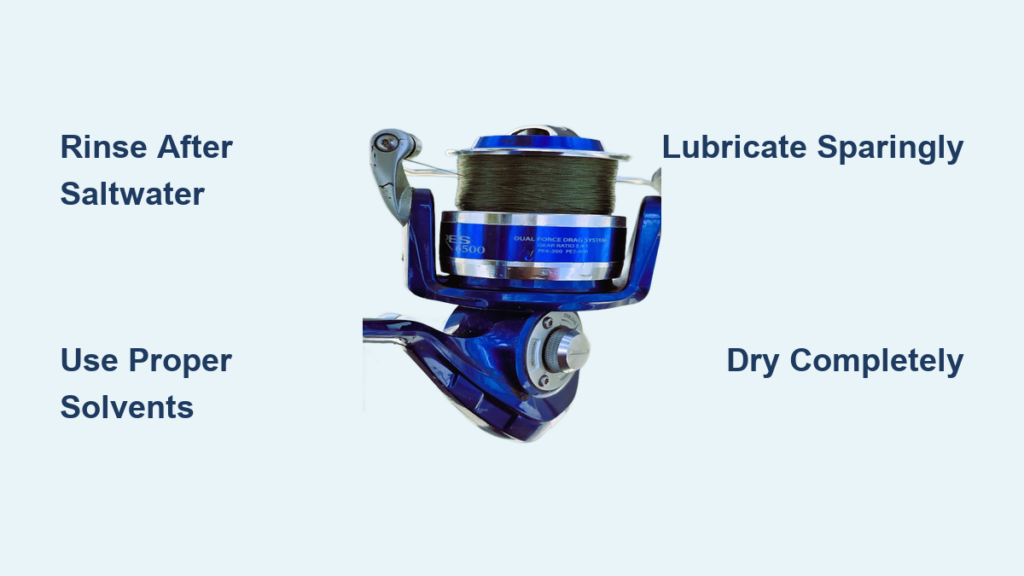
Rinse After Saltwater Use
Flush with freshwater after every trip. Dry thoroughly before storage. This prevents salt buildup and corrosion.
Never Grease the Clutch
Apply zero grease on the roller clutch. Use light oil only if absolutely needed. Wipe excess lube during routine servicing.
Store with Anti-Reverse Engaged
Keeping anti-reverse engaged keeps spring tensioned, reduces fatigue and wear, and loosens the drag knob to relieve spool pressure.
Use Exploded Diagrams
Search for your reel model plus exploded parts diagram before disassembly. This ensures correct reassembly, helps identify part numbers, and avoids orientation errors.
Always photograph or diagram disassembly steps. Reassembly errors are common and frustrating.
When to Repair vs. Replace
Not every reel is worth fixing. Consider cost, availability, and build quality.
| Reel Type | Price | Repair Worth It? | Notes |
|---|---|---|---|
| Low-Cost | Under $30 | No | Plastic gears, no parts available, better to replace |
| Mid-Range | $30–$100 | Yes | Okuma, Shimano, Daiwa have parts available |
| High-End | $100+ | Yes (DIY) | Pro repair may cost $110 for a $150 reel |
Go buy an Okuma Stratus. They go on sale for $30 at the right time. You need to spend more than $20 if you want something that holds up.
Source Parts and Manufacturer Support
Don’t guess. Get the right parts.
OEM Parts
Visit the manufacturer website. Enter your model number. Download the exploded diagram. Order by part number.
Aftermarket Bearings
Search the RC number. Buy from industrial suppliers like McMaster-Carr or Amazon. Use calipers if the number is unreadable.
Donor Reels
Buy the same model used or broken. Harvest bearings, levers, and cams. This is cost-effective for rare parts.
Your best bet is to buy another 20-sized quantum reel and see if the anti-reverse clutch is a match.
Final Fixes by Failure Type
| Issue | Solution | Difficulty |
|---|---|---|
| Failed bearing | Replace RC-numbered clutch | High |
| Debris in clutch | Clean with brake cleaner | Medium |
| Over-greased | Wipe dry, reassemble | Medium |
| Cracked lever | Temp fix with pliers | Low |
| Loose bushing | Reattach with JB Weld | Medium |
| Bent cam | Bend back with pliers | Medium |
| Wrong assembly | Recheck orientation | Medium |
Frequently Asked Questions About Fishing Reel Anti-Reverse Not Working
Why does my fishing reel anti reverse stop working suddenly?
The most common causes are contamination from debris, over-lubrication with grease, or a worn roller clutch bearing. Saltwater use accelerates all three issues. A sudden failure often means something broke internally, like a cracked switch lever or seized bearing.
Can I fix my fishing reel anti reverse myself?
Yes, most anti-reverse failures are fixable at home with basic tools. You need screwdrivers, pliers, lint-free cloths, and brake cleaner. The key is understanding the roller clutch mechanism and avoiding common mistakes like greasing the bearing or installing it backward.
How do I test if my anti-reverse is working?
Engage the anti-reverse switch. Try to turn the handle backward. If it rotates freely with no resistance, the anti-reverse is not working. If it locks or shows significant resistance, the system is functioning.
Should I grease the anti-reverse bearing?
No. Never apply grease to the roller clutch bearing. Excess grease creates hydraulic resistance that prevents the rollers from engaging. Keep these components clean and dry, or at most apply a microscopic film of light oil.
How much does professional anti-reverse repair cost?
Professional repair costs vary by brand. Daiwa quotes around $110 to replace a bearing on a $150 reel. Many anglers consider this overpriced relative to the reel value, which is why DIY repair is popular.
When should I replace the reel instead of repairing it?
Replace low-cost reels under $30. They have plastic gears and no available parts. Mid-range and high-end reels are worth repairing because parts are available and DIY repair costs significantly less than professional service.
Key Takeaways for Fixing Fishing Reel Anti-Reverse
The anti-reverse system is critical for performance. When your fishing reel anti reverse not working, you lose hook-setting power and control during fish fights. Most issues stem from contamination, over-lubrication, or worn components, and all are repairable at home.
Start with a functional test to identify symptoms. Clean the clutch with brake cleaner if you suspect debris. Never grease the roller bearing. Replace the bearing if cleaning doesn’t work. Use exploded diagrams for correct reassembly.
For temporary fixes, use pliers to manually engage the lever. For permanent solutions, source OEM parts or harvest from donor reels. With basic tools and attention to detail, you can restore even expensive reels yourself. Always test function before full reassembly, and your reel will be ready for your next big catch.