If you’ve ever stood on a pier, riverbank, or dock wondering how to cast with a spinning reel, you’re not alone. The spinning (open-face) fishing reel is one of the most beginner-friendly tools in angling, designed for smooth, long-distance casts especially with light lures and finesse techniques. Whether you’re targeting trout in a mountain stream or redfish along a saltwater shoreline, mastering your spinning reel unlocks better accuracy, fewer tangles, and more fish. In this guide, you’ll learn exactly how to use a spinning reel from setup to retrieval, avoid common mistakes, and maintain it for lasting performance.
Mount the Reel Correctly on Your Rod
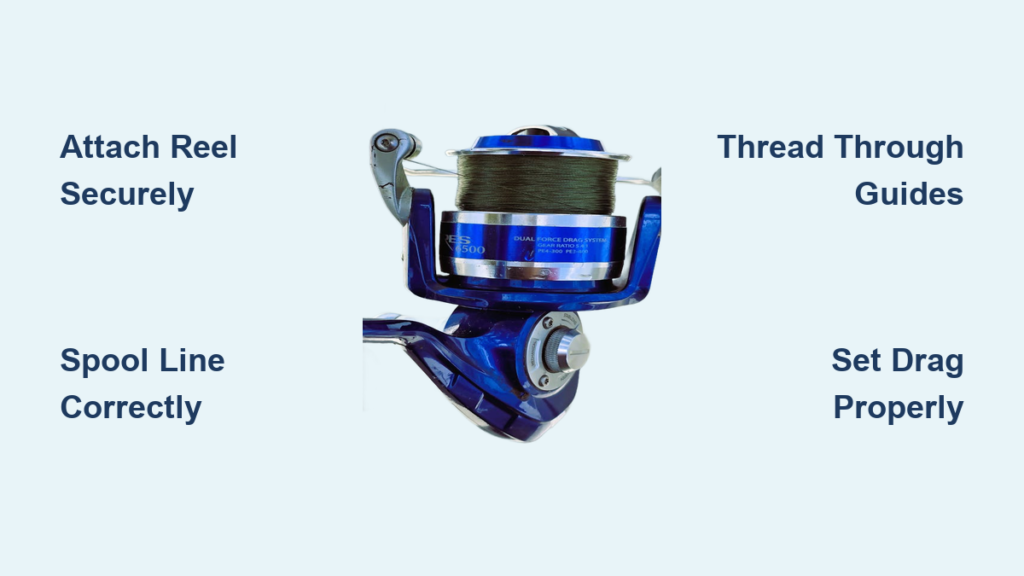
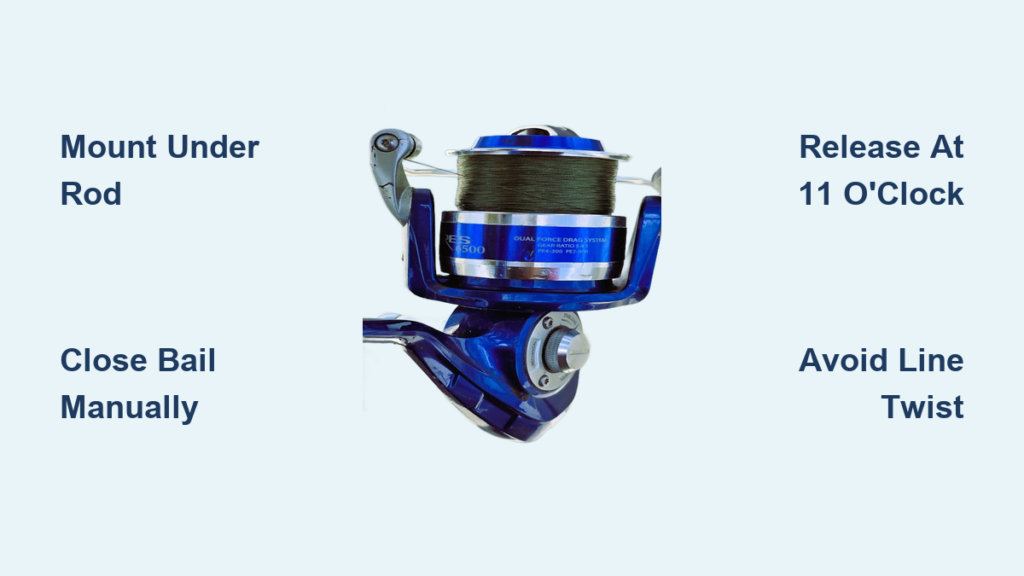
Before casting, ensure your reel is properly mounted. A spinning reel always attaches beneath the rod, with the handle and spool facing down. This design allows gravity to assist line release during casting.
Choose Your Retrieve Direction
Most spinning reels offer left- or right-hand retrieve options. The handle can often be switched using a small release button on the reel body. Choose based on comfort.
• Right-hand retrieve: Handle on the right, most common choice
• Left-hand retrieve: Faster initial response for some anglers, especially when fighting fish
Once mounted, tighten the reel seat securely so the reel doesn’t wobble during use.
Fill the Spool with the Right Line
A well-filled spool improves casting distance and reduces backlash. Choosing the right line and loading it properly makes a significant difference in performance.
Select the Appropriate Line Type
Spinning reels work best with several line types, each offering distinct advantages.
• Monofilament: Stretchy and forgiving, ideal for beginners
• Fluorocarbon: Low visibility, great for clear water conditions
• Braided line: High sensitivity and strength, but prone to wind knots if overfilled
Load the Line Properly
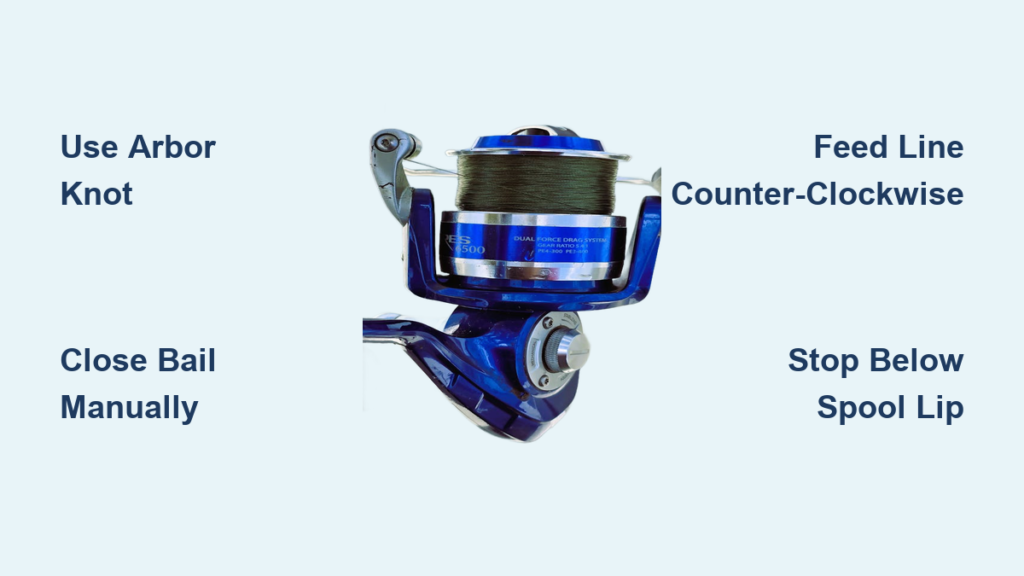
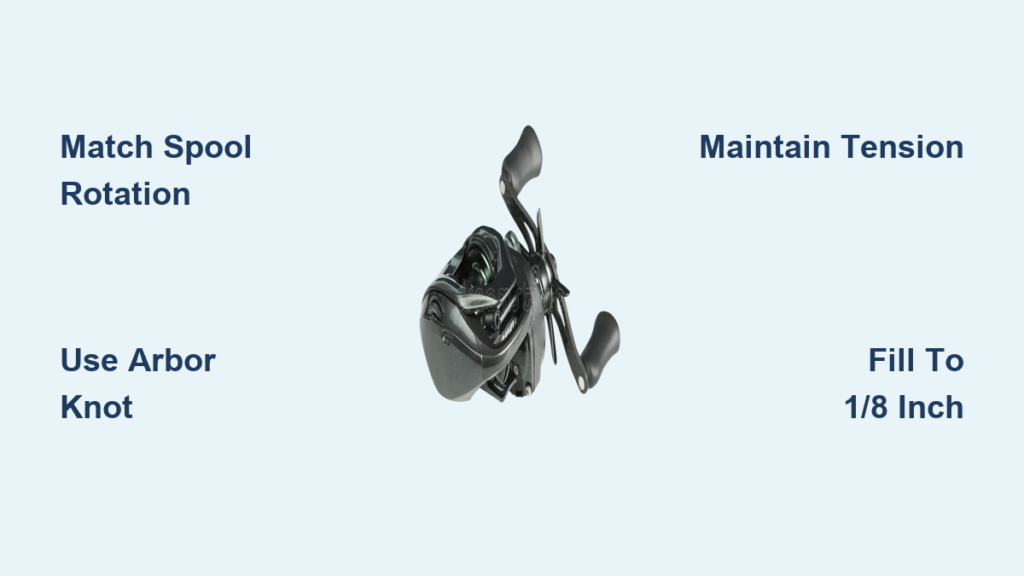
Attach the line to the spool using an arbor knot. Leave about 1/8 inch of space below the spool’s rim after filling.
• Correct fill: Ensures smooth line release during casting
• Overfilled: Line jumps off during cast, causing tangles
• Underfilled: Reduces casting distance and line capacity
While winding, apply light tension with a cloth or finger to prevent loose coils and memory issues.
Open the Bail Before Casting
The bail is the wire arm that guides line onto the spool when reeling. Before casting, it must be open to allow free line flow.
Flip the Bail to the Open Position
Use your thumb or index finger to swing the bail upward until it locks in place over the spool. You should hear a soft click indicating it’s secured.
Never cast with the bail closed. This will strip gears or break the line, causing expensive damage.
Position the Rod and Line for a Clean Cast
Proper grip and line control set the stage for a clean cast. Many beginners struggle because they overlook these fundamental setup steps.
Hold the Rod Correctly
Keep the reel beneath the rod. Holding it upside down with the reel on top is a common beginner mistake that leads to poor casts and tangles.
Set Up the Line
Pull 10 to 18 inches of line so the lure dangles freely below the rod tip. Too short results in a weak cast. Too long increases risk of tangles during the swing.
Use your forefinger to pinch the line against the rod handle. This prevents premature release during the backswing.
Execute the Cast with Proper Technique
Casting with a spinning reel relies on wrist and forearm motion, not shoulder strength. Mastering the timing of your release is the key to distance and accuracy.
The Backswing
Bring the rod tip back in a smooth arc. Stop at 11 o’clock, just before vertical. Avoid wide, looping swings as they reduce control and power. Keep your elbow close to your body throughout the motion.
The Forward Swing and Release
Accelerate forward with a sharp snap of the wrist and forearm. Aim for a straight-line path from 11 o’clock back to 1 o’clock. As the rod reaches 11 o’clock in the forward motion, release the line by lifting your finger.
• Perfect timing: Maximum distance and no backlash
• Release too early: Short cast with line slap
• Release too late: Backlash or wind knot
Let the rod continue forward to about 1 o’clock. A smooth follow-through stabilizes the cast and prevents line pile-up.
Close the Bail Manually After the Cast
After release, let the lure settle gently on the water. Wait a second after splashdown to allow any slack line to tighten.
Use your thumb or index finger to flip the bail shut manually. Do not rely on reeling to close it.
Reeling to close the bail introduces 1/8 twist per cast, leading to 6 to 12 full twists over 100 casts. This buildup is a major cause of wind knots, line memory, and poor lure action. Even reels with auto-close bail systems should be manually verified for reliability.
Retrieve the Line Based on Your Lure Type
Start reeling only after the bail is closed. Different lures require different retrieval techniques to perform their best.
Match Retrieve to Lure
• Spinners: Steady, moderate to fast retrieve keeps the blade spinning
• Spoons: Fast, constant retrieve maintains the wobble action
• Stick baits: Stop-and-go motion mimics injured prey
• Soft plastics: Slow drag or lift-and-fall keeps the action subtle
• Spinnerbaits: Steady or jerk-pause retrieve works well in weeds
Avoid using swivels with soft plastics. They disrupt the natural movement that makes these lures effective.
Set the Hook and Fight the Fish
When you feel a bite, act quickly but smoothly. A proper hook-set technique ensures solid penetration without breaking light line.
The Hook-Set Motion
Perform a sharp upward rod sweep, not a violent yank. This drives the hook home without breaking light line. Use moderate force with 6 to 10 pound test. For deep-hooked fish, reel steadily instead of jerking.
Fighting the Fish
During the fight, maintain tension with the rod bent. Let the drag system absorb runs. Reel during pauses when the fish tires. Keep the rod tip up throughout the battle.
Avoid palming the spool unless necessary. It can burn fingers or twist the line.
Adjust the Drag System Correctly
Your drag controls how much line a fish can pull before resistance kicks in. Proper drag settings protect your line and help land fish effectively.
Set Drag to the Right Pressure
Adjust the drag to 20 to 30 percent of your line’s breaking strength. For example, use 3 pound drag for 10 pound test line. Tighten for strong fish like bass or pike. Loosen for light tackle or small species.
Test Before Fishing
Pull line off the spool by hand. It should release smoothly under tension without sticking or slipping unexpectedly. Front-drag systems on higher-end reels offer more consistent pressure than rear-drag models.
Prevent and Fix Line Twist
Line twist is a top complaint among spinning reel users, but it’s easily preventable with proper technique.
The Primary Cause
Reeling to close the bail is the main source of line twist. This adds a small twist with every cast, creating wind knots, coiling, and poor lure performance over time.
Solutions
• Always close the bail manually after each cast
• Use a swivel when fishing with rotating lures like spinners or spoons
• Inspect the line regularly and replace if coiled or frayed
Maintain Your Reel After Every Use
Longevity depends on consistent care, especially in saltwater environments where corrosion is a constant threat.
Rinse and Dry After Each Trip
After fishing, rinse the reel with freshwater. Spray the spool, bail, and housing thoroughly. Do not submerge or soak the reel. Wipe all components dry. Leave the bail open during storage to prevent moisture buildup.
Lubricate Periodically
Every 10 to 15 uses, apply light reel oil to bearings and the bail roller. Use reel grease sparingly on gears. Avoid over-lubricating because it attracts dirt and debris.
Replace Line Regularly
Change your line every 3 to 6 months with regular use. Inspect for nicks, memory, or abrasion each time you spool up.
Choose the Right Setup for Your Target Fish
Matching your gear to the species and environment increases your success rate significantly.
Freshwater Setup for Trout, Bass, and Panfish
Use a 6’6″ to 7′ rod with light or medium-light action. Pair with a 2000 to 3000 size reel. Spool with 6 to 10 pound fluorocarbon or monofilament. Ideal lures include spinners, soft plastics, and small crankbaits.
Saltwater Inshore Setup for Redfish and Snook
Use a 7′ medium-light rod. Pair with a 3000 to 4000 size reel that’s corrosion-resistant. Spool with 10 to 15 pound braid plus a 12 to 18 inch fluorocarbon leader. Effective lures include jigs, soft plastics, and topwater poppers.
Spinning reels are not suitable for offshore trolling or big-game fishing. Use conventional reels instead for those applications.
Avoid Common Spinning Reel Mistakes
Even experienced anglers make these errors. Learning to spot and fix them improves your fishing immediately.
Mistake: Reeling to Close the Bail
This causes line twist, tangles, and poor lure action. The fix is simple: manually close the bail after every cast.
Mistake: Incorrect Release Timing
Releasing too early results in short casts and line slap. Releasing too late causes backlash or wind knots. Practice releasing at 11 o’clock forward for optimal distance.
Mistake: Overfilling the Spool
Line jumps off during cast when overfilled. Fill to 1/8 inch from the spool rim to prevent this issue.
Mistake: Holding the Rod Upside Down
This leads to poor casting and tangles. Remember: the reel goes underneath the rod, always.
Frequently Asked Questions About Spinning Reels
What is the difference between a spinning reel and a baitcasting reel?
Spinning reels mount beneath the rod and use an exposed spool for easy line inspection. They’re easier for beginners and excel with light lures. Baitcasting reels mount on top and offer more accuracy for experienced anglers but have a steeper learning curve.
Why does my line keep tangling when casting?
Tangles usually stem from overfilled spools, incorrect release timing, or reeling to close the bail. Check your fill level, practice release timing at 11 o’clock, and always close the bail manually.
How often should I replace my fishing line?
Replace fishing line every 3 to 6 months with regular use. Inspect it before each trip for nicks, fraying, or memory. Change it immediately if you notice any damage.
Can I use a spinning reel for saltwater fishing?
Yes, but choose a corrosion-resistant model like the Shimano Stradic or Daiwa Legalis. Rinse thoroughly with freshwater after every saltwater trip and maintain the reel regularly.
What size spinning reel should I buy for beginners?
A 2000 to 3000 size reel works well for most beginners targeting freshwater species like trout, bass, and panfish. These sizes balance line capacity with manageable weight.
How do I prevent line twist with a spinning reel?
The primary prevention method is manually closing the bail after every cast instead of reeling to close it. Use swirls when fishing with rotating lures and replace line regularly to avoid memory buildup.
Key Takeaways for Mastering Your Spinning Reel
Mastering the spinning reel isn’t about expensive gear. It’s about technique and consistent habits that prevent common problems.
The most critical habits are mounting the reel beneath the rod, manually closing the bail after every cast, and practicing release timing at 11 o’clock forward. Set your drag to 20 to 30 percent of your line strength. Rinse and dry your reel after every saltwater outing.
Spinning reels remain unbeatable for light tackle, finesse fishing, and beginners. Their low learning curve, smooth performance, and versatility make them a staple in any angler’s arsenal. With proper use and care, your spinning reel will deliver years of reliable service and countless fish. Now get out there, cast confidently, and enjoy the simplicity and power of the open-face reel.