Spooling line onto a fishing reel might seem simple, but doing it wrong can ruin your day on the water. A poorly spooled reel leads to frustrating tangles, weak knots, reduced casting distance, and even lost fish. Whether you’re using monofilament, fluorocarbon, or braided line, knowing how to start line on a fishing reel correctly is essential for smooth performance and long-term durability.
This guide breaks down every step from choosing the right line to securing it properly and avoiding common mistakes. You will learn the best knots, correct spooling direction, tension techniques, and how to prevent line twist.
Match Line to Reel and Rod Specifications
Before touching the reel, ensure your line matches both the reel and rod specifications. Most reels list ideal pound tests on the spool or in the manual. Exceeding these ranges can damage the spool or overload the drag system.
Rod guides and blanks also have line weight ratings. Using heavy braid on an ultralight rod risks breaking the rod tip during a cast or fight.
Choose the Right Line Type
Monofilament works great for beginners with moderate stretch and affordable pricing. Fluorocarbon is nearly invisible underwater, sinks faster, and resists abrasion. Braided line offers no stretch for ultra-sensitive feel and casts farther, but its slick texture requires special securing methods.
Check Spool Capacity
Thinner braided line holds more per spool than monofilament. Overfilling wastes expensive line and causes casting problems. Monofilament around 130 yards of 8-pound test fills most medium spools, while braided line can hold 200 yards or more.
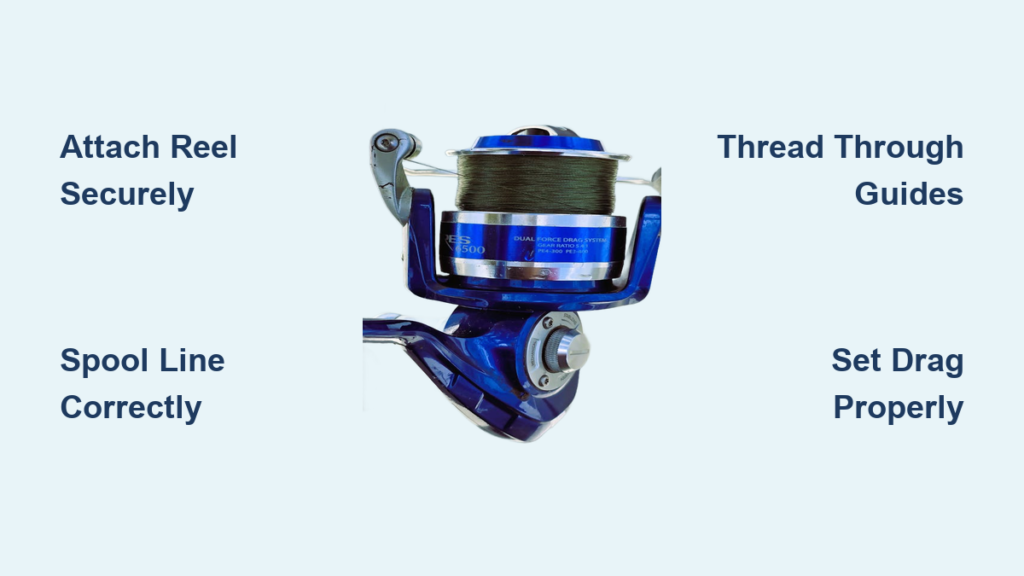
Prepare the Reel for Spooling
Set up your reel properly before attaching any line. Skipping prep leads to twist, slippage, or uneven winding.
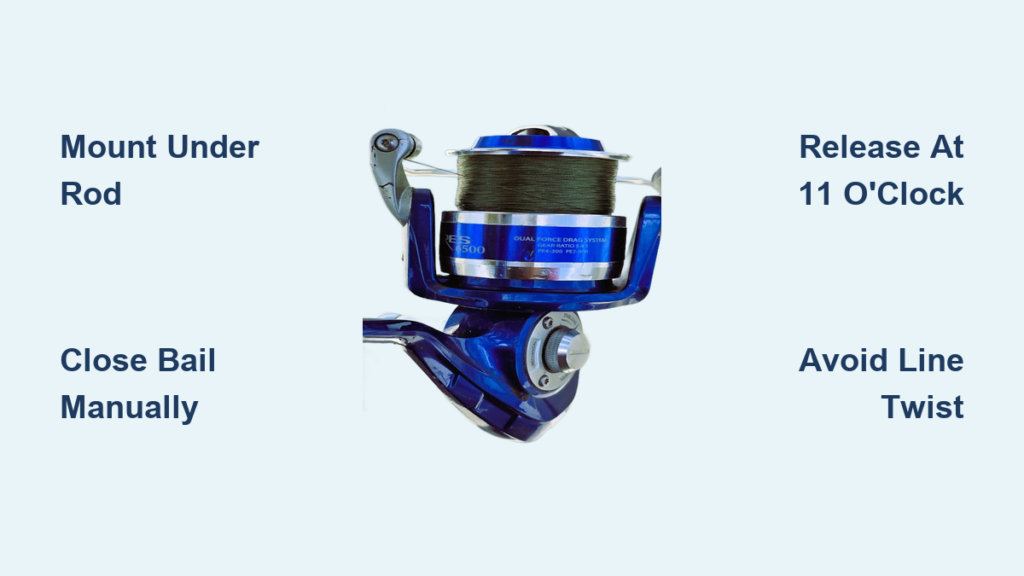
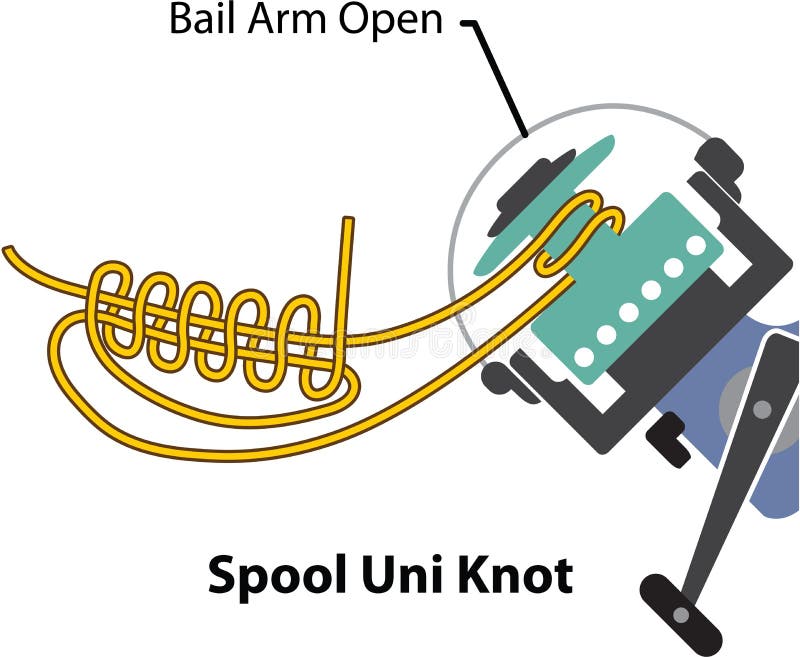
Open the Bail Arm
Flip the bail open so you can tie the line directly to the spool. Keep it open during spooling. After finishing, manually close the bail. Never crank the handle to close it because this adds one twist per revolution and causes wind knots over time.
Loosen the Drag and Engage Anti-Reverse
Turn the drag knob counterclockwise until loose. This reduces resistance so the spool spins freely during winding. Make sure the anti-reverse switch is engaged. This stops the handle from spinning backward and ensures each crank lays line evenly.
Tie the Line to the Spool Securely
How you attach the line determines whether it stays put under pressure.
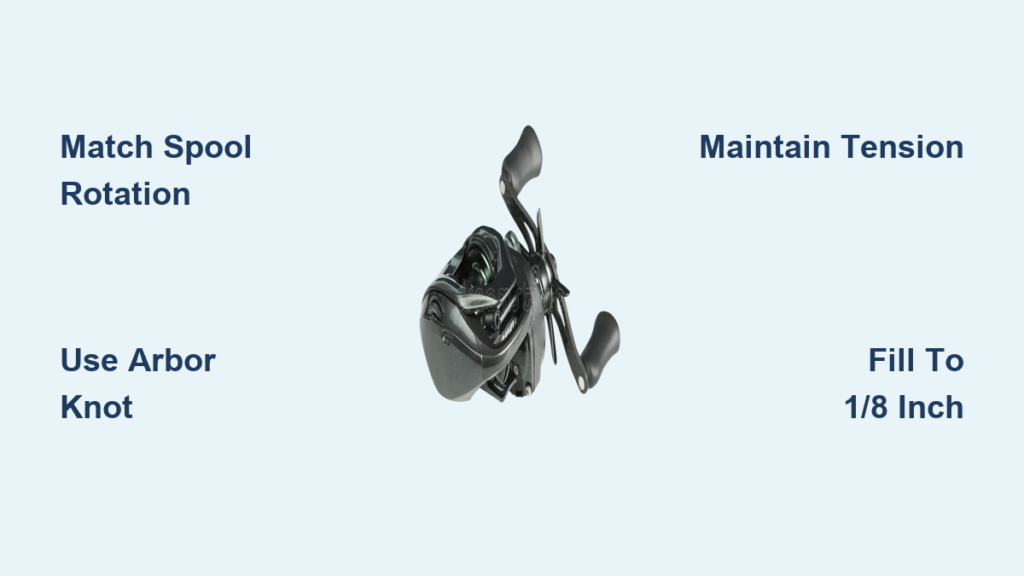
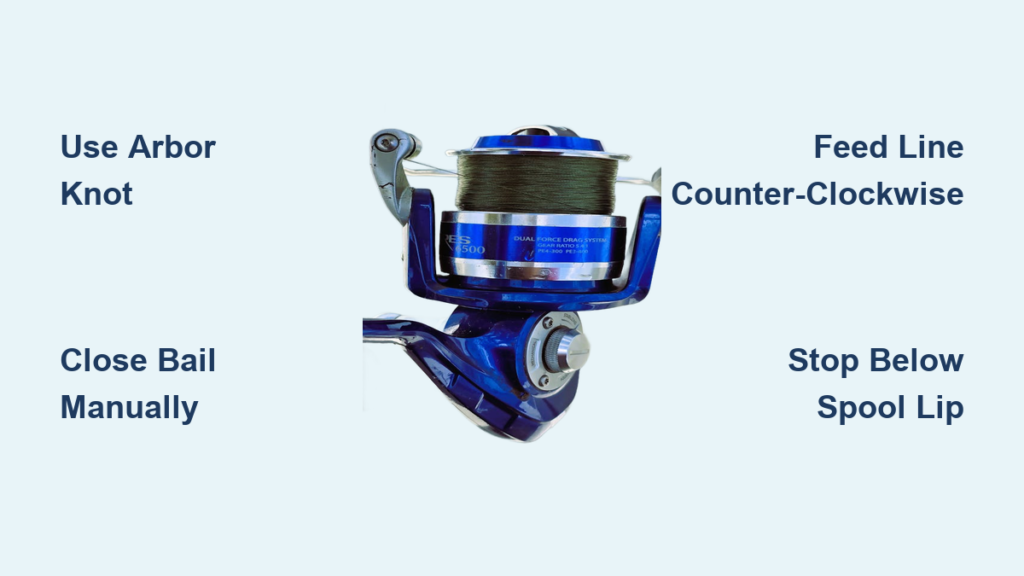
Use an Arbor Knot for Mono or Fluoro
The arbor knot is the gold standard for monofilament and fluorocarbon line.
Run the line through the spool center hole or loop it around the base. Tie an overhand knot around the standing line to form a loop. Pass the tag end through the loop and tie a second overhand knot. Moisten, pull tight, and trim the tag.
This knot jams under tension and will not slip.
Secure Braided Line with Tape or Backing
Braided line is too slick for an arbor knot alone. Apply electrical tape across the spool first, then tie the braid directly over the tape. Wind the first few turns tightly to lock the knot in place.
Alternatively, use mono or fluoro backing. Tie the backing to the spool with an arbor knot, fill the spool half to three-quarters full, then connect the braid to the backing using a uni knot or albright knot.
Feed Line in the Correct Direction

Spinning reels wind clockwise. To prevent line twist, the line must come off the feeder spool counter-clockwise.
Flat Spool Method
Lay the line spool flat on the ground with the label side up. Pull line from the side, not over the top. If the line starts to twist after 10 to 15 cranks, flip the spool over and continue.
Never let the spool roll because this introduces twist, especially in monofilament.
Upright Spool Method
Stand the line spool vertically using a spool holder or rod tube. Feed line from the top. This method works well with all line types and prevents twisting while maintaining consistent tension.
Wind the Line with Proper Tension
Tension is critical. Too loose creates coils that jump and tangle. Too tight compresses the line pack and causes memory problems.
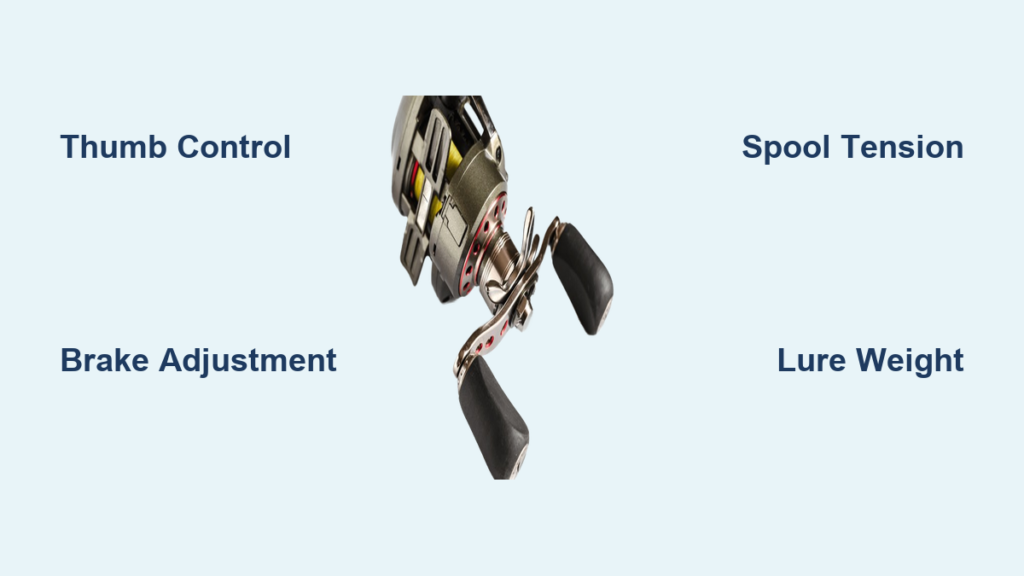
Apply Light Even Pressure
Pinch the line between your thumb and forefinger, or wrap it through a microfiber towel 12 to 18 inches above the spool. The cloth protects your fingers and provides smooth drag. Use gloves when spooling braid because it can cut skin.
Keep tension steady throughout the entire process. Do not yank or slacken abruptly.
Crank Slowly at First
Start with 10 to 15 slow turns to establish a solid base layer. Watch for line skipping, gaps between coils, or uneven stacking. Once the first layer is flat, you can increase cranking speed.
Stop at the Right Fill Level
Overfilling is one of the most common mistakes and it causes bird’s nests during casting.
Fill to Proper Level
The line should sit just below the outer edge of the spool. Look for a color change on the spool, a beveled ridge, or a visible gap between the line and spool rim. Stop winding when the line reaches 1/16 to 1/8 inch below the lip.
Avoid Overfilling
If the line is flush with or above the spool lip, it balloons during casting. The first few coils jump off, causing backlashes and jerky retrieval. If overfilled, open the bail and pull off excess by hand.
Finish and Test the Setup
Once spooled, complete the final steps to ensure everything works properly.
Cut and Close Properly
Leave 6 to 12 inches of line past the spool. Manually flip the bail closed. Do not turn the handle.
Thread Through Rod Guides
Start from the tip and work down to the reel. Make sure the line passes through every guide without snagging.
Attach a Lure and Test Cast
Tie on a lure with an improved clinch knot. Make several practice casts and watch for smooth line release. Check if the bail opens and closes cleanly and look for wind knots or coiling.
Prevent Line Twist and Wind Knots
Even a perfectly spooled reel can develop twist over time.
Common Causes of Twist
Cranking the handle to close the bail adds one twist per turn. Letting line peel off during a fish run without rotor rotation creates twist. Reeling in with slack line and using old or coiled line also contribute to the problem.
Prevention Strategies
Always close the bail by hand. Lift the rod tip before reeling to remove slack. Stop the spool with your finger as the lure lands to prevent overrun. Avoid turning the handle when a fish is pulling line under drag.
Use Backing with Braid
Backing saves money and prevents slippage when using braided line.
When and How Much to Use
Fill the spool half to three-quarters full with 20-pound test monofilament or Dacron. Then tie on your braid. This saves expensive braid and ensures grip on the spool.
Connect Braid to Backing
Use a uni knot or albright knot for a strong, low-profile connection. Both knots slide through rod guides easily when tied correctly.
Avoid Common Spooling Mistakes
Even experienced anglers make these errors that ruin performance.
Cranking the bail closed adds one twist per turn and leads to wind knots. Overfilling causes line to leap off during casting. Pulling line over the top of the spool introduces twist. Poor tension control creates loose tangles or compressed coils. Using weak knots causes lost fish under pressure.
Always close the bail manually, stop filling at the proper level, pull line from the side, maintain even tension, and use the arbor knot for security.
Maintain Your Spooled Reel
Proper care extends line life and reel performance.
Regular Maintenance Tasks
Rinse the reel with fresh water after saltwater use. Inspect line regularly for nicks, abrasions, coiling, or fraying. Replace line at least once per season or after heavy use. Store the reel in a cool, dry place with the bail open if storing long-term.
Clean and lubricate the reel every few months. Check the bail roller, verify anti-reverse function, and ensure gears are properly lubricated.
Pro Tips for Better Performance
Yellow braided line offers superior visibility for detecting subtle bites and managing line during retrieves. Fifteen-pound braid provides a sweet spot for many situations strong enough for big fish yet light enough for finesse techniques.
Monofilament is ideal for beginners. Switch to braid once you have mastered spooling basics. Remember that braid has no stretch, which means better sensitivity and stronger hook sets, but requires smoother casting technique.
Frequently Asked Questions About Spooling Fishing Line
What is the best knot to attach line to a spinning reel spool?
The arbor knot is the best choice for monofilament and fluorocarbon. It jams under tension and will not slip. For braided line, use electrical tape or attach to backing first.
How do I know when to stop filling the spool?
Stop when the line reaches 1/16 to 1/8 inch below the outer lip of the spool. The line should never be flush with or above the spool rim.
Why does my line twist when spooling?
Twist comes from pulling line over the top of the spool instead of from the side, or from cranking the handle to close the bail. Always feed line counter-clockwise and close the bail manually.
Can I use braided line on any reel?
Braided line works on most spinning reels, but you must secure it properly. Use tape or backing to prevent slippage because braid is too slick to hold with an arbor knot alone.
How often should I replace my fishing line?
Replace line at least once per season or after heavy use. Check regularly for nicks, abrasions, coiling, or fraying near the lure.
Key Takeaways for Starting Line on Your Fishing Reel
Spooling a fishing reel correctly takes attention to detail, but it pays off in smoother casts, fewer tangles, and more fish landed. Match your line to the reel specifications, tie the right knot for your line type, feed in the correct direction, apply even tension throughout, and stop at the proper fill level.
Always close the bail manually to prevent twist, use backing with braided line to prevent slippage, and maintain your spooled reel by rinsing after saltwater use and inspecting line regularly. Whether you are using monofilament, fluorocarbon, or braid, doing it right from the start ensures your gear performs when it matters most.