Tying fishing line to a reel might seem simple, but doing it wrong can lead to tangles, lost fish, and frustrating days on the water. Whether you’re a beginner or refreshing your technique, mastering this essential skill ensures smooth casts, strong knots, and reliable performance when a big catch strikes. The arbor knot is the go-to method for securing line to your reel. It is simple, strong, and trusted by anglers worldwide.
In this guide, you’ll learn exactly how to tie fishing line to a reel step by step, avoid common mistakes, and adapt the process for different line types. You’ll also discover pro tips for spooling with even tension, preventing line twist, and maximizing casting distance.
Tie the Arbor Knot Correctly
The arbor knot is the standard for attaching line to any reel. It is secure, easy to tie, and works across line types when used properly.
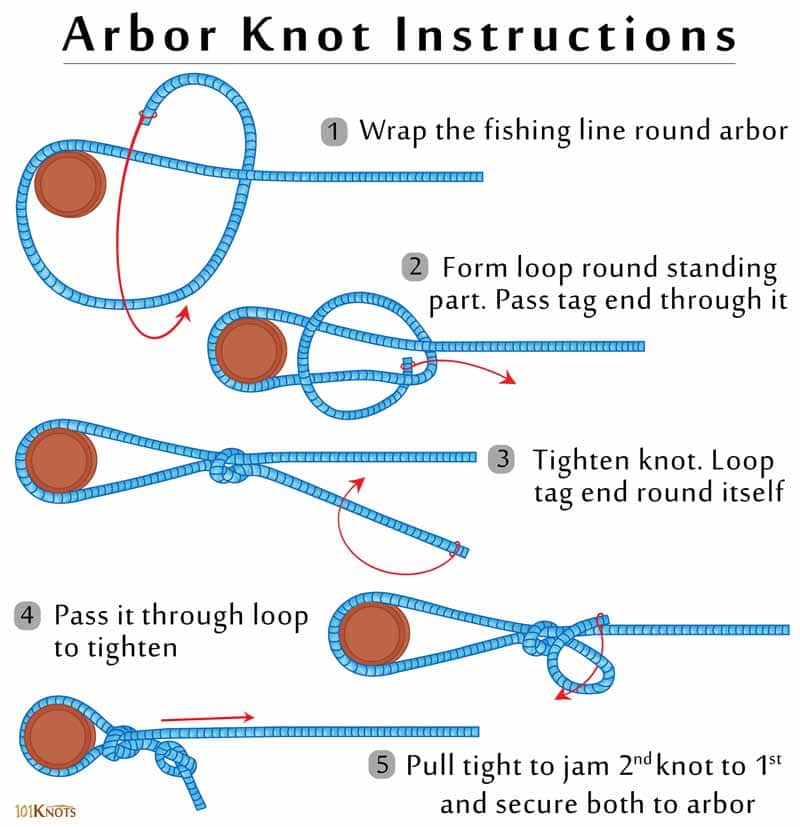
Step-by-Step: Tie the Arbor Knot
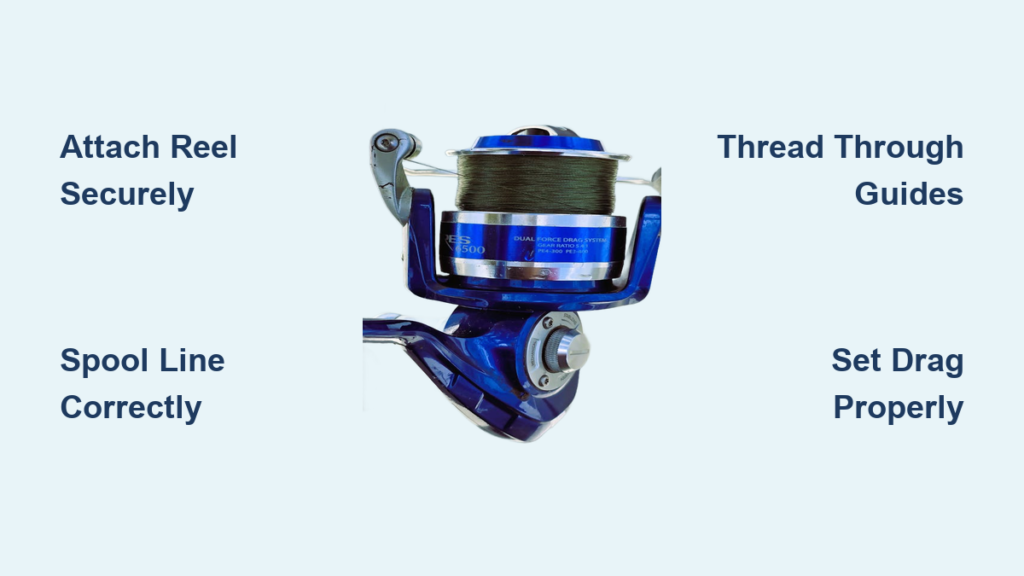
- Open the bail on your spinning reel to allow free line movement.
- Run the line through all rod guides, starting from the tip down to the reel. This prevents kinks and ensures proper alignment.
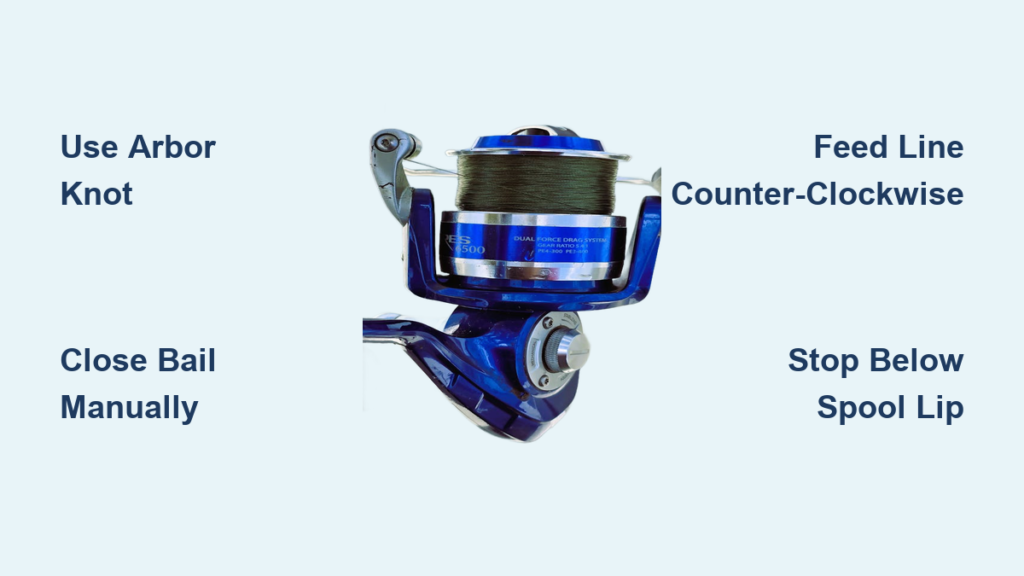
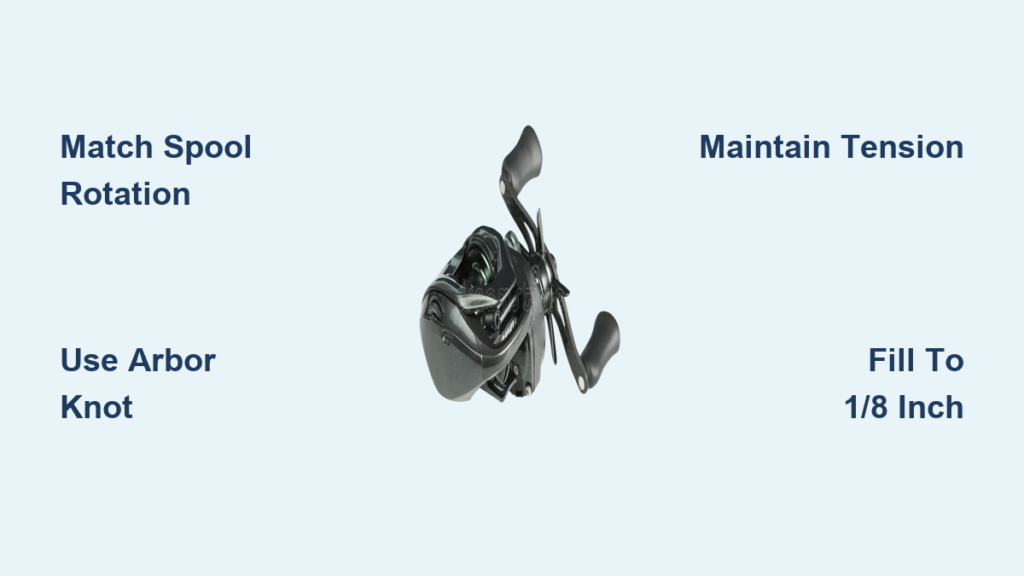
- Wrap the tag end around the spool arbor once.
- Tie an overhand knot with the tag end around the standing line, just past the wrap.
- Moisten the knot with water or saliva. This is especially important for monofilament and fluorocarbon to prevent heat damage during tightening.
- Pull the standing line to slide the knot down until it touches the spool.
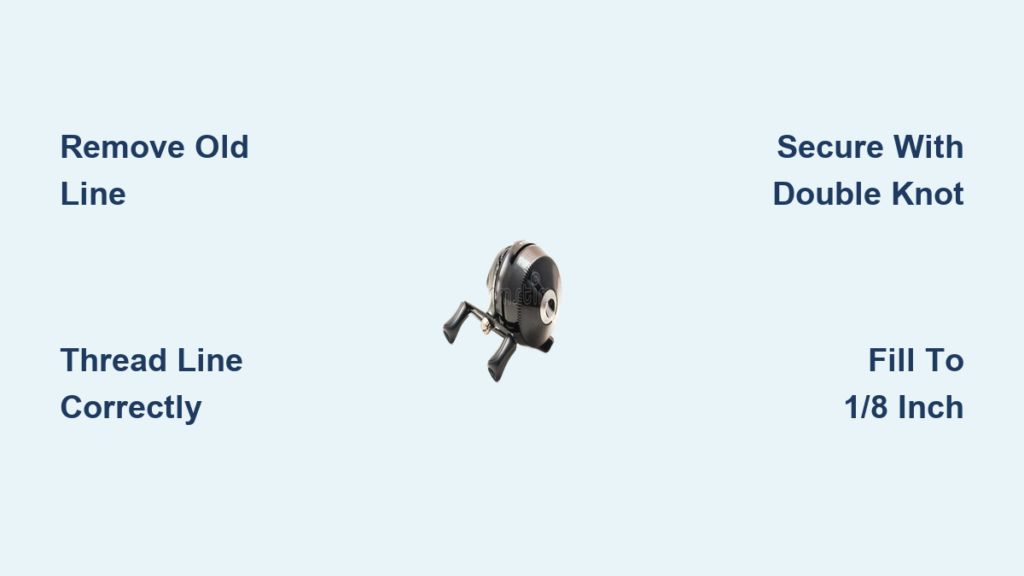
- Tie a second overhand knot in the tag end as a backup stopper.
- Pull both ends to lock the knots tightly against the spool.
- Trim the tag end to about 1/8 inch. Not flush, to avoid fraying.
Pro Tip: The arbor knot is a slip knot with a backup. It tightens under pressure and will not loosen during use.
Why the Arbor Knot Works
This knot grips the spool securely because the first overhand knot cinches down tightly when pulled. The second knot stops the first from unraveling. It lies flat against the spool, preventing bumps that cause tangles.
Important: Never skip the stopper knot. Without it, the arbor knot can slip loose under load.
Spool Line in the Right Direction
Winding line the wrong way introduces twist, which leads to coiling, reduced casting distance, and tangles.
Fix Line Wind Direction
For spinning reels, line must come off the fill spool counter-clockwise. Wind onto the reel clockwise.
Quick Test: If your line springs off the rod in coils after casting, it is twisted. Re-spool with corrected direction.
Prevent Line Twist During Spooling
Place the bulk spool on a flat surface with the label facing up for most brands. Insert a pencil or dowel through the center so it spins freely. Apply slight backward pressure with your hand, foot, or a cloth to maintain tension. Always route line through all rod guides before winding. This equalizes tension and prevents kinks.
Solo Spooling Hack: Sit down and use a sock-covered foot to gently press the spinning bulk spool. This controls rotation and applies consistent resistance.
Apply Even Tension While Winding

Poor tension leads to loose coils, line slippage, and bird’s nests. Good tension keeps the spool tight and organized.
Use Light, Consistent Pressure
Hold the line between your fingers or use a damp cloth between the rod and reel for friction. Too much tension crushes the line and increases memory. Too little causes slack layers that dig in during casting.
Guide Line Side-to-Side
Use your index finger to move the line back and forth across the spool as you turn the handle. This prevents piling on one side. It creates even layers and maximizes capacity and retrieval smoothness.
Bonus Tip: Tighten the drag knob 1 to 2 clicks to add internal resistance. This helps maintain tension during spooling.
Fill to the Right Level
Overfilling or underfilling hurts performance. Get it just right.
Stop at 1/8 Inch from the Rim
Overfilled spools cause line to jump off during casting. Underfilled spools reduce casting distance and allow upper layers to dig into lower ones.
Visual Check: Look at the spool edge. There should be a small gap between the line and the outer lip.
Cut and Secure the End
Once filled, cut the line cleanly with scissors or line cutters. Close the bail manually. Reel in a few feet to check for smooth operation.
Handle Braided Line Differently
Braided line does not grip smooth spools well. Without prep, it will slip and cost you fish.
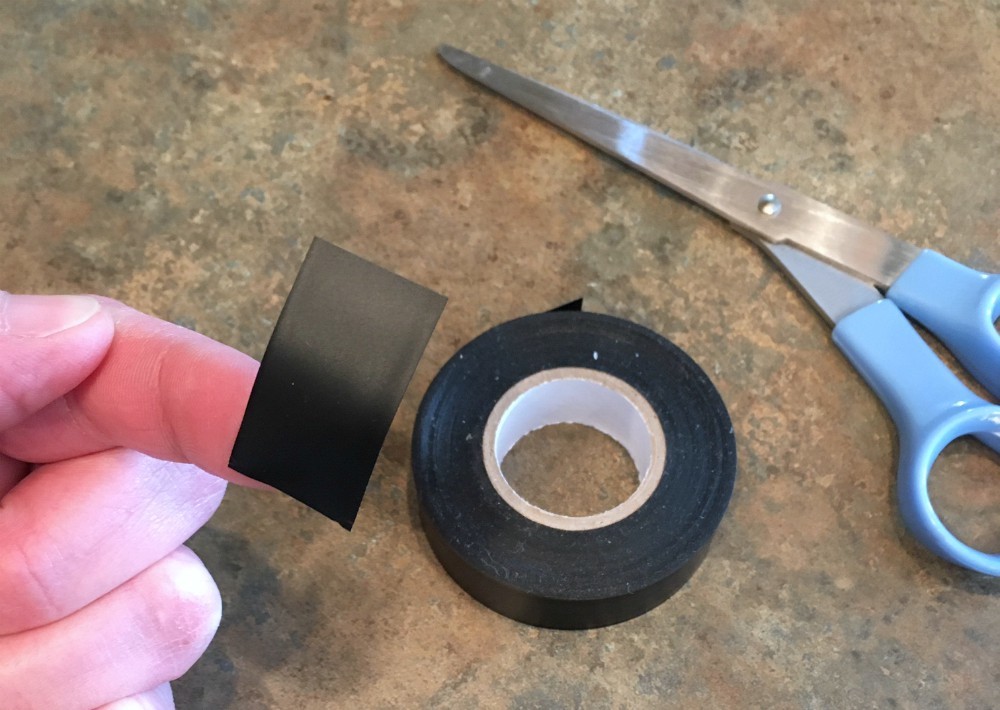
Use Tape for Small Reels
Wrap 2 to 3 layers of electrical tape around the spool arbor before tying. Tie the arbor knot over the tape. Tape stays in place under the braid and provides grip. This method works best for light to medium reels where backing is not practical.
Use Mono Backing for Large Reels
For big spools or heavy braid, spool 20 to 30 yards of 10 to 15 pound monofilament using the arbor knot. Then tie braid to mono with a strong connecting knot.
Tie a Uni-to-Uni Knot
- Overlap braid and mono ends by 6 to 8 inches.
- Wrap the braid end around both lines 6 to 8 times. Pass through the base loop.
- Repeat with the mono end.
- Moisten, then pull both standing lines to tighten.
- Trim tag ends.
Why Uni-to-Uni? It is strong, compact, and will not jam in guides.
Alternative: Albright Knot
- Form a large loop in the braid.
- Pass the mono end through the loop.
- Wrap the mono 10 to 12 times around the braid and loop.
- Pass the tag end back through the loop.
- Pull tight and trim.
Critical Warning: Never rely on an arbor knot alone with braid on a smooth spool. It will slip.
Avoid Common Spooling Mistakes
Even experienced anglers make these errors. Know them to avoid costly failures.
Wrong Line Direction Causes Twists
The problem is line coils off the rod in corkscrews. The fix is re-spool with fill spool rotating counter-clockwise.
No Backing with Braid Leads to Slippage
The problem is spool spins freely and line peels off. The fix is always use tape or mono backing with braid.
Bail Will Not Close? You Overfilled
The problem is bail arm hits the line. The fix is re-spool with less line or distribute more evenly.
Uneven Coils Cause Tangles
The problem is line digs in and creates bird’s nests. The fix is guide line side-to-side and apply consistent tension.
Pro Check: After spooling, reel in 5 to 10 feet and watch for smooth unspooling. No coiling and no resistance means you did it right.
Test and Maintain Your Line
A fresh spool job is not complete until you test it.
Check for Line Twist
Reel in a few feet. Let line hang freely. If it spirals or coils, you wound it in the wrong direction. Start over.
Verify Bail and Drag Function
Bail should close smoothly. Drag should engage without slipping at the knot.
Replace Line Regularly
Replace line every 1 to 2 years, or sooner if you see frays, nicks, or abrasion. Replace if line holds coils when unspooled. Replace if used in saltwater or rocky environments.
Storage Tip: Store reels vertically with the bail open to relieve line pressure and prevent memory.
Choose the Right Line for Your Reel
Not all lines work the same. Match your line to your reel and fishing style.
Monofilament: Best for Beginners
Monofilament has stretch that absorbs shock. It is easy to tie and spool. Use the arbor knot directly on the spool.
Fluorocarbon: Invisible and Abrasion-Resistant
Fluorocarbon has low stretch and high sensitivity. It sinks faster, great for bottom fishing. Tie the arbor knot and moisten before tightening.
Braided Line: Long Casts, Heavy Cover
Braided line has zero stretch for better hooksets. Thinner diameter means more line capacity. Always use backing or tape to prevent slippage.
Check Reel Specs: Look for braid-ready spools with textured surfaces for better grip.
Key Takeaways for Tying Fishing Line to Reel
Tying fishing line to a reel takes less than 10 minutes when done right. Use the arbor knot for monofilament and fluorocarbon. Add tape or backing for braid. Wind in the correct direction and fill to within 1/8 inch of the rim. Avoid the top mistakes, which include wrong direction, no backing, and overfilling. Doing it correctly ensures tangle-free casting season after season.
Keep your line fresh, your reel clean, and your knots tight. Now you are ready to reel in the next one.
Frequently Asked Questions About Tying Fishing Line to Reel
What is the best knot for tying fishing line to a reel?
The arbor knot is the industry-standard knot for securing fishing line to any reel. It works for monofilament, fluorocarbon, and braided line when paired with proper backing.
Does it matter which direction I spool the line?
Yes, it matters greatly. For spinning reels, line must unwind from the bulk spool counter-clockwise and wind onto the reel clockwise. Wrong direction causes line twist, coiling, and tangles.
Can I tie braided line directly to my reel?
Only if your reel has a braid-ready spool with a textured surface. Otherwise, use electrical tape around the arbor or add 20 to 30 yards of monofilament backing before attaching the braid.
How full should I fill my reel with line?
Fill the spool to within 1/8 inch of the outer rim. Overfilling causes line to jump off during casting. Underfilling reduces casting distance and allows upper layers to dig into lower ones.
How often should I replace my fishing line?
Replace fishing line every 1 to 2 years, or sooner if you notice frays, nicks, abrasion, or memory coils. Replace more frequently if used in saltwater or rocky environments.
Why does my line coil after casting?
Line coiling indicates line twist, which occurs when the line was spooled in the wrong direction. Re-spool with the fill spool rotating counter-clockwise to fix this problem.