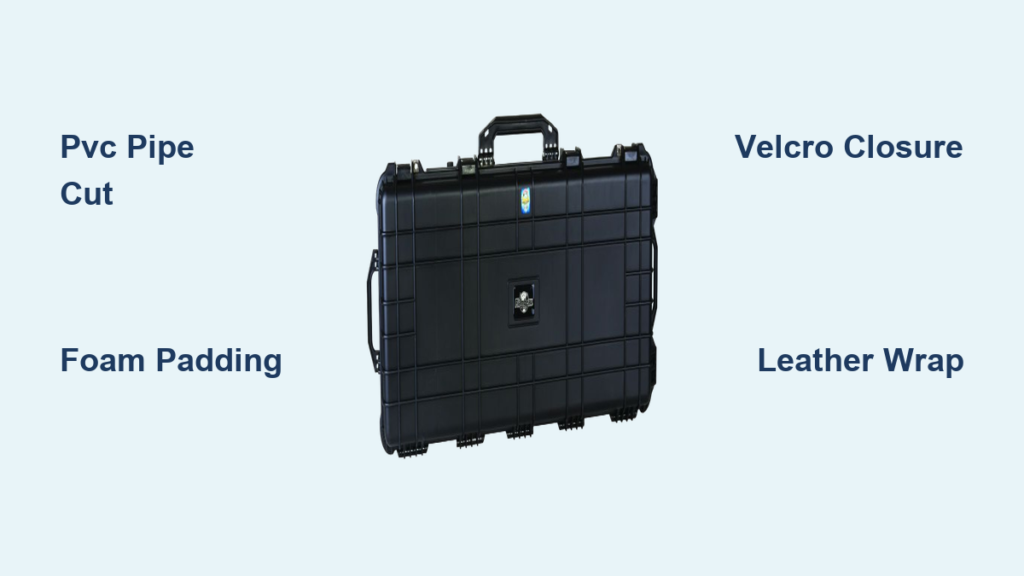
If you’re tired of paying premium prices for generic fishing rod cases that barely fit your gear, building a custom fishing rod case is a practical solution that delivers better protection for less money. Whether you fish with delicate fly rods or heavy saltwater setups, a DIY case offers perfect fit, superior durability, and personalized style all for under $30. This guide covers two proven methods: a rugged rigid PVC tube for maximum protection and a lightweight sewn fabric case ideal for travel.
You’ll learn exactly which materials to use, how to construct each type step by step, ways to customize for your specific rods, and pro tips like leather wrapping and color coding. No advanced skills are required, just basic tools and a few hours of your time. By the end, you’ll have a case that survives airline handling, backpack hikes, and years of rough use while keeping your rods in pristine condition.
Build a Rigid PVC Fishing Rod Tube
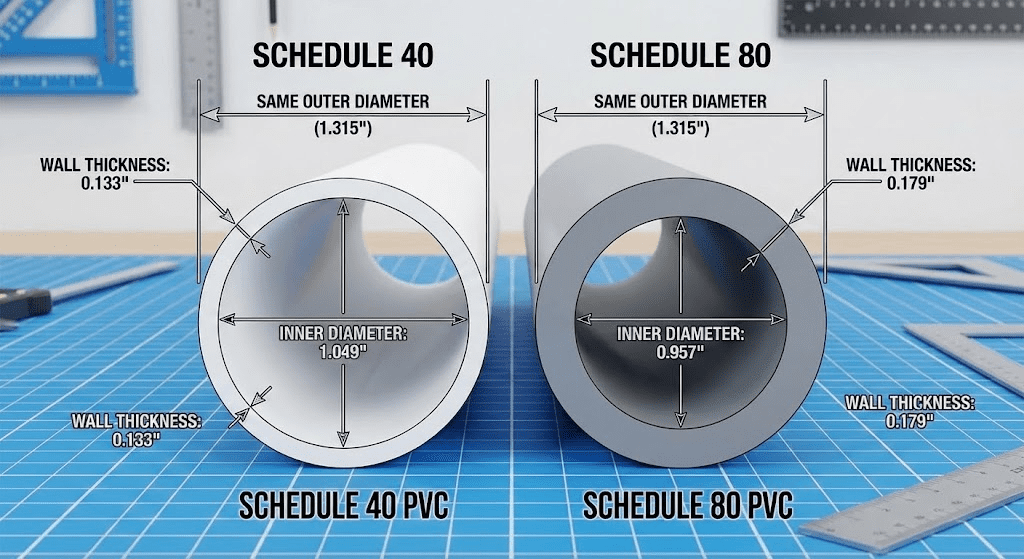
A PVC or ABS pipe rod tube is the toughest DIY option available, designed to survive being dropped, crushed, or soaked without damaging your rod. This construction method is ideal for air travel, long-term storage, or any situation where your gear faces harsh treatment.
Cut and Fit the Pipe Correctly
Start by measuring your longest rod when fully collapsed. A typical 9-foot four-piece fly rod collapses to around 26 inches, so you’ll want a pipe that’s 2 to 3 inches longer, typically 28 to 30 inches total.
Cut a Schedule 40 PVC or ABS pipe to your measured length using a hacksaw or pipe cutter for clean, square cuts. Deburr both the inside and outside edges with 120 to 180 grit sandpaper to prevent snagging when inserting your rod. Lightly sand the outer surface if you plan to add a leather wrap or label later.
Pro Tip: ABS is slightly more impact-resistant and UV-stable than PVC, though PVC is cheaper and easier to find at any hardware store.
Glue One End Permanently
Choose one female adapter and one male plug for your pipe ends, either threaded or slip-fit varieties work well. Dry-fit both components first to confirm they assemble smoothly without resistance.
Apply PVC cement to both the pipe end and inside the fitting if using PVC, or ABS solvent weld for ABS pipe. Push the pieces together firmly and rotate slightly to spread the adhesive evenly. Let the joint set for 15 to 30 minutes before handling, though full strength develops over 24 hours.
Leave the opposite end unglued so the male plug remains removable for rod access and interior maintenance.
Install Shock-Absorbing Foam Padding
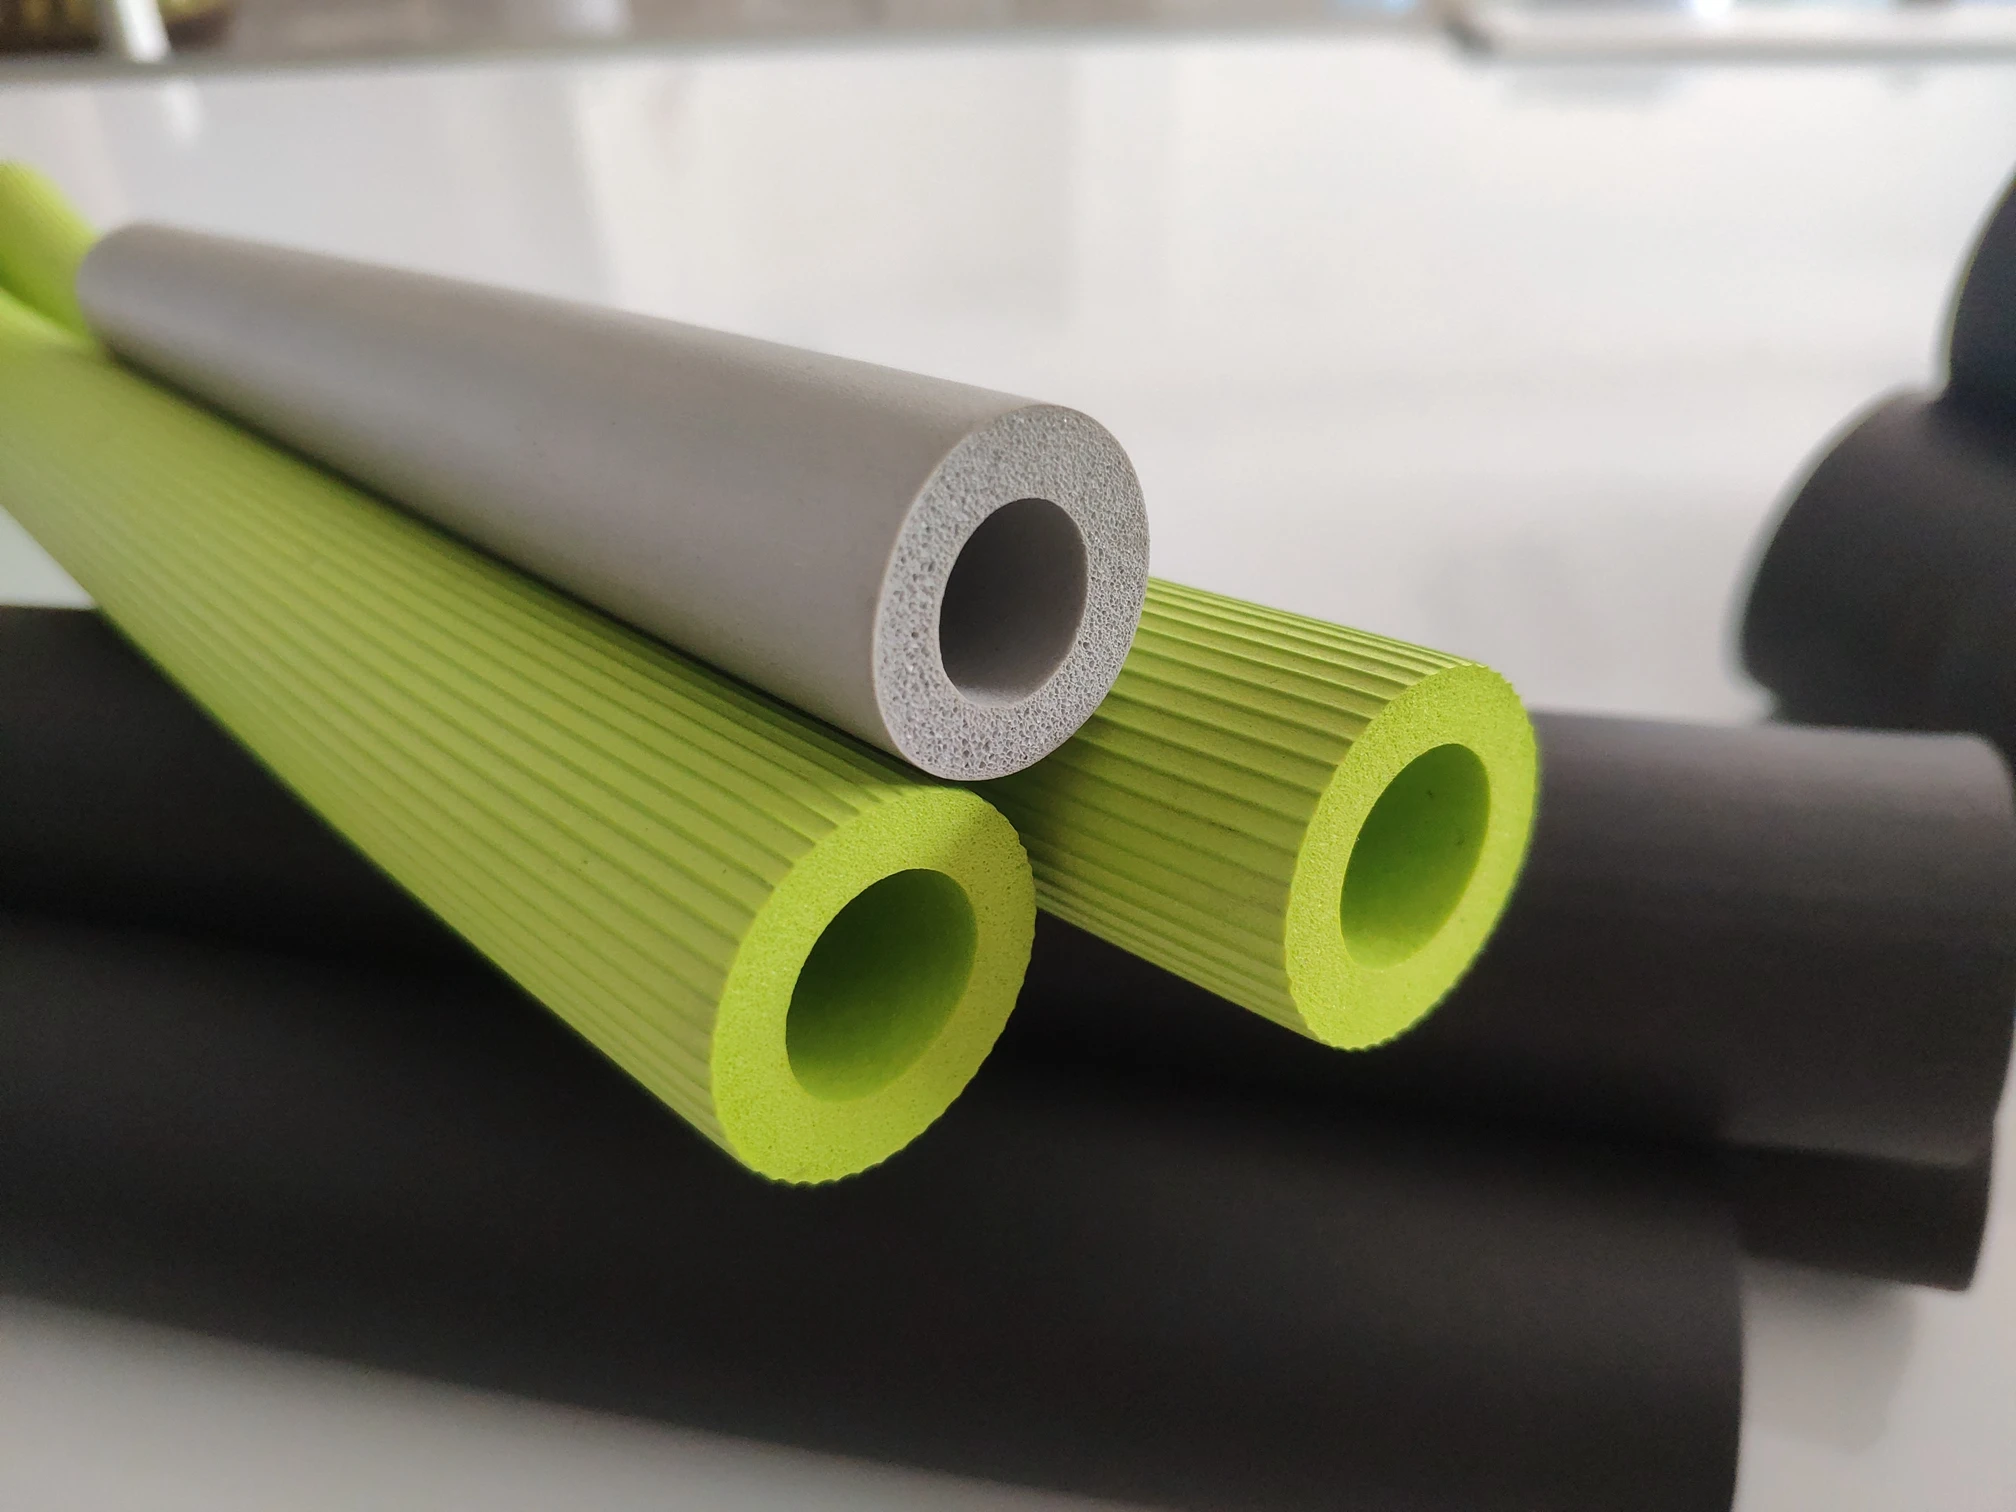
Protection begins with proper interior cushioning. Use closed-cell foam such as packing foam, EVA foam, or craft foam to create a shock-absorbing layer around your rod.
For the bottom cushion, cut foam discs slightly larger than the pipe’s inner diameter so they press in with friction. Stack several discs until you have at least 1 inch of padding at the base, then push down with a dowel until seated against the end cap.
Insert foam pipe insulation (2 inch outer diameter, 1.25 inch inner diameter) into the tube to keep rod sections from contacting the hard walls. If your rod’s butt section is wider than 1.25 inch, cut the liner short so the butt protrudes slightly, which prevents pressure damage to the reel seat.
Test the fit by sliding rod sections wrapped in rod socks into the tube. Verify smooth insertion with no wobble and full coverage along the entire length.
Make a Removable Top Plug
Cut a dense foam plug from upholstery foam or neoprene to fit snugly in the open end of your tube. Before inserting the plug, embed a 6 to 12 inch paracord loop through the center to serve as a pull tab.
Press the plug in last to eliminate air gaps and hold the rod securely in place during transport. The paracord loop makes removal easy while ensuring your rod stays locked inside.
Alternative: Use a foam cylinder with a fabric pull tab glued to the top for even easier removal.
Wrap with Leather (Optional Upgrade)
A leather wrap adds grip, water resistance, and visual appeal that makes your DIY case look like a high-end commercial product.
Prepare the leather by cutting a 30 inch by 8.5 inch piece of 5 to 6 ounce vegetable-tanned leather. Skive the top edge about 1 inch down to create a feather edge for clean rolling, then lightly dampen the leather to make it pliable.
Attach to the pipe by applying contact cement to both the leather’s inner surface and the pipe exterior. Let the adhesive dry until tacky before starting at the top and pressing one half of the seam onto the pipe, smoothing out any bubbles. Allow the first half to set before applying the second.
Seal and stitch by pinching the edges together and marking stitching holes every quarter inch using an overstitch wheel. Punch holes at a 45 degree angle with a diamond awl, then use a two-needle saddle stitch with waxed artificial sinew, pulling tight after each stitch.
Finish edges by trimming excess one-eighth inch from the stitch line, then bevel and round with French and common edgers. At the bottom, fold the leather inward, glue, and trim neatly for a professional look.
Customize Your PVC Rod Tube
Tailor your case to match your specific rods and fishing style for maximum utility and quick identification.
Scale Diameter for Different Rods
Use a 2 inch pipe for fly rods, which have thinner butt sections. Choose 2.5 to 3 inch diameter for spinning rods. Select a 4 inch tube for holding three fly rods in their socks or one large conventional rod.
Pro Tip: A 4 inch tube is ideal for guided trips where you carry multiple rod setups.
Add a Shoulder Strap or Handle
Drill quarter-inch holes near the top and bottom of the tube for strap attachment. On ABS pipe, pre-drill with a pilot bit to prevent cracking. Thread paracord or nylon webbing through the holes and knot securely inside.
Seal the holes with silicone sealant to prevent moisture entry. Alternatively, attach leather loops with rivets for a cleaner, more refined appearance.
Label for Fast Identification
Use waterproof stickers, engraved metal tags, or permanent marker to mark your rod type on the case. For quick visual identification, paint the plug or use colored tape to differentiate rods.
Pro Tip: Match plug color to rod line weight, such as red for 5 weight or blue for 6 weight fly rods.
Seal Joints for Waterproofing
Ensure all glued joints are fully sealed by applying silicone sealant around strap holes and plug seams. Test by holding the case under running water; no leaks should appear.
In saltwater environments, reapply sealant annually to maintain watertight protection.
Build a Sewn Fabric Fishing Rod Case
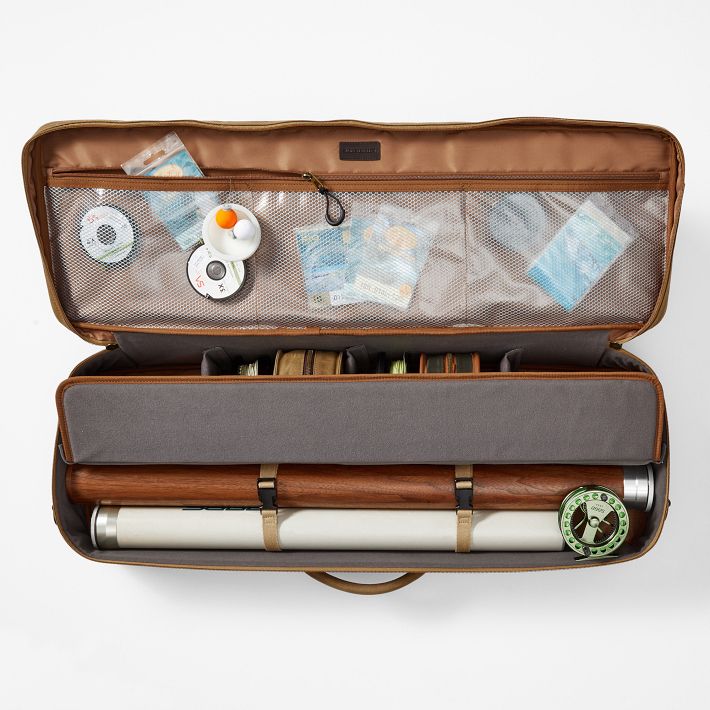
For travelers, backpackers, or anyone needing airline-compliant carry-on protection, a soft-sided fabric case with a rigid liner offers portability, breathability, and convenience that rigid tubes cannot match.
Create the Inner Rod Pocket
Cut 2 yards of medium-weight cotton fabric that is 17 inches wide, selvage to selvage. Place the fabric pieces right-sides together and sew one long edge with half-inch seam allowance. Press the seam flat but do not clip the corners, as leaving them intact adds strength.
Mark your pocket layout by measuring your longest rod section, such as 28 inches. Fold the fabric up to that length, then sew two parallel lines on each side: one next to the edge and one three-quarters inch inward. Divide into sections of 4 inches for the handle, 4 inches for the mid section, 3 inches, and 2 inches for the tip, leaving half-inch gaps between pockets.
Sew vertical lines to form the pockets, backstitching 3 to 5 times at each end for reinforcement. Test rod fit by sliding each section in with its rod sock; each pocket should accept the rod section smoothly.
Install Flap and Velcro Closure
Pull the case down to your desired length and hem the top edge by folding the raw edge under once and sewing, then folding again and topstitching close to the fold. Tuck the overlap diagonally for a flat finish.
Attach Velcro by sewing the hook (coarse) side face-up on the flap, starting at the edge without Velcro and using a zig-zag stitch across the thick strip. Sew the loop (soft) side to the body of the case.
Why hook on top: This prevents Velcro from snagging your rod sections when opening the case.
Build the Outer Case with Downspout Liner
Cut 11 inches by 45 inches of heavy canvas or duck cloth for the outer shell. Mark where the strap will attach, then on the wrong side, iron on 5-inch squares of interfacing for reinforcement. Mist lightly before ironing for better adhesion.
Make strap loops by cutting a 4-inch fabric strip, folding one edge under and pressing, then folding again to encase 34-inch nylon webbing. Pin and topstitch, then trim excess to about 3 inches, turn the raw edge under, and zig-zag down.
Attach the strap by pinning the raw edge to the right side of the fabric, then sewing a 1-inch square followed by an X pattern through it for maximum strength. Repeat on the other end.
Form the tube by folding the fabric right-sides together and sewing the long edge with half-inch seam allowance. Finish with a zig-zag or overlock stitch, then turn right-side out to reveal a large tube with a centered strap.
Add Box Bottom and Drawstring Casing
Create a box base by aligning the seam at the bottom center and sewing two parallel rows across to close the end. Shape the base by measuring the downspout diameter and marking points 1 inch down from each corner on both sides, then connecting diagonally to form a flat box bottom.
Turn the case right-side out using a dowel or yardstick to push through the opening, then insert the downspout liner; it should fit snugly.
Add a drawstring casing by cutting a 6-inch tall strip to allow for half-inch seam allowances top and bottom. Sew a U shape down one side, across the bottom, and up the other side. Fold the top edge under and sew a half-inch hem, then fold down 1.5 inches to form the channel. Thread the drawstring through using a safety pin, tie ends with a slip knot, and singe the tips with a lighter to prevent fraying.
Final Assembly
Slide the inner cotton case into the outer canvas cover; it should fit tightly. Insert the downspout liner last. The inner case stays in place during use and does not need removal for washing.
Note: Remove the downspout liner before machine washing the fabric case.
Choose the Right Case for Your Needs

Selecting the appropriate case type depends on your typical fishing environment and how you transport your gear.
For Air Travel: Use the Fabric Case
Soft cases meet airline carry-on size limits and avoid the rough handling that checked baggage receives. The downspout liner protects ferrules while the fabric absorbs impacts that would crack a rigid tube.
For Vehicle or Cargo Transport: Use PVC/ABS Tube
These survive being tossed in truck beds, stacked in gear piles, or accidentally run over. One builder reported a rod surviving undamaged after the case was destroyed by a lawnmower.
For Saltwater Trips: Seal It or Wash It
An ABS tube with sealed joints provides full waterproof protection. A fabric case is washable after exposure to salt, preventing corrosion and mildew on your rods and reels.
For Backpacking: Go Lightweight
The fabric case with shoulder strap weighs under 1 pound and packs flat. Breathable cotton reduces moisture buildup on multi-day trips into remote fishing locations.
For Multiple Rods: Scale Up
A 4-inch PVC tube holds 3 to 4 fly rods in their socks. A multi-pocket fabric case organizes rods by type so you can grab the right setup instantly.
Maintain and Extend Case Life
Proper maintenance ensures your DIY case protects your rods for years to come.
Care for Rigid Tubes
Wipe the exterior with a damp cloth after each use. Inspect foam padding yearly and replace if compressed or torn. Reapply silicone sealant around drilled holes every 12 months in wet environments. Store the case open-ended to prevent trapped moisture from causing damage.
Condition leather wraps every 6 to 12 months with leather conditioner. Check stitching annually and re-stitch any loose areas before they worsen.
Care for Fabric Cases
Remove the downspout before washing. Machine wash cold and air dry to preserve stitching and shape. Re-singe drawstring ends every few uses to prevent fraying from becoming problematic.
Check Velcro adhesion and replace if it no longer grips firmly. Lightly iron interfacing areas if straps begin to loosen.
Frequently Asked Questions About Making a Fishing Rod Case
What materials do I need to make a fishing rod case?
You need either PVC or ABS pipe (Schedule 40), end fittings, foam padding, and optional leather for wrapping. For fabric cases, you’ll need cotton, canvas, a downspout liner, Velcro, and nylon webbing. All materials are available at hardware stores for under $30 total.
How long does it take to build a fishing rod case?
A PVC tube takes 2 to 3 hours including drying time for adhesives. A sewn fabric case requires 4 to 6 hours due to the sewing involved. Both projects can be completed in an afternoon with basic tools.
Which type of case is better for fly rods?
Both work well, but PVC tubes offer superior crush protection for delicate fly rod ferrules. The 2-inch diameter pipe specifically accommodates fly rod butt sections perfectly.
Can I make a case for multiple rods?
Yes, use a 4-inch diameter PVC pipe to hold 3 to 4 fly rods in their socks, or build a multi-pocket fabric case with separate compartments for each rod section.
How do I waterproof my DIY fishing rod case?
Apply silicone sealant around all drilled holes and plug seams on PVC tubes. For fabric cases, the canvas provides some water resistance, but treat with fabric waterproofing spray for best results.
Key Takeaways for Building Your Own Fishing Rod Case

Building your own fishing rod case delivers superior protection at a fraction of commercial prices. Rigid PVC or ABS tubes offer maximum crush resistance and work perfectly for air travel checked baggage or harsh vehicle transport. Sewn fabric cases provide breathability, washability, and airline carry-on compliance for traveling anglers.
Foam padding is essential in rigid cases to prevent shock damage during impacts. Double-stitched seams and box-stitched strap attachments ensure fabric cases withstand years of use. Optional leather wrapping adds grip, weather resistance, and professional styling that rivals expensive store-bought cases.
Color coding and labeling let you identify the right rod instantly, saving time on the water. Repurposed materials like rain gutter downspouts and packaging foam keep costs under $30 while reducing waste. With basic tools and a few hours, you can build a custom case that outperforms commercial options in protection, fit, and value.