You’ve just bought your first fishing rod and reel, but now what? Setting up a fishing reel for beginners does not have to be confusing. With the right steps, you can have your gear ready to catch fish in under 30 minutes. This guide focuses on spinning reels, the most beginner-friendly choice, and walks you through every step from attaching the reel to spooling line, threading guides, adjusting drag, and rigging your first setup.
By the end, you will know exactly how to set up a fishing reel for beginners with confidence and precision. Whether you are targeting bass, panfish, or catfish, a properly set up reel means smoother casts, fewer tangles, and more fish in the net.
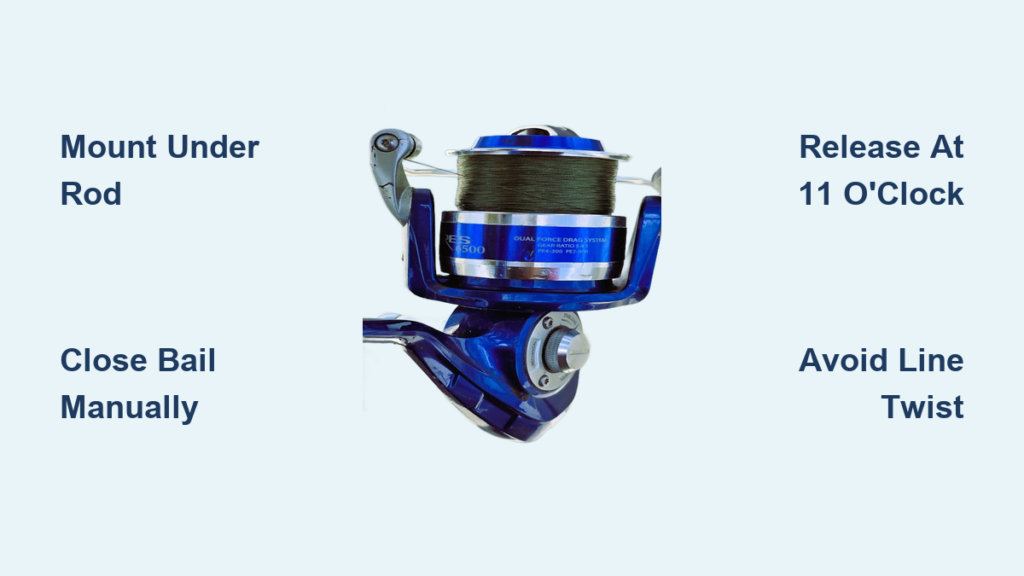
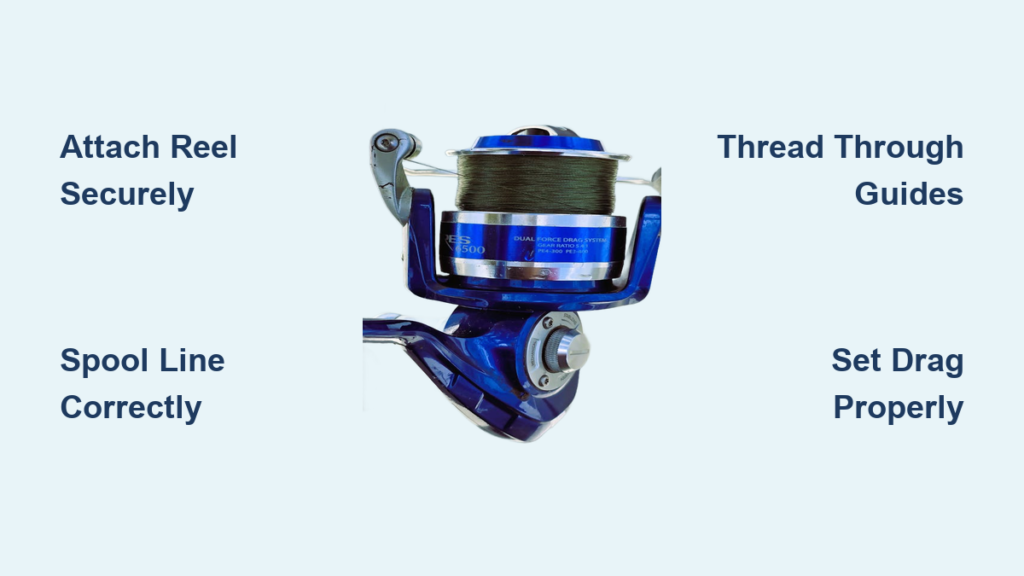
Attach Reel to Rod Securely
Before adding line, mount your spinning reel correctly on the rod. This ensures balance, control, and prevents damage during use.
Position Reel Foot in Seat
Slide the reel foot, the metal base of the reel, into the reel seat on the rod handle. The reel seat usually has a split ring that fits over the foot. Make sure the bail arm faces downward when the rod is held in casting position. This is critical because reversing it will make casting nearly impossible.
Lock Reel with Nuts
Once the foot is seated, slide the lock nuts down to secure it. Most rods have one or two nuts. Tighten the first nut snugly against the reel base. If a second nut is present, tighten it as a locking mechanism to prevent loosening. Test the connection by gently twisting the reel. It should not wobble or shift.
Assemble Rod Sections Correctly
Most beginner rods come in two to four pieces. Assembling them properly protects the guides and ensures structural integrity.
Align and Twist Ferrules
Hold the ferrule, the joint between sections, and gently twist the sections together. Slightly off-center alignment helps prevent binding. Always twist away from the guides to avoid cracking the fragile eyelets, especially on graphite rods.
Check for Stability
After connecting, lightly flex the rod. There should be no wobble or separation at the joints. If you feel resistance during assembly, do not force it. Disassemble, realign, and try again. Forcing can crack the ferrule and ruin the rod.
Choose the Right Fishing Line
Picking the correct line sets the foundation for success. Each type has pros and cons, and knowing which to use makes a big difference.
Monofilament vs. Braid vs. Fluorocarbon
- Monofilament: Stretchy, affordable, easy to tie. Best for beginners fishing in freshwater with live bait or light lures.
- Braided line: Thin, strong, no stretch, casts farther. Ideal for heavy cover or deep water, but requires backing.
- Fluorocarbon: Nearly invisible underwater, abrasion-resistant. Often used as a leader with braid.
Match Line to Rod and Reel
Check the rod blank near the handle for line weight recommendations. Never exceed this range. General guidelines include light rods using four to ten pound test, medium rods using eight to seventeen pound test, and heavy rods using fifteen to thirty pound test or more.
Prepare Reel for Spooling
Before adding line, make sure the reel is ready to accept it without tangles or slippage.
Open the Bail Arm
Flip the bail arm upward so it is in the open position. This allows line to feed freely from the spool during casting and retrieval.
Route Line Under Line Roller
When spooling, the line must pass under the silver line roller and through the bail guide. This ensures smooth winding and prevents friction.
Attach Line to Spool Properly
How you tie the line to the spool determines whether it stays put or slips under pressure.
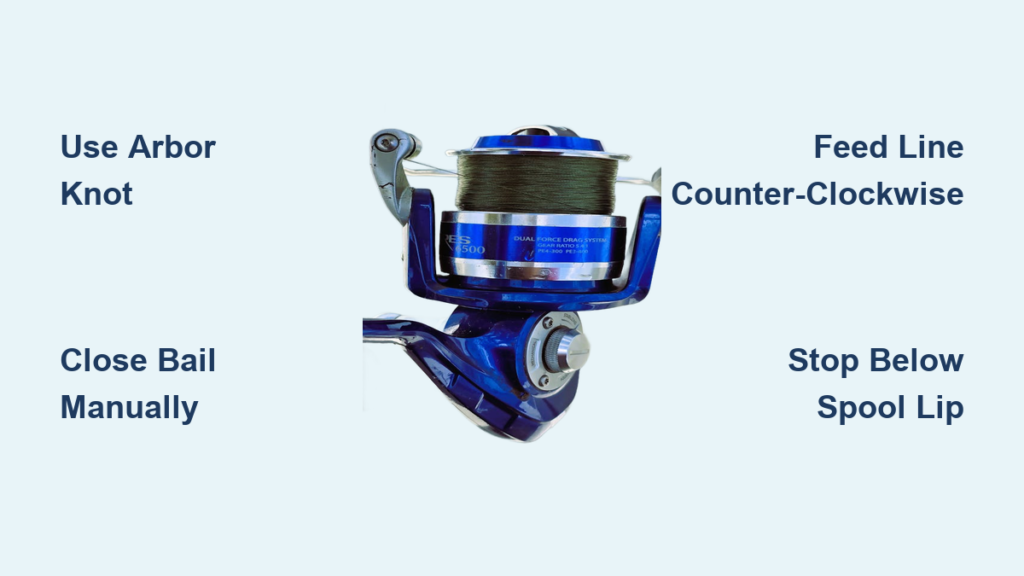
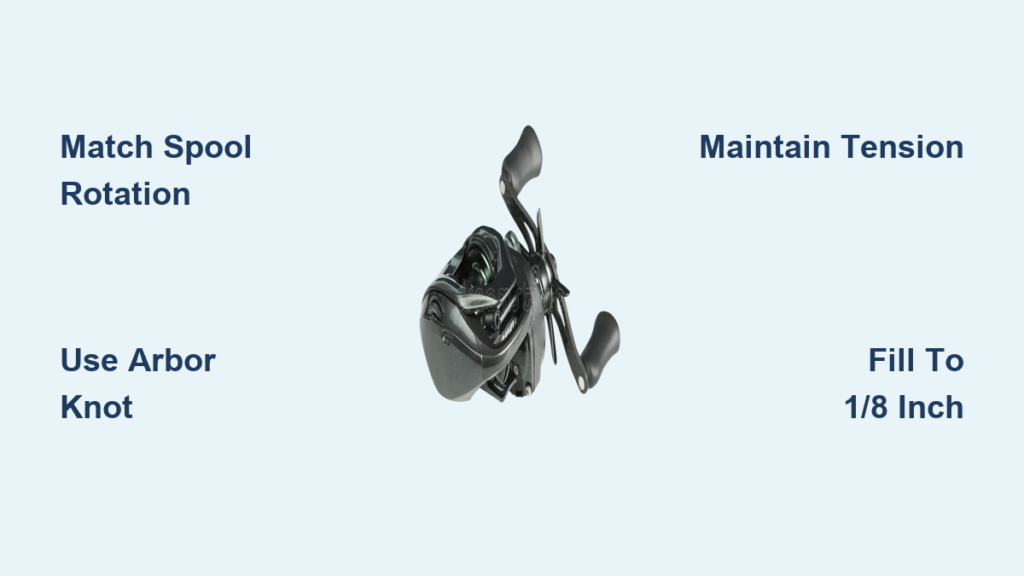
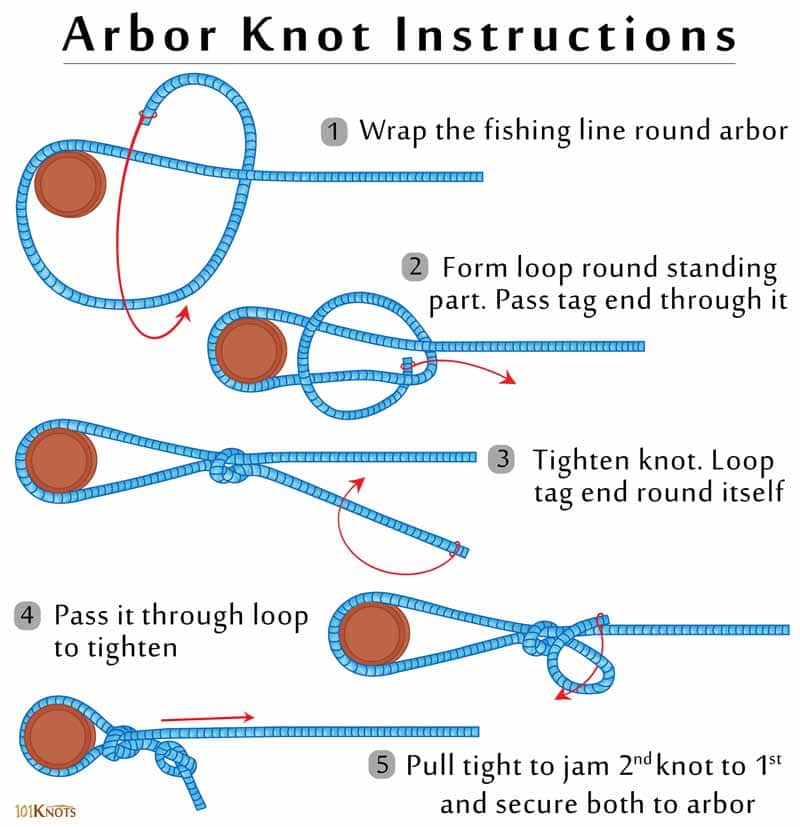
Use Arbor Knot for Braided Line
Braided line is slick and can slip on a bare spool. Always use an arbor knot. Pass the line around the spool and form a loop. Tie an overhand knot around the standing line. Pass the tag end through the loop and tie a second overhand knot. Moisten both knots with saliva. Pull the standing line to tighten the first knot against the spool. Pull the tag end to tighten the second knot. Trim excess.
Use Improved Clinch Knot for Monofilament
For monofilament, the improved clinch knot works well. Wrap the tag end six to seven times around the standing line. Pass the tag end back through the loop near the spool. Moisten, pull tight, and trim.
Add Backing for Braided Line
Never spool braid directly onto an empty spool. It needs monofilament backing to grip.
Spool 20-30 Yards of Mono
Use twenty to thirty pound test monofilament as backing. Tie it to the spool with an arbor knot. Fill the spool until there is about one-eighth inch of space left for the braid. This prevents slippage and maximizes spool capacity.
Connect Braid to Backing with Double Uni Knot
Once backing is on, attach braid using the double uni knot, the gold standard for joining lines.
Tie the Double Uni Knot
Overlap braid and mono backing by six inches. Loop mono around braid, pass tag end through loop, repeat four to five times. On braid side, loop braid around mono, pass tag end through loop, repeat four to five times. Moisten both knots. Gently pull standing lines to bring knots together. Do not yank. Trim tag ends.
Spool Line Without Twists

Twisted line leads to wind knots and poor casting. Avoid it with proper technique.
Match Spool Direction to Reel
Place the line spool on the ground with the label facing up. This ensures it unrolls counter-clockwise, matching the reel’s winding direction.
Apply Light Tension
Use a damp towel over the line spool or have a partner apply light finger pressure. This maintains tension without stretching mono or damaging braid.
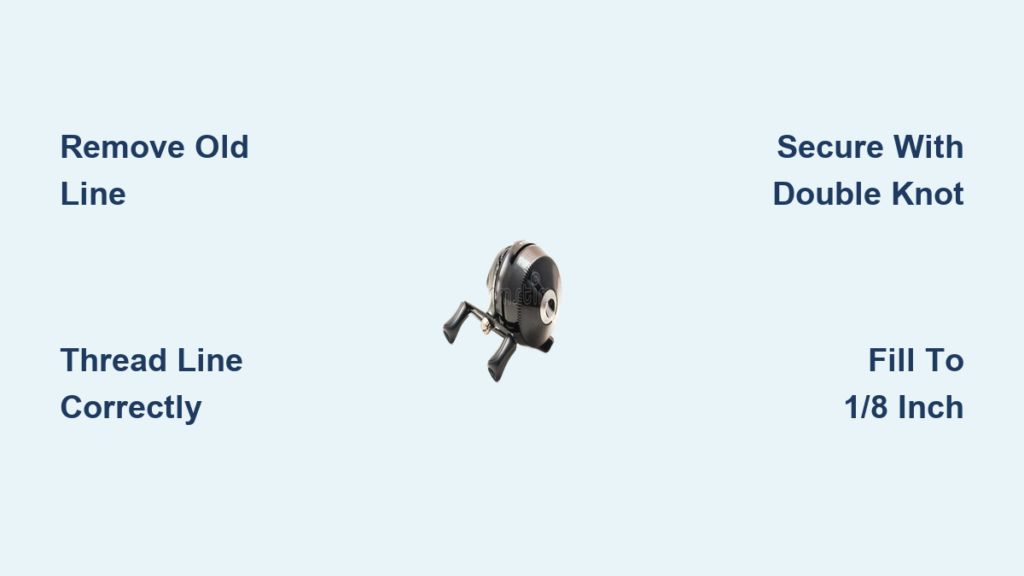
Stop at 1/8 Inch Below Rim
Fill the spool to one-eighth inch below the rim. Overfilling causes line to jump off during casting, wind knots and tangles, and reduced casting distance.
Thread Line Through Rod Guides
Now that the reel is spooled, run the line through the rod guides for smooth casting.
Start from the Tip and Work Back
With bail open, feed the line through the tip guide first. Continue through each guide down to the reel. Ensure the line runs under the line roller and through the bail arm.
Leave 6-8 Feet of Line
After threading, leave six to eight feet of line past the rod tip. This gives you enough to tie on lures, hooks, or rigs.
Close the Bail
Flip the bail arm closed so the line catches in the roller. Turn the handle. Line should wind smoothly onto the spool.
Add a Leader for Braid Users
Using braid directly to the lure? Add a leader to improve performance and stealth.
Tie a 2-3 Foot Leader
Use eight to twelve pound test monofilament or fluorocarbon. Tie to braid with a uni knot or improved clinch knot. Attach lure or hook to the leader.
Why Use a Leader
- Shock absorption: Braid has no stretch, leader cushions hard strikes.
- Abrasion resistance: Protects braid from rocks, logs, and teeth.
- Stealth: Clear leader is less visible than colored braid.
Adjust Drag for Safe Fishing
The drag system controls how much resistance the reel applies when a fish runs.
Set Drag to 25-30% of Line Strength
Use this simple formula. For ten pound test, set drag to two and a half to three pounds of pressure. Turn the drag knob on top of the spool. Clockwise tightens, counterclockwise loosens.
Test Drag by Hand
Close the bail. Pull line off the spool with steady pressure. It should release smoothly, not stick or slip suddenly.
Tie Terminal Tackle with Strong Knots
Your setup is only as strong as your weakest knot. Master two, and you are covered.
Use Improved Clinch Knot for Hooks
Best for mono and fluorocarbon. Thread line through hook eye. Wrap tag end six to seven times around standing line. Pass tag end back through first loop above eye, then through large loop. Moisten, pull tight, trim.
Use Uni Knot for Braid and Leaders
Strong and reliable with slippery lines. Pass line through eye, form a loop. Wrap tag end five to seven times around doubled line. Pass tag end through loop near eye, then through outer loop. Pull both ends to tighten, moisten, trim.
Rig a Beginner-Friendly Bobber Setup
Start with a bobber rig, simple, effective, and great for detecting bites.
Assemble the Rig
Slide bobber onto line. Set depth so hook is one to two feet above bottom. Add two to three split-shot weights two to three feet below bobber. Tie size one hook six to twelve inches below weight. Use improved clinch knot. Hook a live worm, thread through head and body with no loose ends.
Cast Smoothly and Accurately
Now that your reel is set up, learn to cast without tangles.
Follow These Casting Steps
Hold rod with dominant hand. Place index finger on line just above reel. Open bail with other hand. Make a smooth overhead motion like throwing a ball. At peak forward movement, release finger. After lure lands, close bail by turning handle or flipping manually. Begin reeling to keep line tight.
Final Setup Checklist
Run through this quick inspection before hitting the water.
- Reel securely attached
- Bail opens and closes smoothly
- Line spooled to one-eighth inch below rim
- Line threaded through all guides
- Drag set to twenty-five to thirty percent of line strength
- Knots tied, moistened, and trimmed
- Zip ties removed
- Rod sections fully assembled
Avoid Common Beginner Mistakes
Stay out of trouble by dodging these frequent errors.
Overspooling Causes Tangles
Filling past the spool rim leads to wind knots and backlashes. Always leave a one-eighth inch gap.
No Backing with Braid Equals Slippage
Braid will spin on a bare spool. Always use twenty to thirty yards of mono backing.
Dry Knots Are Weak Knots
Never tie knots without moistening them first. Saliva reduces friction and prevents breakage.
Teeth for Crimping Weights Is Dangerous
Using teeth to pinch split shots damages enamel. Use pliers or line tools.
Frequently Asked Questions About Setting Up a Fishing Reel
What type of fishing line is best for beginners?
Monofilament line is best for beginners. It is stretchy, affordable, easy to tie knots, and forgiving of mistakes. Start with eight to ten pound test monofilament.
How much line should I put on my spinning reel?
Fill the spool to one-eighth inch below the rim. This prevents wind knots and tangles while casting. One hundred to one hundred fifty yards is plenty for most freshwater fishing.
Do I need backing on my fishing reel?
You need backing if using braided line. Braided line slips on bare metal spools. Use twenty to thirty yards of monofilament backing to prevent slippage and protect your investment.
How do I know if my drag is set correctly?
Set drag to twenty-five to thirty percent of your line strength. For ten pound test line, set drag to two and a half to three pounds. Test by pulling line off the spool with steady pressure. It should release smoothly.
What knots should beginners learn first?
Master the improved clinch knot and the uni knot. These two knots cover ninety percent of fishing situations, from attaching hooks to connecting lines.
Key Takeaways for Setting Up Your First Fishing Reel

Setting up a fishing reel for beginners comes down to a few essential steps. Attach the reel securely, spool line to one-eighth inch below the rim, thread through all guides, set drag correctly, and tie strong knots. Start with monofilament, use backing with braid, and always moisten knots before tightening. With practice, these steps become second nature. Grab your rod, head to the water, and enjoy the thrill of your first catch.